Table of Contents

Welcome to this step-by-step tutorial on drawing a stack of paper. Whether you’re a beginner or just looking for a fun art project, follow these easy instructions and examples to create your own paper artwork. Let’s get started!
Step 1: Outlining the First Sheet of Paper

Begin by sketching the shape of the first sheet of paper. Instead of perfect straight lines, aim for a slightly uneven appearance. The bottom right corner should have a gentle curve, creating the illusion of the sheet being lifted. For now, leave the upper left corner as if it has been cut-off.
Step 2: Adding a Bent Corner
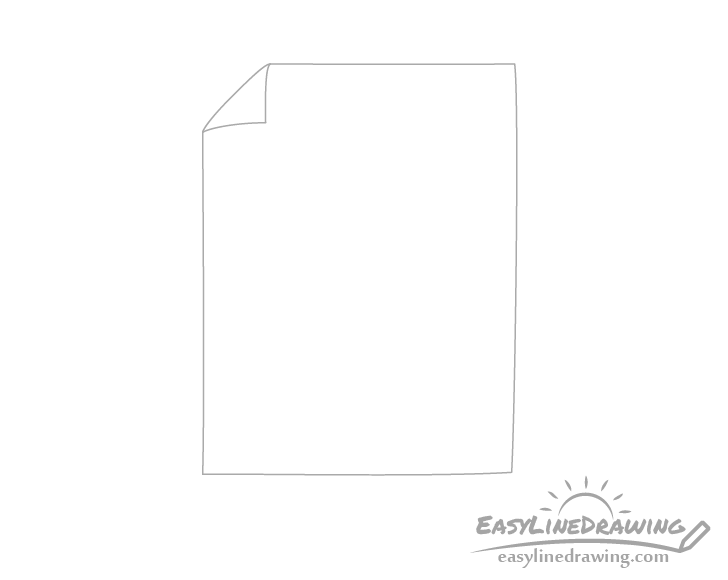
In this quick step, add a little bent corner to the sheet of paper. Use slightly curved lines to define the corner, avoiding perfect straightness. This detail adds a touch of realism and depth to your drawing.
Step 3: Drawing Another Sheet
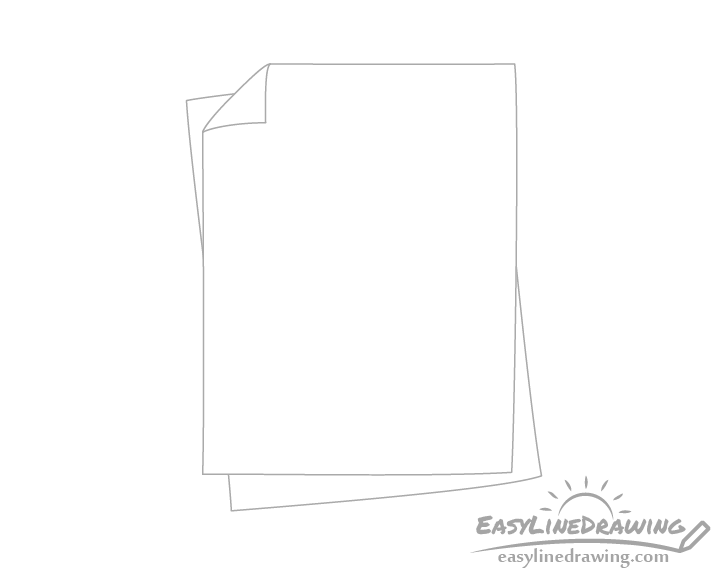
Continuing below the first sheet, draw another sheet of paper at an angle. Again, keep the outlines slightly curved. This angled sheet adds dimension and makes the stack of paper more visually interesting.
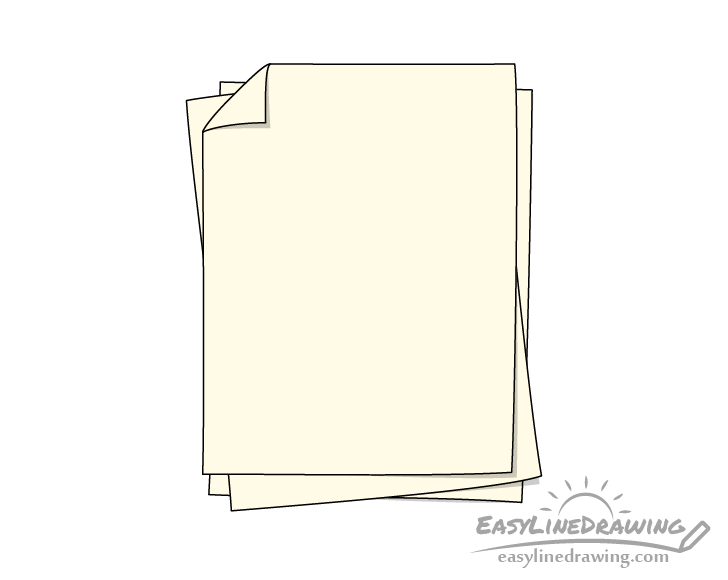
Step 4: Finalizing the Line Drawing
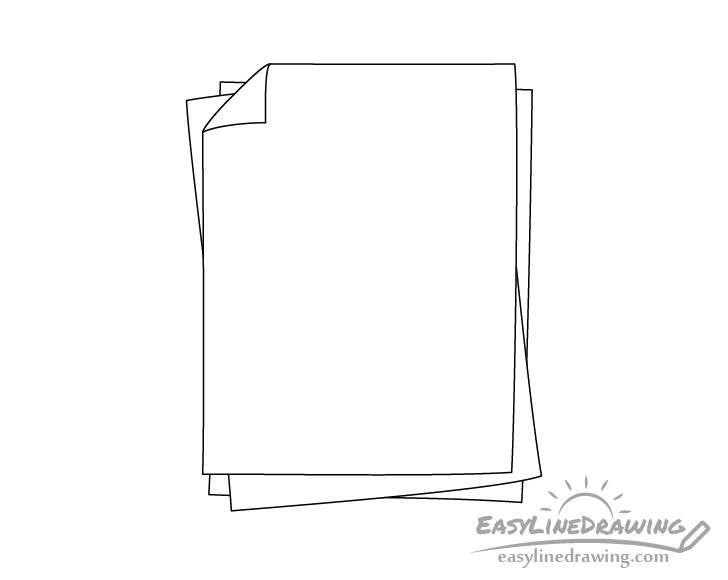
Add yet another sheet of paper underneath the previous one, completing the stack of three sheets. Take a moment to review your drawing and make any necessary adjustments. Once you’re satisfied, trace over the lines with a black pen or marker. If you don’t have one, simply darken the lines with a pencil.
Step 5: Adding Color
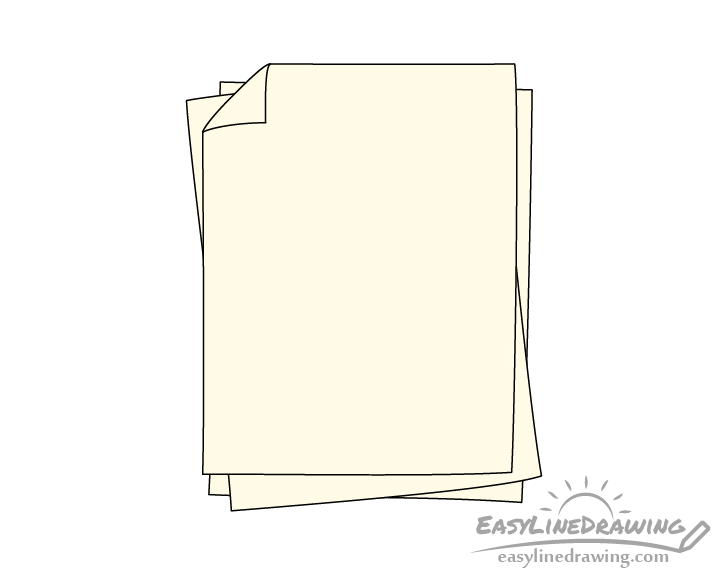
While paper is typically white, adding a light yellow hue can make it stand out when placed against a white background. You can use paints or colored pencils to achieve this effect. Alternatively, you can choose to color the background around the stack of paper, keeping the paper itself white. This option requires a bit more effort but can yield beautiful results.
Step 6: Adding Shading
To give your drawing more depth, add subtle shadows cast by the bent parts of the sheets. Follow the example and include a small shadow from the bent corner in the upper left, as well as a few more shadows from the slightly lifted corners in the bottom right. These delicate shading details will make your artwork appear less flat and more realistic.
Conclusion
Drawing sheets of paper with straight sides can be monotonous. By incorporating a slightly warped and bent appearance, your artwork can come to life with added interest. Don’t forget to include shading for that finishing touch. Enjoy the process and let your creativity flow!
If you enjoyed this tutorial, check out these other drawing guides:
- How to Draw a Paper Airplane Step by Step
- How to Draw a Pencil Step by Step
- How to Draw an Envelope Step by Step
- How to Draw a Picture Frame Step by Step
- How to Draw a Stamp Step by Step
Remember, if you’re looking for more artistic inspiration, visit Quill And Fox for a wide range of creative resources. Happy drawing!