Table of Contents
Are you looking for a fun and creative activity to do with your kids or friends? Learning how to fold a paper into a heart is a simple, yet satisfying activity that anyone can do. Whether you want to create a cute decoration or surprise someone with a heartfelt message, folding paper hearts is a perfect way to express your creativity and spread love.
In this step-by-step guide, we’ll show you how to create a basic paper heart and different variations of heart folding. With just a few folds, you’ll be able to create a beautiful and symmetrical heart that you can use for a range of creative purposes. So, grab your paper and let’s get started!
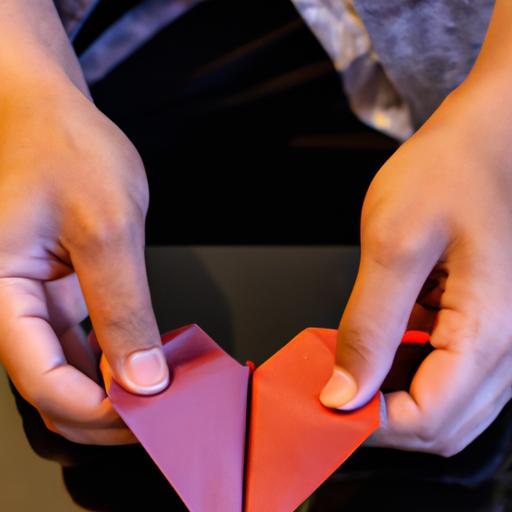
The basic fold is the foundation of all heart folding techniques. It’s a simple process that involves folding a square piece of paper in half diagonally to create a triangle. Then, you fold the bottom corners of the triangle up to the top point to create a smaller triangle. Finally, you fold the two sides of the triangle inwards to create the shape of a heart.
To start, take a square piece of paper and fold it in half diagonally to make a crease. Unfold the paper and fold it diagonally in the opposite direction, making another crease. Unfold the paper again, and you should see an “X” shape on your paper.
Next, take the bottom corner of the paper and fold it up to the top point, making a crease. Repeat this step with the other bottom corner of the paper. You should have a smaller triangle shape now.
Finally, take the two sides of the triangle and fold them inwards towards the center crease. You’ll see the shape of a heart take form. Adjust the folds until you have a symmetrical heart shape.
Congratulations! You have created a basic paper heart. You can use this as a starting point for more advanced heart folding techniques, or you can add decorations and accents to create a unique and personalized heart.
Creating the Heart Shape
Now that you’ve mastered the basic fold, it’s time to create the heart shape. To form the heart shape, take the two sides of the triangle and fold them inwards towards the center crease. Make sure the two sides meet at the center crease to form a sharp point at the bottom of the heart.
Next, fold the top point of the triangle down to the center crease. This will create the top of the heart. Adjust the folds as needed to create a symmetrical heart shape. You can also use a ruler to ensure that the sides of the heart are even.
If you want a more defined heart shape, you can use your fingernail or a bone folder to create a crease along the center of the heart. This will make the heart look more three-dimensional and defined.
Variations of Heart Folding
There are many variations of heart folding that you can try to create different styles and sizes of paper hearts. Here are some examples:
-
Origami Heart: Use origami paper to create a more intricate and detailed heart. There are many different origami heart designs to choose from, such as the crane heart or the double heart.
-
3D Heart: Create a three-dimensional heart by folding multiple hearts and gluing them together. You can also use different colors of paper to create a rainbow effect.
-
Heart Bookmarks: Fold a small heart and attach it to a strip of paper to create a cute and functional bookmark. You can also add decorations like beads or tassels to make it more unique.
-
Heart Envelopes: Fold a heart and use it to create an envelope for a special card or letter. You can also decorate the envelope with stickers or stamps to make it more personalized.
With these variations, you can create unique and beautiful paper hearts that can be used for a variety of purposes. Experiment with different colors and sizes of paper to create a collection of hearts that you can display or give as gifts.
Additional Tips and Tricks
If you’re feeling adventurous, there are a few alternative materials you can use to fold paper hearts. For example, you can use origami paper, which is thinner and easier to fold than regular paper. You can also use patterned or colored paper to add some extra flair to your hearts.
Once you’ve folded your paper heart, you can add decorations and accents to make it even more special. One simple way to do this is to write a message or draw a design on the heart. You can use markers, pens, or even paint to add color and personality to your heart. You can also attach small items like sequins, stickers, or ribbons to make your heart stand out.
Conclusion
In conclusion, folding a paper heart is a fun and easy activity that anyone can do. By following the simple steps outlined in this guide, you can create a beautiful and symmetrical heart that you can use for a range of creative purposes. We hope you enjoyed learning how to fold a paper into a heart and encourage you to practice and experiment with different designs.
Remember, folding paper hearts is not just a fun activity, it’s also a great way to show someone you care. Whether you’re making a Valentine’s Day card or just want to spread some love, a paper heart is a perfect way to express your feelings. So, grab some paper and start folding!