
How to Fold Paper Cranes: A Step-by-Step Guide
Table of Contents
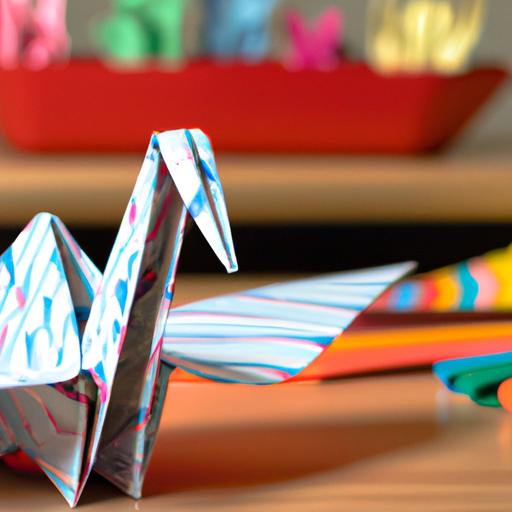
Origami is an ancient Japanese art form that involves folding paper into intricate designs. One of the most popular and well-known origami designs is the paper crane. Not only is it a beautiful creation, but it also holds significant cultural and historical importance. In this guide, we’ll show you how to fold paper cranes step-by-step.
Before we begin, let’s talk about the materials you’ll need to make your paper crane.
- Square paper: The paper should be thin and easy to fold. Origami paper is the best choice, but you can also use regular printer paper or construction paper.
- Scissors (optional): You’ll need scissors to cut your paper into a square if it’s not already square-shaped.
- A flat surface: A table or desk will work best.
- Patience and practice: Origami can be challenging, especially for beginners. Don’t worry if your first crane doesn’t turn out perfectly. Keep practicing, and you’ll soon be a pro.
Now that you have your materials ready, let’s get started with the basic folding techniques.
Step 1: Start with your paper square, with the colored side facing down. Fold the paper diagonally in half, crease it well, and then unfold it.
Step 2: Fold the paper diagonally in the opposite direction, crease it well, and then unfold it.
Step 3: Fold the paper horizontally, crease it well, and then unfold it.
Step 4: Fold the paper vertically, crease it well, and then unfold it.
Step 5: Fold the paper diagonally, bringing the top corner down to the bottom corner. Crease it well, and then unfold it.
Step 6: Fold the paper diagonally in the opposite direction, crease it well, and then unfold it.
Step 7: Push in the sides of the paper along the creases you made in steps 3 and 4, and flatten the paper.
Step 8: Fold the paper in half along the crease you made in step 1, and then fold it in half again along the crease you made in step 2.
Congratulations! You have now completed the base of your paper crane.
Now that you have the base of your paper crane, let’s move on to creating the wings and neck.
Step 1: Fold the top layer of the right side of the paper down to the center crease. Crease it well, and then repeat on the left side.
Step 2: Flip the paper over and repeat step 1 on the other side.
Step 3: Fold the top layer of the right side of the paper down to the bottom of the paper, creating a small triangle. Crease it well, and then repeat on the left side.
Step 4: Flip the paper over and repeat step 3 on the other side.
Step 5: Fold the top layer of the right side of the paper up to the top of the paper, creating a small triangle. Crease it well, and then repeat on the left side.
Step 6: Flip the paper over and repeat step 5 on the other side.
Step 7: Fold the top layer of the paper down, along the center crease. Crease it well, and then unfold it.
Congratulations! You have now completed the wings and neck of your paper crane.
Basic Folding Techniques

Now that you have completed the base of your paper crane, let’s dive deeper into the basic folding techniques.
Step 9: Fold the right side of the paper up, along the vertical crease. Crease it well, and then repeat on the left side.
Step 10: Fold the top layer of the right side of the paper to the center crease, and then repeat on the left side.
Step 11: Fold the paper in half, bringing the top edge down to the bottom edge. Crease it well, and then unfold it.
Step 12: Push the sides of the paper in, along the creases you made in step 9. Flatten the paper.
Step 13: Fold the top layer of the right side of the paper down to the bottom edge, creating a small triangle. Crease it well, and then repeat on the left side.
Step 14: Fold the paper in half, bringing the left edge over to the right edge. Crease it well, and then unfold it.
Step 15: Push the sides of the paper in, along the creases you made in step 10. Flatten the paper.
Congratulations! You have now completed the body of your paper crane.
Creating the Wings and Neck
Now that you have completed the body of your paper crane, let’s move on to creating the wings and neck.
Step 16: Hold the paper with the pointed end facing down. Fold the top layer of the right side of the paper up to the top point, and then repeat on the left side.
Step 17: Flip the paper over and repeat step 16 on the other side.
Step 18: Fold the top layer of the paper down, along the horizontal crease. Crease it well, and then unfold it.
Step 19: Take the top layer of the right side of the paper and fold it up to the top point, along the diagonal crease. Crease it well, and then repeat on the left side.
Step 20: Flip the paper over and repeat step 19 on the other side.
Step 21: Fold the top layer of the paper down, along the horizontal crease. Crease it well, and then unfold it.
Step 22: Fold the top layer of the paper up, along the diagonal crease, bringing the top point down to the horizontal crease. Crease it well, and then repeat on the other side.
Congratulations! You have now completed the wings and neck of your paper crane. To make your crane more symmetrical, you can adjust the wings and neck by gently pulling or pushing them into place.
Finishing Touches
You’re almost done with your paper crane! Now it’s time to add the finishing touches.
Step 1: Fold the top layer of the paper down, along the center crease. Crease it well, and then unfold it.
Step 2: Gently push in the sides of the paper, along the creases you made in step 7 of the basic folding techniques.
Step 3: Fold the top layer of the right side of the paper up, along the crease you made in step 5 of creating the wings and neck. Crease it well, and then repeat on the left side.
Step 4: Flip the paper over and repeat step 3 on the other side.
Step 5: Gently pull the wings down and away from the body of the crane, creating a 3D effect.
Step 6: Fold the top layer of the paper down, along the crease you made in step 1 of creating the wings and neck. Crease it well, and then flip the paper over.
Step 7: Repeat step 6 on the other side.
Congratulations! You have now completed your paper crane.
Conclusion
In conclusion, folding a paper crane is a beautiful and rewarding experience. While it may take some practice to perfect your technique, the end result is worth it. Remember to be patient with yourself, and don’t be afraid to experiment with different paper sizes and colors.
By following this step-by-step guide, you now have the skills to fold a paper crane. Use your new knowledge to create beautiful origami creations and share them with your friends and family. Happy folding!