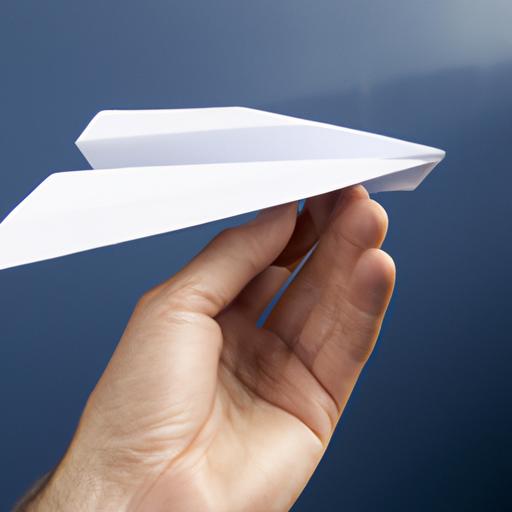
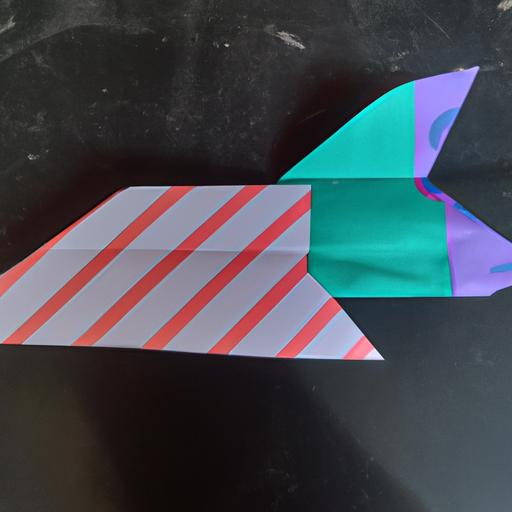
How to Make a Paper Plane: The Ultimate Guide
Table of Contents
Are you looking for a fun and easy DIY activity to do with your kids or friends? Making a paper plane is the perfect solution! Not only is it a fantastic way to bond with loved ones, but it also promotes creativity and imagination.
In this ultimate guide, we will provide step-by-step instructions on how to create the perfect paper plane. We’ll also offer tips on how to make more advanced designs and troubleshoot common problems. So, grab your paper and let’s get started!
Materials Needed to Make a Paper Plane

Before we begin, let’s make sure you have all the necessary materials. First, choose the type of paper you want to use. While any paper will work, we recommend using lightweight paper, such as printer paper, for easier folding.
Next, get a pair of scissors and a ruler. These tools will help you make precise cuts and folds, resulting in a well-crafted paper plane.
Once you have all the materials, it’s time to move on to the next section and start making your paper plane!
Basic Paper Plane Design
Now that you have your materials ready, let’s start with the basic paper plane design. Follow these step-by-step instructions to make your very own paper plane:
-
Take your paper and fold it in half horizontally, creasing it well.
-
Unfold the paper and fold the top corners down to the center crease, forming two triangles.
-
Fold the top edges down again to make a point at the top of the paper, meeting at the center crease.
-
Fold the paper in half along the center crease, with the folded edges on the outside.
-
Fold the wings down from the body of the plane, making sure they’re even and straight.
-
Adjust the wings as needed to make sure they’re symmetrical and the plane is balanced.
Congratulations, you’ve now made a basic paper plane! To make the plane fly better, here are some tips for folding:
- Make sure all creases are crisp and sharp.
- When folding, apply pressure with your fingers to ensure a secure fold.
- Use a ruler to make precise folds.
- Make sure the wings are even and symmetrical for optimal flight.
Advanced Paper Plane Designs
If you’re feeling adventurous and want to try more complex designs, here are some advanced paper plane designs to try:
The Hammer
The Hammer is a fast and long-flying plane that’s perfect for outdoor flight. Here’s how to fold it:
-
Fold the paper in half horizontally, creasing it well.
-
Unfold the paper and fold the top corners down to the center crease, forming two triangles.
-
Fold the top edges down again to make a point at the top of the paper, meeting at the center crease.
-
Fold the paper in half along the center crease, with the folded edges on the outside.
-
Fold the wings down from the body of the plane, making sure they’re even and straight.
-
Fold the wingtips up to make a small triangle at the end of each wing.
-
Fold the top corners of the body down to the center crease, forming a diamond shape.
-
Fold the sides of the diamond in to form a small triangle.
-
Fold the plane in half along the center crease, with the folded edges on the outside.
-
Fold the wings down from the body of the plane, making sure they’re even and straight.
-
Adjust the wings as needed to make sure they’re symmetrical and the plane is balanced.
The Boomerang
The Boomerang is a unique design that actually comes back to you when thrown correctly. Here’s how to fold it:
-
Fold the paper in half horizontally, creasing it well.
-
Unfold the paper and fold the top corners down to the center crease, forming two triangles.
-
Fold the top edges down again to make a point at the top of the paper, meeting at the center crease.
-
Fold the paper in half along the center crease, with the folded edges on the outside.
-
Fold the wings down from the body of the plane, making sure they’re even and straight.
-
Fold the wingtips up to make a small triangle at the end of each wing.
-
Fold the plane in half along the center crease, with the folded edges on the outside.
-
Fold the wings up, making a crease about a third of the way down the length of the plane.
-
Fold the wings down again, making a crease about halfway between the first crease and the body of the plane.
-
Adjust the wings as needed to make sure they’re symmetrical and the plane is balanced.
Now that you know how to make advanced paper planes, it’s time to test them out and see which one flies the farthest!
Tips for Flying Paper Planes
Now that you’ve learned how to make a paper plane, it’s time to take it to the skies! Here are some tips for flying your paper plane:
Optimal Flying Conditions
For the best results, fly your paper plane in a large, open space, such as a park or a gymnasium. Avoid flying your paper plane in windy or rainy conditions, as these can affect its flight path.
Techniques for Throwing a Paper Plane
To achieve the longest flight possible, hold the paper plane at the bottom of the fuselage (the part of the plane that connects the wings) and throw it in a straight line, parallel to the ground. Aim to throw the paper plane at a moderate speed and with a gentle flick of the wrist.
Troubleshooting Common Problems
If your paper plane isn’t flying as well as you’d like, there are a few things you can do. First, check that the wings are level and symmetrical. If not, adjust them accordingly. You can also experiment with different wing angles and paper weights to find the best combination for your paper plane.
Conclusion
Congratulations! You’ve learned how to make a paper plane from scratch and how to fly it like a pro. With a little practice and experimentation, you can create all sorts of unique paper plane designs and impress your friends and family. So, grab some paper and get folding – the sky’s the limit!

