Table of Contents
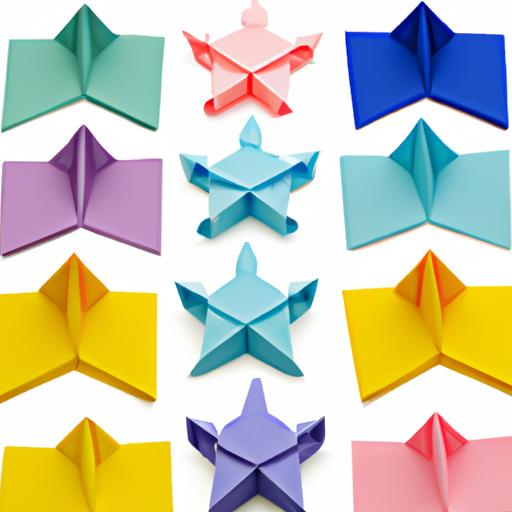
If you’re a fan of Japanese culture or just love martial arts movies, chances are you’ve seen a suriken in action. This iconic weapon has been used for centuries by ninjas and samurais for close combat and throwing. Surikens come in different shapes and sizes, but one of the most popular and easiest to make is the paper suriken.
In this article, we’ll show you how to make a paper suriken using simple materials that you probably have at home. This DIY project is perfect for anyone who wants to learn a new skill, impress their friends, or just have fun.
Materials Needed
Before we dive into the steps, let’s take a look at the materials you’ll need to make a paper suriken:
- 2 sheets of square paper (8×8 inches or 20×20 cm)
- Scissors
- Ruler
- Pencil
- Glue or tape (optional)
The first sheet of paper will be used to create the suriken’s body, while the second sheet will be used to make the blades. You can use any color or patterned paper for a personalized touch. However, we recommend using thin paper like origami paper for an easier folding process.
Once you have all the materials, you’re ready to start making your paper suriken. Follow the steps below to create your own ninja weapon.
Preparation
Before we start folding, it’s important to prepare the materials and the workspace. Make sure you have a clean and flat surface to work on. Place the paper sheets, ruler, pencil, and scissors within reach. If you’re using glue or tape, have them ready as well.
Next, measure and cut the paper sheets into two equal squares. If you’re using 8×8 inches paper, you can simply fold the paper in half and cut along the crease. Now you should have four square pieces of paper.
Once everything is ready, we can start creating the paper suriken.
Step-by-Step Instructions
-
Take one sheet of paper and fold it diagonally in half to create a triangle. Crease the folds well and then unfold.
-
Fold the paper in half again, this time along the other diagonal. Crease the folds well and then unfold.
-
Fold the four corners of the paper towards the center, making sure the edges align with the diagonal creases. Crease the folds well.
-
Flip the paper over and fold the corners towards the center again. Crease the folds well.
-
Fold the paper in half, bringing the two opposite corners together. Crease the fold well.
-
Take the second sheet of paper and fold it diagonally in half to create a triangle. Crease the folds well and then unfold.
-
Fold the paper in half again, this time along the other diagonal. Crease the folds well and then unfold.
-
Cut along the diagonal creases to create four equal triangles.
-
Take one of the triangles and fold it in half to create a smaller triangle. Crease the fold well and then unfold.
-
Fold the two corners of the triangle towards the center, making sure the edges align with the crease. Crease the folds well.
-
Repeat the previous step for the other two corners of the triangle. Crease the folds well.
-
Repeat steps 9-11 for the other three triangles.
-
Take the folded paper from step 5 and insert one of the folded triangles between the two layers of paper. Make sure the triangle’s tip is facing towards the center of the suriken.
-
Repeat step 13 for the other three folded triangles, inserting them between the layers of paper.
-
Your paper suriken is now complete! You can use glue or tape to secure the layers of paper together if you want.
Congratulations! You’ve just created your own paper suriken. Practice throwing it and impress your friends with your ninja skills.
Tips and Tricks
Making a paper suriken might seem intimidating, but with a few tips and tricks, you’ll be a pro in no time. Here are some helpful tips to make the process easier:
- Use thin paper: As mentioned earlier, using thin paper like origami paper will make the folding process smoother and easier.
- Be precise: Accurate measurements and folds are essential to create a well-balanced suriken. Use a ruler and a pencil to make precise marks and folds.
- Practice makes perfect: Don’t worry if your first attempt doesn’t turn out perfectly. Keep practicing and refining your technique until you get it right.
- Customize your suriken: Once you master the basic suriken, try experimenting with different colors, patterns, and sizes to create your unique designs.
On the other hand, here are some common mistakes to avoid:
- Using thick paper: Thick paper is harder to fold and will create a bulky and unbalanced suriken.
- Rushing the process: Take your time and follow each step carefully. Rushing the process can lead to mistakes and an uneven suriken.
- Skipping steps: Each step builds upon the previous one, so make sure you complete each step before moving on to the next one.
- Overusing glue or tape: While glue or tape can help secure the suriken’s blades, overusing them can make the suriken too heavy and difficult to throw.
Conclusion
Congratulations! You’ve just learned how to make a paper suriken. With just a few pieces of paper and some basic tools, you can create your own ninja weapon in no time. Remember to follow each step carefully, be precise, and have fun.
Making a paper suriken is not only a fun DIY project, but it’s also a great way to improve your dexterity and patience. Plus, you’ll have a cool new decoration or toy to show off to your friends and family.
So what are you waiting for? Grab some paper and start folding your very own paper suriken today!