
How to Make Paper Beads: A Complete Guide
Table of Contents
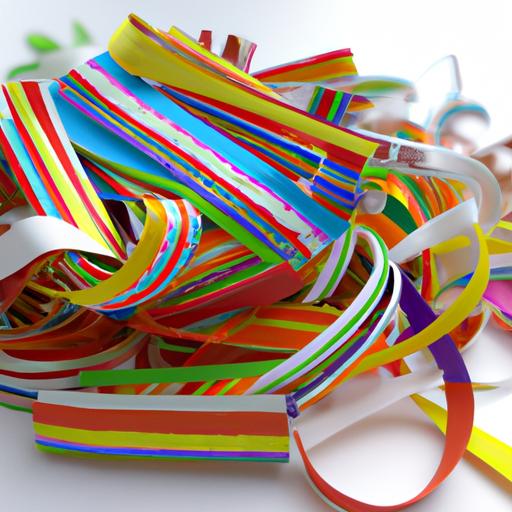
Are you looking for an easy and affordable way to create unique jewelry pieces? Look no further than paper beads! Not only are they eco-friendly and budget-friendly, but they also offer endless possibilities for colors, shapes, and designs.
In this guide, we’ll show you how to make paper beads step by step. Whether you’re a beginner or an experienced crafter, you’ll find all the information you need to create stunning paper bead jewelry.
Materials Needed for Making Paper Beads
Before we dive into the process, let’s take a look at the materials you’ll need to make paper beads. Luckily, you probably already have most of these items at home:
- Paper: You can use any type of paper, from scrapbook paper to magazine pages to wrapping paper. Thicker paper will result in sturdier beads, while thinner paper will create more delicate beads. Experiment with different types to see what you like best.
- Ruler: You’ll need a ruler to measure and cut your paper strips to the desired width.
- Scissors: A good pair of scissors will make cutting your paper strips much easier.
- Glue: You’ll need some type of glue to hold your paper strips together. A glue stick or white glue will work well.
- Toothpick or bamboo skewer: You’ll use this to roll your paper strips into beads.
- Mod Podge (optional): If you want to make your beads more durable and water-resistant, you can coat them with Mod Podge or a similar sealer.
Cutting Paper Strips for the Beads
The first step in making paper beads is to cut your paper into strips. The width of the strips will determine the size of your beads. You can experiment with different widths to create different shapes and sizes of beads.
To make a basic cylindrical bead, cut your paper into strips that are around 1 inch wide and 8 inches long. You can adjust the length depending on how long you want your beads to be.
Using a ruler and scissors, cut your paper into strips with straight, even edges. You can also use a paper cutter or a craft knife if you have one.
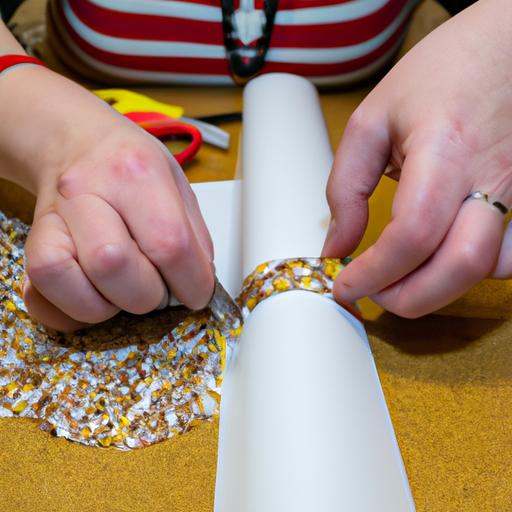
Rolling the Paper Strips to Form Beads
Once you have your paper strips cut, it’s time to start rolling them into beads. This is where the toothpick or bamboo skewer comes in.
Take one end of your paper strip and wrap it tightly around the toothpick or skewer. As you roll, apply a small amount of glue to the paper strip to hold it in place. Continue rolling until you reach the end of the strip.
Once you’ve rolled the entire strip, apply a small amount of glue to the end of the paper and press it down to secure the bead in place. Carefully slide the bead off the toothpick or skewer and set it aside to dry.
Repeat this process for as many beads as you need. You can experiment with different shapes and sizes by varying the width and length of your paper strips. Once you’ve made a few basic cylindrical beads, try making some tapered, conical, or even square-shaped beads for added variety.
Next, let’s take a look at how to coat your paper beads for added durability.
Coating the Paper Beads for Durability
Once you’ve rolled all of your paper strips into beads, you may want to coat them with a sealer to make them more durable and water-resistant. One popular option is Mod Podge, which is a glue, sealer, and finish all in one. To use Mod Podge, simply brush a thin coat onto each bead and let it dry completely. You can add additional coats for extra durability.
Another option is to use a clear spray sealer, such as Krylon Crystal Clear. Simply place your beads on a piece of cardboard or paper and spray them lightly with the sealer. Be sure to let them dry completely before handling.
Using the Paper Beads for Jewelry-Making or Other Crafts
Now that you’ve created your own paper beads, the possibilities for using them are endless! Here are a few ideas to get you started:
- String them onto elastic cord or beading wire to create bracelets, necklaces, or earrings.
- Mix and match different sizes, shapes, and colors of paper beads for a unique look.
- Use them to create embellishments for scrapbook pages, cards, or other paper crafts.
- Glue them onto a picture frame or other home decor item for a pop of color and texture.
- Give them as gifts to friends and family, or sell them at craft fairs or online marketplaces.
With a little creativity, you’ll find that paper beads can be a versatile and fun addition to your crafting repertoire. So grab some paper and get rolling!
Conclusion
Making paper beads is a simple and enjoyable craft that anyone can do. With just a few basic materials and some creativity, you can create beautiful and unique jewelry pieces, home decor items, and more. So why not give it a try? The possibilities are endless, and you may just discover a new favorite hobby. Happy crafting!