
How to Make Paper Planes: The Ultimate Guide
Table of Contents
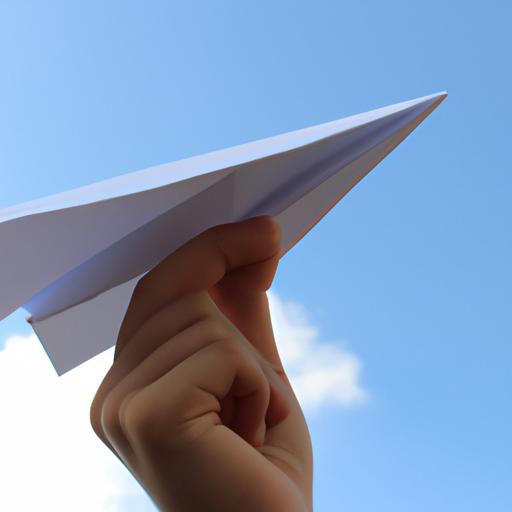
Are you looking for a fun and creative activity to do with your family or friends? Making paper planes is a classic pastime that has been enjoyed by generations. Not only is it an entertaining activity, but it also helps develop hand-eye coordination and spatial awareness skills.
In this ultimate guide, we will walk you through the process of making paper planes from start to finish. You’ll learn about the different types of paper planes, the materials needed, step-by-step instructions, and even how to decorate and personalize your paper planes. So, grab some paper and let’s get started!
Types of Paper Planes
Before we dive into making paper planes, it’s essential to understand the different types of paper planes. There are three main types of paper planes: basic, intermediate, and advanced.
Basic Paper Plane
The basic paper plane is the simplest type, and it’s perfect for beginners. To make a basic paper plane, you only need a sheet of paper, and it only takes a few folds to create. The basic paper plane flies straight and is easy to control.
Intermediate Paper Plane
The intermediate paper plane is a bit more complex than the basic paper plane. It requires more folds and attention to detail, but it’s still simple enough for beginners to make. The intermediate paper plane can perform a few tricks, such as loops and flips.
Stay tuned for the next two sections, where we will discuss the materials needed and step-by-step instructions for making paper planes.
Materials Needed
To make paper planes, you need some basic materials. Here’s a list of the materials you’ll need:
Types of Paper to Use
The type of paper you use can significantly affect the performance of your paper plane. Here are the types of paper you can use:
-
Printer paper: This is the most common type of paper used to make paper planes. It’s lightweight and easy to fold, making it perfect for beginners.
-
Origami paper: This type of paper is thin, crisp, and comes in various colors and patterns. It’s perfect for making more intricate designs and adding more details to your paper planes.
-
Construction paper: This type of paper is thicker and sturdier than printer paper. It’s ideal for making larger paper planes that can withstand more force and fly longer distances.
Additional Materials
Aside from paper, you may also need additional materials to make the perfect paper plane. Here are some of the essential tools you might need:
-
Ruler: A ruler is useful for making precise folds in your paper.
-
Scissors: You’ll need scissors to cut the paper to the correct size or shape.
-
Tape: Tape can be used to reinforce the folds and keep the paper plane together.
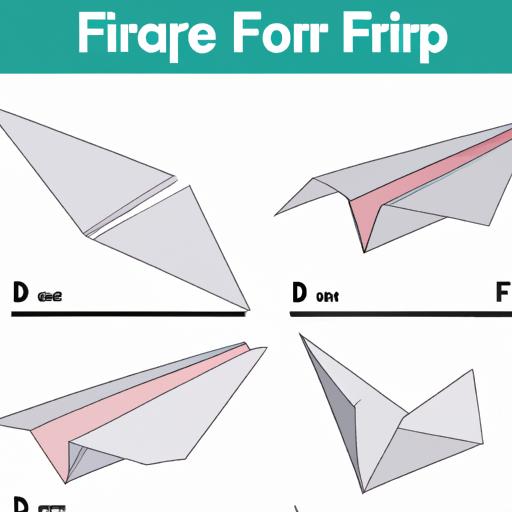
Step-by-Step Guide on Making Paper Planes
Now that you have your materials ready, it’s time to make your paper planes. Here’s a step-by-step guide on making each type of paper plane:
Basic Paper Plane
- Start with a rectangular sheet of paper.
- Fold the paper in half lengthwise and then unfold it.
- Fold the top corners down to the center crease, forming a triangle at the top.
- Fold the top edge down to the bottom edge, creating a smaller triangle at the top.
- Fold the wings down along the bottom edge of the paper.
- Fold the wings down again, this time creating a small triangle at the base of the wings.
- Fold the paper in half along the center crease.
- Make a small fold at the bottom of the wings to create the flaps.
- Your basic paper plane is now ready to fly!
Intermediate Paper Plane
- Start with a rectangular sheet of paper.
- Fold the paper in half lengthwise and then unfold it.
- Fold the top corners down to the center crease, forming a triangle at the top.
- Fold the top edge down to the bottom edge, creating a smaller triangle at the top.
- Fold the top corners down to the center crease again, forming two smaller triangles.
- Fold the wings down along the bottom edge of the paper.
- Fold the wings down again, this time creating a small triangle at the base of the wings.
- Fold the paper in half along the center crease.
- Make a small fold at the bottom of the wings to create the flaps.
- Your intermediate paper plane is now ready to fly!
Stay tuned for the next section, where we will discuss tips and tricks for successful paper plane making.
Decoration and Customization
Once you’ve mastered the art of making paper planes, you can take it to the next level and decorate and personalize your creations. Adding designs and patterns can make your paper planes stand out, and personalizing them can make them unique to you.
To add designs and patterns, you can use markers, colored pencils, or even paint. You can draw anything you like, such as your favorite sports team logo or a cool design. Personalizing your paper planes can be as simple as writing your name on them or creating a special message.
Conclusion
In conclusion, making paper planes is not only a fun activity, but it also has many benefits. It can help develop hand-eye coordination and spatial awareness skills, and it’s a great way to spend time with family and friends. Plus, it’s a low-cost activity that only requires a few materials.
We encourage you to continue exploring the world of paper planes and trying out new designs and patterns. You never know what kind of cool paper planes you’ll come up with! So, grab some paper and start folding – the sky’s the limit!