
Materials Required
To use stencil paper effectively, you will need specific materials that are essential for the process. Here are some of the necessary materials:
-
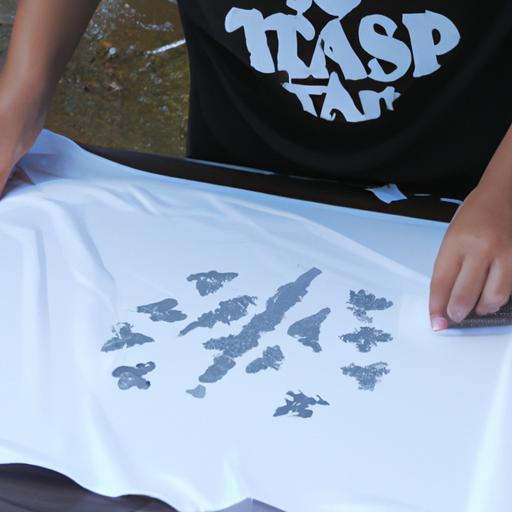
Stencil Paper: This is the primary material required to use stencil paper. You can purchase stencil paper at any art store or online. There are various types of stencil paper available, such as thermal, transfer, and carbon-based stencil paper. Each type has its unique characteristics and uses.
-
Tracing Paper: Tracing paper is used to transfer the stencil design onto the stencil paper. It is essential to use high-quality tracing paper to ensure that the design is transferred accurately.
-
Pen or Pencil: You will need a pen or pencil to trace the design onto the tracing paper. It is recommended to use a fine-tip pen or pencil to ensure that the design is precise.
-
Scissors: Scissors are required to cut the stencil paper to the desired size and shape.
-
Adhesive: Adhesive is used to stick the stencil paper onto the skin. You can use a stencil adhesive spray or a stencil transfer gel.
Steps to Use Stencil Paper
Using stencil paper may seem complicated, but it is a simple process that can be done with ease if you follow the steps correctly. Here is a step-by-step guide on how to use stencil paper:
Step 1: Choose a Design
Choose the design that you want to use for the stencil. You can either create your design or use an existing one.
Step 2: Trace the Design
Trace the design onto the tracing paper using a pen or pencil. Make sure that the tracing is accurate and precise.
Step 3: Cut the Stencil Paper
Cut the stencil paper to the desired size and shape. It is essential to ensure that the stencil paper is slightly larger than the design.
Step 4: Apply Adhesive
Apply the adhesive to the skin where you want to place the stencil. You can use a stencil adhesive spray or a stencil transfer gel.
Step 5: Apply the Stencil
Place the stencil paper onto the skin with the design facing down. Press the stencil paper firmly onto the skin to ensure that it sticks.
Step 6: Remove the Stencil
Peel off the stencil paper carefully to reveal the design on the skin.
Step 7: Trace the Design
Trace the design onto the skin using a pen or tattoo ink. Make sure that the tracing is accurate and precise.
By following these steps, you can use stencil paper to create beautiful and intricate designs on the skin.
Tips and Tricks
Using stencil paper can be tricky, but there are some tips and tricks that can make the process easier. Here are some tips to help you use stencil paper like a pro:
-
Use a light source – It can be challenging to see through the stencil paper, especially if you’re working in a dimly lit area. To make the process easier, use a light source like a lamp or a lightbox. This will help you see the design clearly and ensure that you’re cutting or tracing in the right places.
-
Choose the right cutting tool – The cutting tool you use can make a big difference in the quality of your stencil. Choose a sharp blade or a precision cutting tool like an X-Acto knife. This will make it easier to cut through the stencil paper cleanly and accurately.
-
Use a spray adhesive – If you’re using stencil paper on a curved surface like a mug or a vase, it can be challenging to get the stencil to stick in place. To make it easier, use a spray adhesive to attach the stencil to the surface. This will help ensure that the stencil stays in place while you work.
Tricks to make the stencil last longer
If you’re using stencil paper, you want to make sure that the stencil lasts as long as possible. Here are some tricks to help you extend the life of your stencil:
-
Use a heavier weight paper – Stencil paper comes in various weights, and using a heavier weight paper can help make your stencil more durable. Thicker paper is less likely to tear or become damaged during use, which means your stencil will last longer.
-
Clean the stencil after use – After using the stencil, clean it thoroughly to remove any excess paint or adhesive. This will help prevent the stencil from becoming damaged or clogged with paint, which can reduce its lifespan.
-
Store the stencil correctly – Storing the stencil correctly can also help extend its lifespan. Keep the stencil in a dry, cool place, and avoid folding or creasing it. You can also use a plastic sleeve or a protective cover to keep the stencil safe during storage.
Conclusion
In conclusion, using stencil paper is an excellent way to create precise designs for a wide range of art projects. Whether you’re using it for painting, etching, or engraving, stencil paper can help you achieve professional-looking results.
When using stencil paper, it’s essential to choose the right type and weight of paper and use the correct cutting tool. Using a light source and a spray adhesive can also make the process easier.
To extend the lifespan of your stencil, clean it after use, store it correctly, and choose a heavier weight paper. By following these tips and tricks, you can create beautiful, long-lasting designs with stencil paper.