
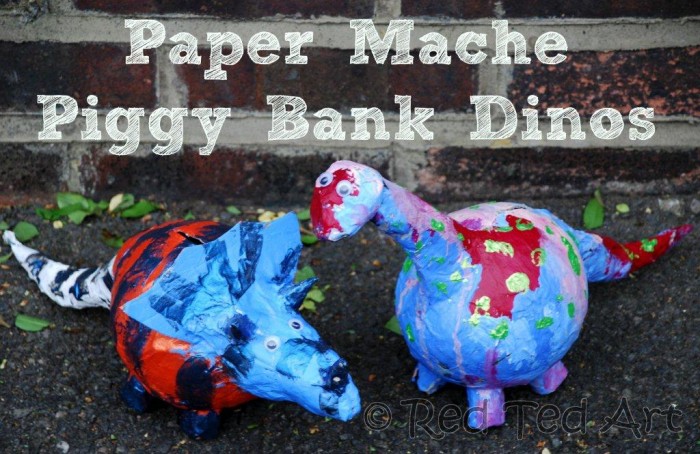
Making Paper Mache Dinosaur Piggy Banks: A Fun and Safe Craft for Kids
Table of Contents
Are your kids obsessed with piggy banks? Do they constantly play with fragile ceramic ones, causing you to worry about breakage? If so, we have the perfect solution for you! Get ready to embark on a fantastic crafting adventure with your little ones as we create adorable paper mache dinosaur piggy banks! Not only are they safer, but they also provide hours of entertainment and artistic expression.
Crafting Tips for Success
Give Yourself Time
Before diving into this project, it is important to note that paper mache requires time and patience. Unlike quick craft activities, this one will take at least two days, with ample drying time in between. For more ambitious creations, like our dinosaurs, consider dedicating two separate days to paper mache and one day for painting. Trust us, the end results will be worth the extra effort!
Don’t Rush the Drying Process
One common mistake in paper mache is rushing the drying process. To avoid disappointment, ensure that your creation dries gradually. Avoid placing your paper-mached balloon near a radiator or other heat sources, as this can cause the balloon inside to contract before the mache is fully dry, resulting in a crumpled masterpiece. Simply hang up your creation and exercise patience by waiting a day or two for it to dry completely.
Materials You’ll Need
- Homemade paper mache paste
- Newspapers
- Balloon
- Piece of card (for the triceratops)
- Paint (acrylic or ordinary poster paint)
- Varnish (optional, for a glossy finish)
Easy Paper Mache Paste:
- 1 part flour, 2 parts water – mix
- Place in the microwave and blast at full power for 40 seconds. Stir. Repeat. Stir. Repeat until you have a nice thick paste.
- Remove any lumps for a smoother consistency.
Let’s Get Crafty!
-
Tear newspaper into different-sized strips. Larger strips cover areas quickly, while smaller ones are perfect for finishing touches.
-
Blow up a balloon to your desired size. We recommend keeping it reasonably small to avoid giant dino piggy banks that take up too much space. Cover the balloon with approximately 3-4 layers of paper, generously applying the paper mache paste between each layer. Smooth the paste down to create an even surface.
-
Hang your paper mache creation to dry completely. Be patient and resist the urge to rush this crucial step.

-
While your balloon dries, create the dinosaur heads. For the apatosaurus head, start by making a ball out of newspaper. Then, shape a long neck by scrunching up more newspaper. Dip a long strip of newspaper in the paper mache paste and wrap it around the neck, smoothing as you go. Add more paper mache strips to create strength and shape. Connect the head to the neck using another long strip of newspaper. Don’t forget to reinforce the head and neck area with additional pieces. Let everything dry completely.
-
Once your balloons and heads are fully dry, it’s time to make the feet. Roll up newspaper strips and fill them with more scrunched-up newspaper. Apply plenty of paste to hold everything together. Create four feet for each dinosaur. Arrange the legs on a table and place the balloon on top to find the perfect position for the feet. Attach them using small strips of newspaper and paste, making sure they are securely fastened. Crisscross the strips for added stability.
-
Attach the apatosaurus head using more strips and paste. For the triceratops, follow the same steps, but use a piece of card for the brow. See image for reference. Secure all the elements with newspaper strips and paste. Shape and smooth as you go along. Create three little cones for horns and attach them as well.
-
Allow everything to dry completely once again.

-
Finally, it’s time for the most exciting part – painting! Let your kids unleash their creativity and have fun painting the dinosaurs. You can use acrylic paint or ordinary poster paint. Once the first layer is dry, they can add spots and stripes for a more customized look.
-
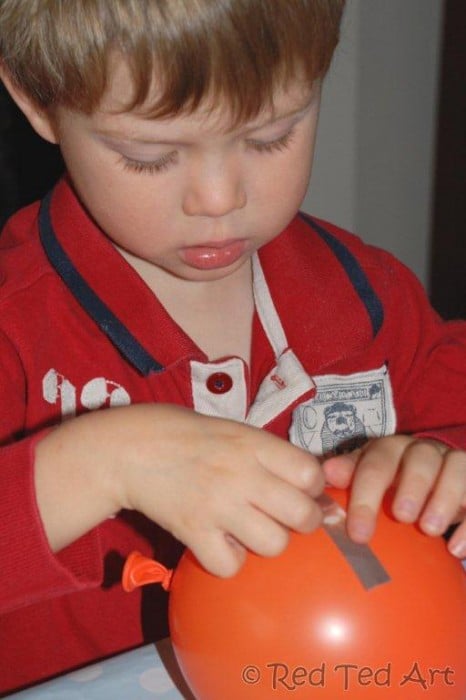
To complete your paper mache dinosaur piggy banks, add googly eyes for a touch of personality. Don’t forget to cut slits for the money to go in. Ta-da! You’ve successfully created unique and sturdy piggy banks that your kids will cherish.
Discover More Dinosaur Crafts for Preschoolers
If your little ones can’t get enough of all things dinosaur-related, we have plenty more adorable crafts to keep them entertained. Check out our website for more fun and educational activities.
So, grab your supplies, gather the kids, and let the paper mache adventure begin! Get ready for a delightful crafting experience that combines creativity, learning, and loads of fun.