Table of Contents
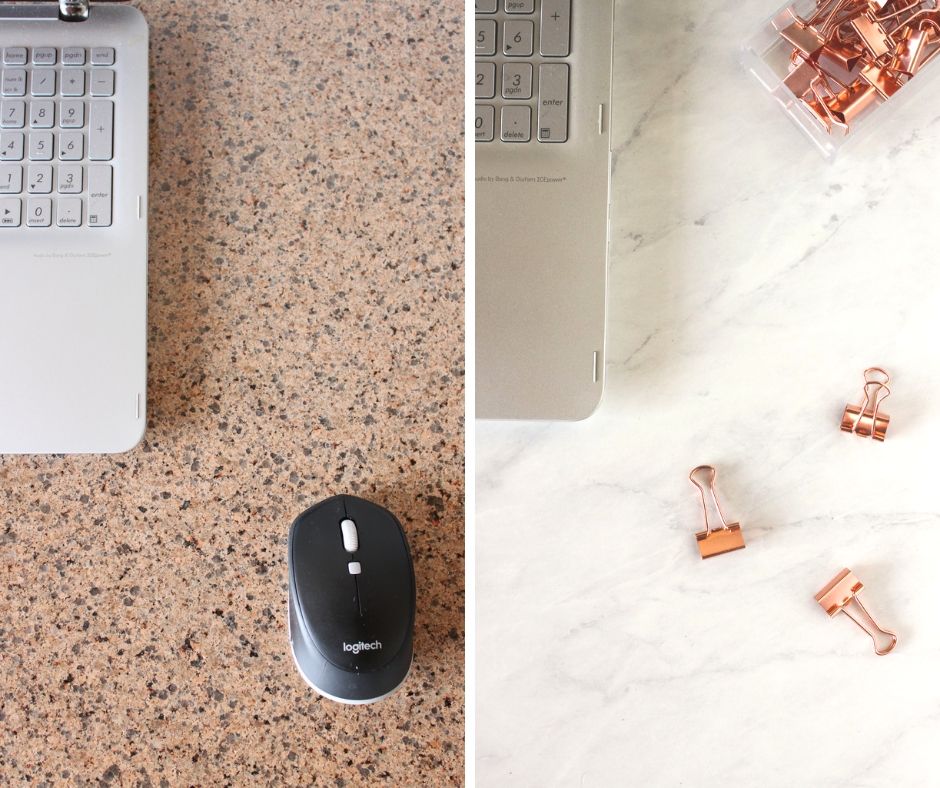
Have you ever wanted to give your desk a fresh new look? Well, earlier this year, I decided to do just that by upgrading my desktop with marble contact paper. I absolutely love the elegant and luxurious look of marble, and the orangey granite surface of my desk just wasn’t cutting it for me. If you’re looking for a budget-friendly way to add some glam to your countertops, whether it’s in the kitchen, bathroom, shelves, tables, cabinets, or even storage boxes, marble contact paper is the answer. Plus, it’s a great option for renters since it can be easily removed at any time.

Now, let’s get into the details of how to apply marble contact paper and transform your desk into a stylish masterpiece.
How to Apply Marble Contact Paper
To achieve a flawless and professional finish, you’ll need a few materials in addition to the marble contact paper. Gather the following items:
Materials:
- Marble Contact paper
- Microfiber cloth or soft rag
- X-Acto knife (or scissors if you prefer)
- Ruler
- Pencil
- Pin (in case of bubbles)
- Cutting mat (optional but recommended, especially if using an X-Acto knife or similar blade)
- Old credit and bank card (optional, needed to smooth out any bubbles)
Now that you have everything you need, let’s dive into the step-by-step process:
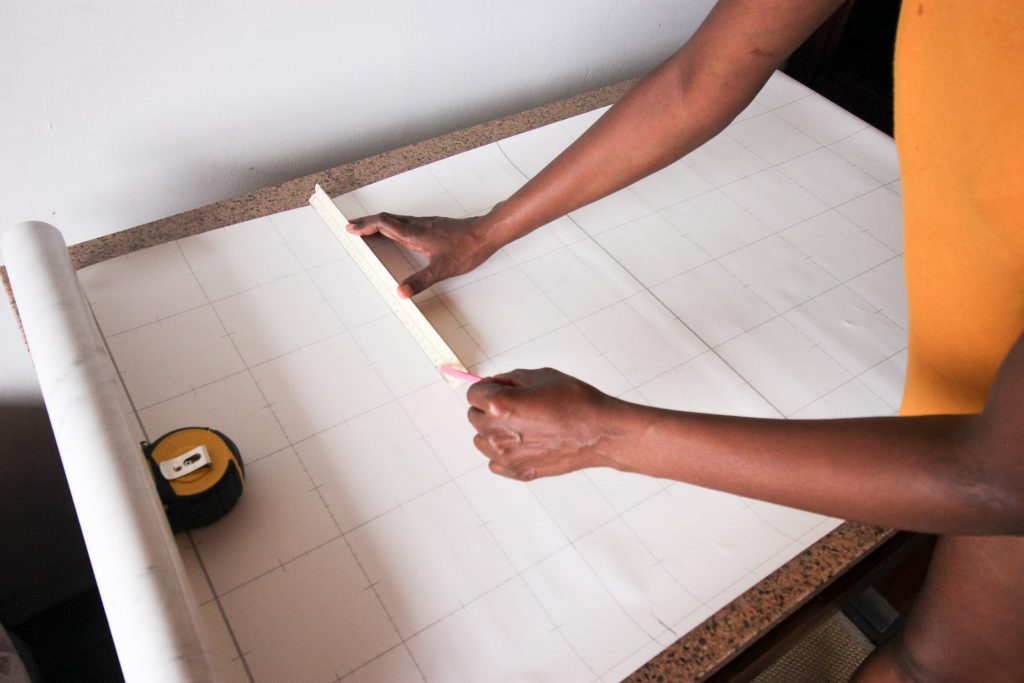
- Spread the contact paper across the surface area to determine how much you’ll need. Make sure to add a few extra inches to each edge to wrap the paper around the side and underside of the desktop.
-
Wipe the surface area with a slightly damp microfiber cloth to ensure it’s free from dust and lint, and let it dry.
-
Draw a light pencil line on the backside of the paper where you need to cut.
-
Using the X-Acto knife (or scissors), cut the paper to the desired size and set it aside.
-
Next, peel back a small section of the paper at a time. For larger surfaces like a desk, peel back about 4-5 inches across the length of the roll. Take your time and be patient when aligning the paper for a seamless application.
-
Begin sticking the paper to your desktop, starting from one end and slowly working your way across, using a ruler wrapped in a microfiber cloth to smooth it out and remove any air bubbles.
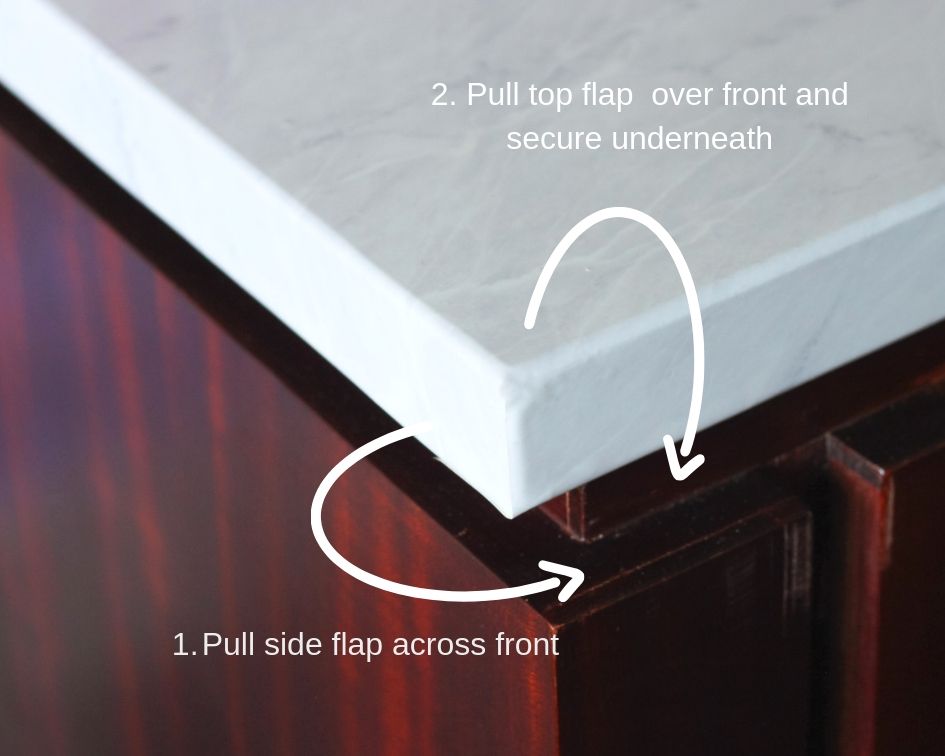
- For corners, snip the corner of the paper to match the seam or corner of the desktop. You want to have two separate flaps instead of one continuous piece. Stick the side flap across and then pull the top flap over it and tuck it underneath the desktop.
- If you’re working with a rounded edge, you can use a blow dryer to heat the paper and make it more pliable and stretchy. Pull the paper down, smoothing out the seams as you go along. Secure it underneath as mentioned earlier.
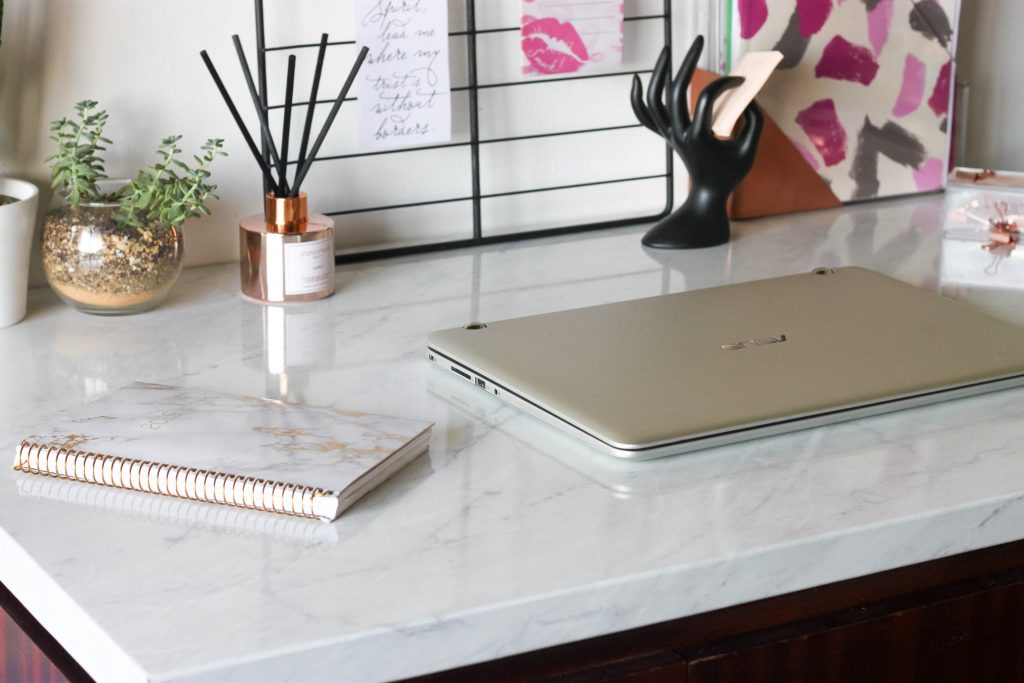
Once you’ve finished applying the contact paper, take a step back and admire your handiwork. It’s incredible how this simple upgrade can completely transform the look and feel of your desk.
Tips for Using and Protecting the Marble Contact Paper
To ensure that your faux marble counter or desktop lasts for a long time, here are a few tips for using and caring for your newly upgraded surface:
- Avoid placing hot items directly on the contact paper to prevent any damage. It’s always a good idea to use a coaster for hot drinks.
- Refrain from using abrasive cleaners on the contact paper, as it may scratch and dull the surface. A mild soap and water solution should be sufficient for cleaning.
- For regular maintenance, simply wipe the surface with a damp microfiber cloth (no soap required) to keep it clean and looking its best.
- Lastly, be mindful of using sharp objects directly on the contact paper, as it can be sliced just like any other contact paper.
Ready to give your desk a stunning makeover? Let me know in the comments what you’re planning to use the marble contact paper on. If you have any questions, feel free to ask. And don’t forget to check out Quill And Fox for more inspiration and fabulous products.
Related articles:
Now go ahead and show off your beautiful new desk to the world!