
Create Stunning Giant Paper Flowers Easily!
Table of Contents
Make these stunning giant paper flowers using our easy-to-follow template! Whether you prefer to hand-cut or use an electronic cutter like Cricut or Silhouette, we have you covered. These beautiful flowers are perfect for backdrops, home decor, and party decorations.
Tissue paper flowers have always been a popular choice for party decorations, but we’ve taken it to the next level with large cardstock flowers. While tissue paper flowers are quick and inexpensive, cardstock flowers make a lasting impression and hold up better over time.
Not only are these DIY paper flowers great for weddings and baby showers, but they also add a touch of charm to nurseries and kids’ rooms. Plus, if you hang multiple flowers together, you can create stunning backdrops for photo booths.
The Best Paper for Large Paper Flowers
Choosing the right paper is crucial for creating beautiful giant paper flowers. Here are some factors to consider:
Size
To make large paper flowers, you’ll need large paper. We recommend using 12″ x 12″ scrapbook paper for the biggest flowers. However, you can also scale the template to make medium-sized flowers using an 8.5″ x 11″ sheet of paper.
Solid Core
Opt for solid core cardstock, which ensures that the inside layer matches the outside layer. This way, you won’t have any unsightly white edges on your flowers.
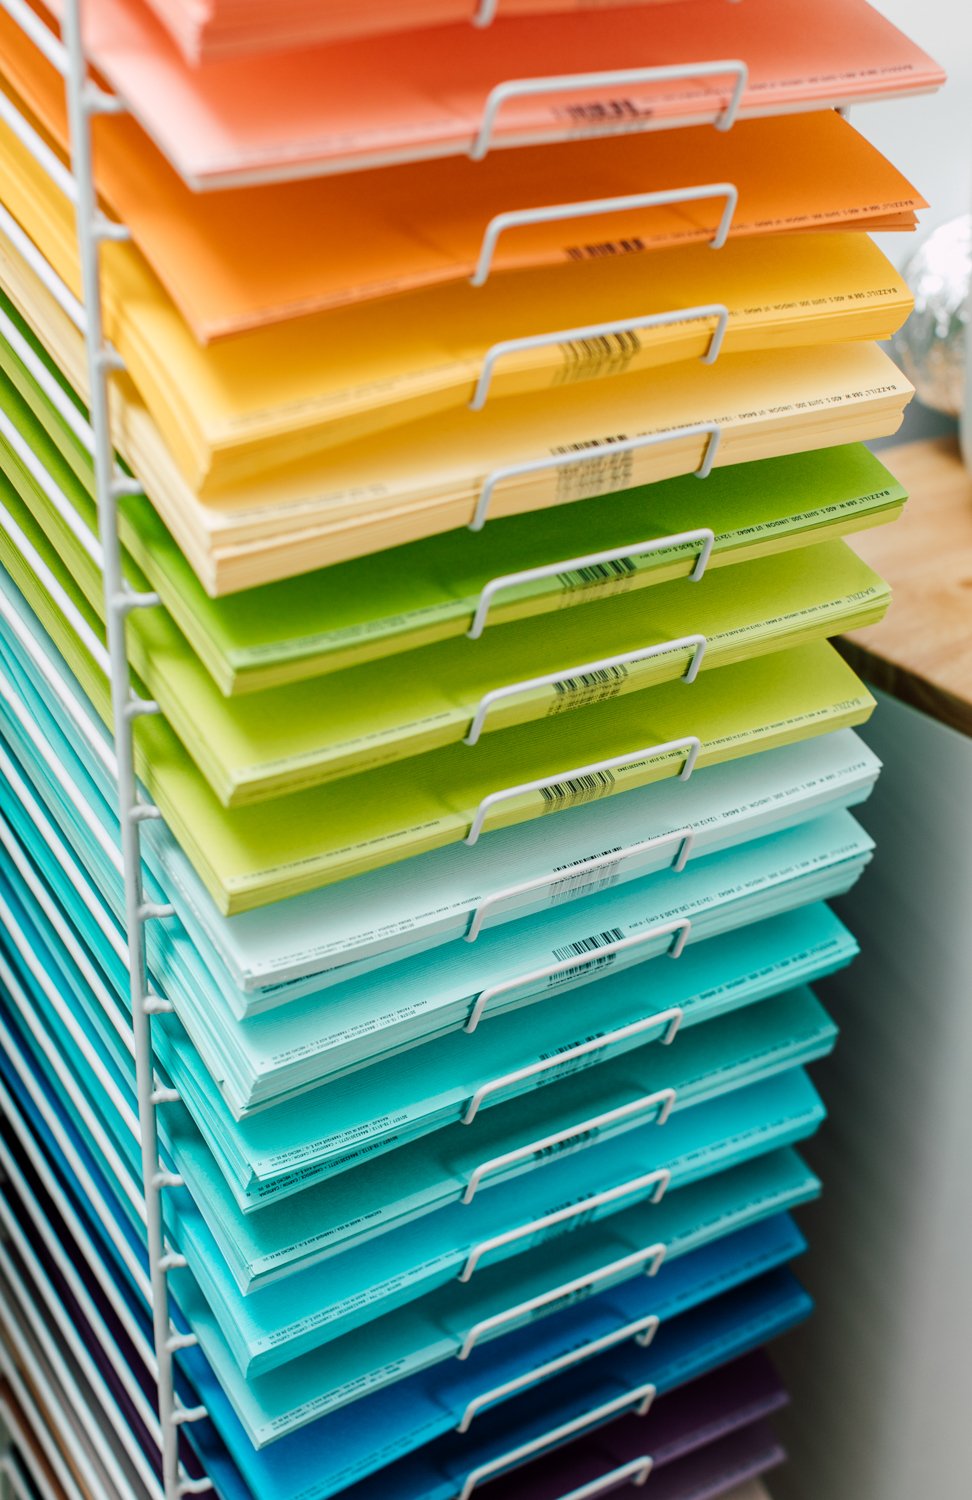
Texture
While smooth textured cardstock is commonly used, consider using slightly textured cardstock for a unique look. Our favorite is Bazzill Mono, which comes in a wide range of beautiful colors. Bazzill Smoothies is an excellent alternative if you prefer a smooth finish.
Weight
Choose cardstock with a weight between 60lb and 80lb for optimal results. Anything lighter may not hold up well, while heavier cardstock may be difficult to manipulate.
Where to Buy Cardstock for Paper Flowers
While you can find paper online, we recommend visiting your local craft store to see the colors and textures in person. That way, you can make an informed decision and choose the perfect shades for your giant paper flowers. If you prefer shopping online, we’ve listed some reliable options:
- Bazzill Cardstock at JOANN
- Bazzill Cardstock at Amazon
- Bazzill Cardstock at Scrapbook.com
- Clear Path Cardstock at Amazon
Supplies to Make the Large Paper Flowers
Depending on whether you’re using an electronic cutter or cutting by hand, you’ll need the following supplies:
If cutting with a cutting machine:
- Cricut Maker or Cricut Explore
- Green StandardGrip Mat
- Fine Point Blade
- Craft glue
- Wonder Clips (optional)
- Dowel (optional)
If cutting by hand:
- Printer
- Scissors
- Craft glue
- Pencil
- Wonder Clips (optional)
- Dowel (optional)
We recommend using Aleene’s Quick Dry Tacky Glue for this project. It dries quickly, allowing adjustments if needed. The “Always Ready” bottle is a fantastic option as it eliminates the need for constant shaking.
Get the Large Paper Flower Template
You can find our free template in the Quill And Fox Craft Resource Library. The file number is C445. Join our free resource library to access this template and many more. Simply fill out the form below to receive the password!
Assembling the Large Paper Flowers
Once you have all the pieces cut out, the fun part begins! Each petal has a slit at the bottom. Follow these steps to assemble your giant paper flowers:
1. Assemble the Petals
Apply a small amount of craft glue and overlap the bottom of each petal to create dimension. It’s okay if the overlap varies slightly; just be consistent with all the petals. We recommend using Wonder Clips to hold the petals together as the glue sets.
2. Create Each Layer of Petals
Once the petals are dry, glue them in a ring on top of the circle template piece. To ensure a secure bond, you can place a bowl or a heavy object on the glue point while it dries. Continue adding layers until your flower is complete.
3. It Doesn’t Have to Be Perfect
Remember, nature isn’t perfect, and neither should your giant paper flowers be. Embrace the beauty of imperfection as you line up the petals. The number of petals in each layer varies, so focus on getting them evenly spaced rather than perfectly aligned.
And there you have it! With these simple tips and tricks, creating stunning giant cardstock flowers is a breeze. If you have any additional tips or tricks to share, we’d love to hear from you in the comments!