Table of Contents
Are you looking for an easy and fun activity to do with your kids or friends? Making a paper airplane is a classic pastime that has been enjoyed by generations. Not only is it an excellent way to pass the time, but it also helps develop cognitive and motor skills. In this article, we will teach you how to make a paper airplane easy, step-by-step.
Materials Needed
Before we get started, let’s gather the materials needed to make a paper airplane. You will need a sheet of paper, a ruler, and a pair of scissors. The paper can be any size, but for beginners, it is best to use a standard size 8.5 x 11 inches paper.
Once you have gathered the materials, let’s move on to the next step.
The first step in making a paper airplane is to create the basic folds and creases. This step is crucial as it sets the foundation for the rest of the airplane. Follow the instructions below:
- Take the sheet of paper and fold it in half lengthwise, creasing the paper in the center.
- Unfold the paper and fold the top corners down to the center crease, creating a triangle shape at the top.
- Fold the top of the paper down to the bottom edge, creating a straight edge at the top.
- Fold the paper in half, bringing the bottom edge up to the top edge, and crease the center. Unfold the paper.
Congratulations! You have successfully created the basic folds and creases for your paper airplane. The next step is to add the wings and tail.
Adding Wings and Tail
Now that you have created the basic folds and creases, it is time to add the wings and tail to your paper airplane. Follow the instructions below:
- Fold the top corners of the paper down to the center crease, creating a smaller triangle shape at the top.
- Fold the top of the paper down to the bottom edge, creating a straight edge at the top.
- Take the top layer of the paper on the right side and fold it diagonally towards the center crease. Repeat on the left side. This will create the wings of your airplane.
- Take the bottom edge of the paper and fold it up towards the wings, creating a tail for your airplane.
Congratulations! You have successfully added the wings and tail to your paper airplane.
Testing and Adjusting
Now that you have made your paper airplane, it’s time to test and adjust it for better flight. Follow the tips below:
- Find an open space, like a large room or outdoor area, to test your paper airplane.
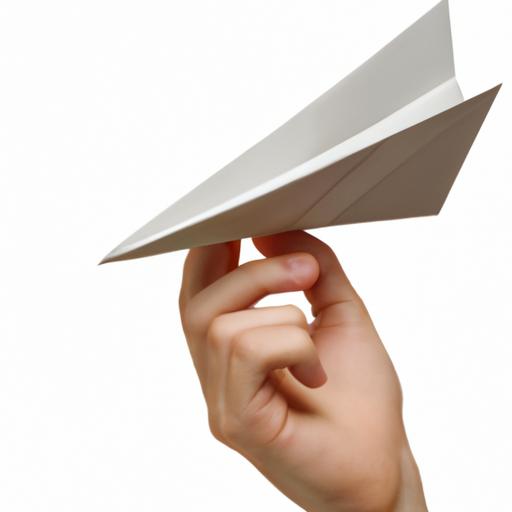
- Hold the paper airplane by the bottom edge and throw it gently. Observe how it flies.
- If the airplane doesn’t fly straight or doesn’t fly far enough, you can adjust it by bending the wings or tail slightly. Bend the wings upwards for more lift or downwards for less lift. Bend the tail up for more stability or down for less stability.
- Test the airplane again and make further adjustments until you are satisfied with the flight.
Remember, practice makes perfect. Experiment with different designs and make adjustments as needed to find the perfect paper airplane for you. Enjoy the fun and educational experience of making and flying paper airplanes!
Testing and Adjusting
Now that you have successfully created a paper airplane, it’s time to test and adjust it for the best flight. Here are some tips to help you:
-
Find an open space: Look for a spacious area where you can test your paper airplane without any obstacles. It could be a park or a large room.
-
Throw the airplane: Hold the paper airplane at the bottom of the fuselage and throw it gently. Observe how it flies and make necessary adjustments.
-
Adjust the wings: If the airplane flies to the left, bend the right wing slightly upward. If it flies to the right, bend the left wing. Keep bending the wings until the airplane flies straight.
-
Adjust the tail: If the airplane flies too high, fold the tail down slightly. If it flies too low, fold the tail up. Keep adjusting the tail until the airplane flies at the desired height.
-
Keep practicing: Making a paper airplane easy takes practice. Keep testing and adjusting until you achieve the perfect flight.
Conclusion
In conclusion, making a paper airplane easy is a fun and exciting activity that you can enjoy with your friends and family. Remember to follow the steps outlined in this article, and you will be on your way to creating the perfect paper airplane. Don’t be afraid to experiment with different designs and techniques to find what works best for you. With practice, you can become an expert in making paper airplanes. So go ahead, grab a sheet of paper, and start folding!