How to Make a Paper Car: A Step-by-Step Guide
Table of Contents
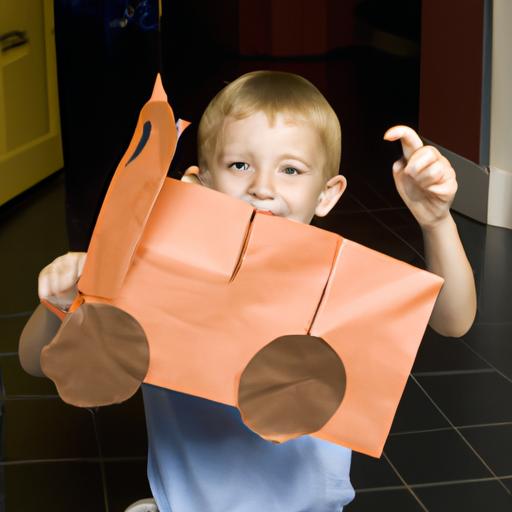
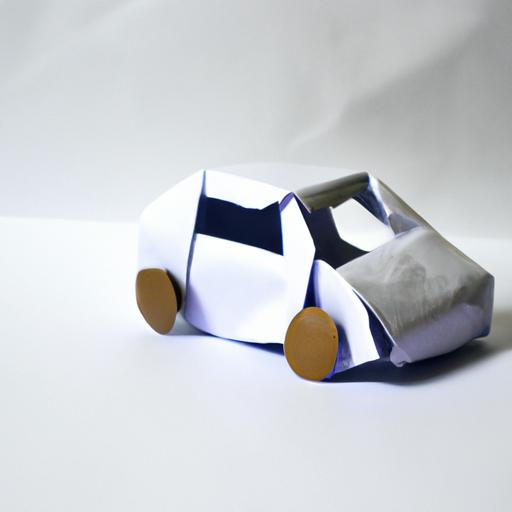
Are you looking for a fun and creative activity to do with your kids or a way to pass the time? Making a paper car is an easy and enjoyable craft that anyone can do. Paper cars are not only an excellent way to spend time, but they can also be used for decoration or even as toys.
In this article, we’ll provide you with a step-by-step guide on how to make a paper car. We will also discuss the materials needed, tips for success, and variations of paper cars. Let’s get started!
Materials Needed

Before we begin, let’s gather the necessary materials. You’ll need:
- Paper
- Scissors
- Glue
- Markers
Paper is the foundation of your paper car, so it’s essential to choose the right type of paper. Cardstock or construction paper is an excellent choice for making paper cars because they are thicker and more durable than standard printer paper. Scissors are necessary for cutting the paper to the right size and shape. Glue is used to hold the car together, and markers can be used to decorate it.
Now that you have your materials let’s move on to the steps in making a paper car.
Steps to Make a Paper Car
Step 1: Folding the Paper
Fold a rectangular piece of paper in half vertically. Unfold the paper and fold the top two corners down to the center crease. Then, fold the bottom edge of the paper up to meet the bottom of the triangle created by the top corners. Finally, fold the paper in half horizontally to create the car’s body.
Step 2: Cutting the Paper
Using scissors, cut along the folded edges of the paper where the top corners meet the center crease. This will create the car’s hood and windshield. Next, cut a small rectangle out of the paper’s center to create the car’s windows. Finally, cut out two small triangles from the bottom of the paper to form the car’s wheels.
Step 3: Gluing the Paper
Fold the car’s sides up at the bottom of the car to create the wheel wells. Then, glue the sides of the car together, starting at the front of the car and working your way to the back. Make sure to apply enough glue to hold the car together firmly. You can also glue the wheels to the bottom of the car.
Step 4: Decorating the Car
Now that your paper car is complete, it’s time to decorate it! Use markers to add details such as headlights, taillights, and a grill. You can also add racing stripes, flames, or any other design you like. Get creative and have fun with it!
Tips for Making a Paper Car
Here are some tips to keep in mind when making a paper car:
- Practice makes perfect: Don’t worry if your first few attempts don’t turn out as expected. Keep practicing, and you’ll get the hang of it.
- Use the right type of paper: As mentioned earlier, cardstock or construction paper is the best choice for making paper cars.
- Follow instructions carefully: Make sure to follow each step carefully to avoid mistakes.
- Be creative: The beauty of making paper cars is that the possibilities are endless. Don’t be afraid to experiment with different designs and colors.
By following these tips, you’ll be well on your way to making a fantastic paper car.
Variations of Paper Cars
There are many different variations of paper cars that you can make. You can create different designs, sizes, and colors to make your paper cars unique. For example, you can make a sports car, a truck, or even a bus. You can also make smaller or larger versions of the car by adjusting the size of the paper used.
Another fun variation is to create a paper car that moves. You can attach paper clips to the bottom of the car’s wheels to make it roll across a surface, or you can attach a small motor to make the car move on its own.
In conclusion, making a paper car is an excellent activity for people of all ages. With a few simple materials and some creativity, you can create a fun and unique craft that you can enjoy for years to come. So, grab some paper, scissors, glue, and markers, and let’s get started!
Variations of Paper Cars
The best thing about making a paper car is that you can get creative and make different designs, sizes, and colors. You can create a classic car or a modern one, a small car or a big one, and even a car that looks like your favorite cartoon character.
Different designs can be made by changing the shape and size of the paper or adding details to the car’s body. You can also experiment with different colors by using markers, colored pencils, or paint. The possibilities are endless, and you can create a unique paper car that reflects your personality and style.
Conclusion
Making a paper car is a fun and easy activity that can be enjoyed by both kids and adults. With the right materials and following the step-by-step guide, you can create a paper car that is both adorable and durable.
Remember to choose the right type of paper, follow the instructions carefully, and be creative. Paper cars can be used for decoration, as toys, or even as a gift for someone special.
In conclusion, making a paper car is an excellent way to spend time and unleash your creativity. So, grab your materials and start making your own paper car today!

