Table of Contents
Paper fans have been used for centuries to provide relief from heat and create a gentle breeze. They are also great accessories for different events, including weddings, parties, and cultural celebrations. Making a paper fan is a fun and easy DIY project that you can do with your friends or family. In this article, we’ll show you how to make your paper fan in a few simple steps.
Materials Needed

Before we start, let’s gather the necessary materials. You’ll need the following:
- Colored or patterned paper, preferably lightweight (8.5 x 11 inches)
- Ruler
- Scissors
- Pencil
- Glue or double-sided tape
- Decorative items like stickers, markers, or stamps (optional)
You can find all of these materials at your local craft store or online. Be sure to choose a paper that is easy to fold and cut, and colorful enough to make your fan stand out.
Once you have all your materials, let’s get started on creating your paper fan.
Step 1: Cut your paper to size
Using your ruler, measure and mark the paper at 1-inch intervals along the short edge. Then, fold the paper back and forth along the marks to create an accordion-like fold. Use your scissors to trim any excess paper at the end.
Tip: If you want to make a larger or smaller fan, adjust the size of the paper accordingly.
Step 2: Fold the accordion paper in half
Take the folded paper and fold it in half lengthwise, creasing it at the center. You should have a folded paper with a straight bottom edge and a curved top edge.
Tip: Use your nail or a blunt tool to make sharp creases for easier folding.
Continue to write sections 3 and 4.
Step 3: Fan out the paper
Starting at the folded edge, carefully fan out the paper in one direction, making sure to keep the folds even. Once you’ve fanned out the entire length of the paper, hold the bottom edge firmly and gently pull the top edge to straighten the folds.
Tip: If the folds are not even, adjust them by gently pushing or pulling the paper until they are straight.
Step 4: Secure the fan
Take a small piece of double-sided tape or glue and apply it to the bottom edge of the fan on one side. Then, fold the fan in half along the center crease, pressing the glued edge firmly to the other side. Hold the fan in place until the glue or tape dries.
Tip: If you want to make a sturdier fan, you can glue two or more folded papers together before fanning them out.
Congratulations, you’ve made your paper fan! You can now use it to cool yourself off or decorate it to make it more personalized.
Decorating Your Paper Fan
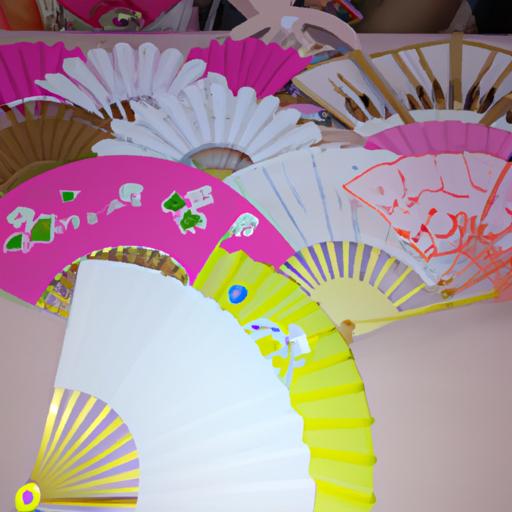
Personalizing your paper fan is a great way to add a personal touch to it and make it stand out. Here are some tips on how to decorate your fan:
-
Use stickers or stamps: You can add stickers or stamps to your fan to create a unique design. Use colorful or patterned stickers to make your fan more eye-catching.
-
Draw or paint on your fan: If you’re feeling artistic, you can draw or paint a design on your fan using markers or paint. You can even use stencils to create a more intricate design.
-
Add ribbons or tassels: Glue a ribbon or tassel to the bottom edge of your fan to add some flair. You can use different colors or textures of ribbon to make your fan more interesting.
-
Use glitter or sequins: Apply glitter or sequins to your fan to make it sparkle. Use a glue pen to draw a design on your fan, then sprinkle the glitter or sequins over it.
By following these tips, you can create a unique and personalized paper fan that reflects your style and personality.
Uses for Your Paper Fan
Paper fans are versatile and can be used for a variety of occasions. Here are some ideas on where you can use your paper fan:
-
Weddings: Use paper fans as a beautiful accessory for bridesmaids or guests at an outdoor wedding. You can even customize the fans to match the wedding theme or colors.
-
Parties: Paper fans can add a unique touch to any party, whether it’s a birthday celebration or a summer BBQ. Use them as decorations or party favors for your guests.
-
Cultural celebrations: Different cultures around the world use paper fans as part of their traditions. For example, in Japan, fans are used in traditional dances and ceremonies.
Besides these occasions, you can also use paper fans in creative ways, such as:
-
Photo props: Take fun and unique photos by using paper fans as props. You can even customize them with fun quotes or phrases.
-
Home decor: Hang paper fans on your walls or use them to create a colorful backdrop for your home office or bedroom.
-
Stay cool: Of course, paper fans are great for their original purpose, which is to provide relief from the heat. Keep one in your purse or backpack for those hot summer days.
Conclusion
In conclusion, making a paper fan is an easy and fun DIY project that you can do in a few simple steps. With just a few materials, you can create a beautiful and functional accessory that can be used for different occasions or as part of your home decor. Whether you’re attending a wedding, throwing a party, or just looking to stay cool, paper fans are a great option.
So, go ahead and get creative with your paper fan-making skills. Who knows, you might even start a new hobby or business venture! Don’t forget to share your creations with us in the comments below.