Table of Contents
Are you looking for a fun and easy craft to do during the winter months? Making paper snowflakes is a classic activity that anyone can enjoy. Whether you’re a seasoned crafter or just getting started, this step-by-step guide will show you how to make a paper snowflake easy.
Materials Needed
Before we dive into the process of making paper snowflakes, let’s gather the materials you’ll need. The good news is that you probably already have most of these items in your home.
- White paper (regular printer paper works well)
- Scissors
- Pencil
- Ruler
- Optional: Colored paper, glitter, and other decorations to add to your snowflake
You can find all of these items at your local craft store or online. Once you have your materials, it’s time to get started!
Step-by-Step Guide
- Fold your paper in half diagonally to make a triangle.
- Fold the triangle in half again to make a smaller triangle.
- Fold the triangle in half one more time to make an even smaller triangle.
- Using your ruler and pencil, draw a design on your folded triangle. Remember that whatever you draw will be cut out of the paper, so keep that in mind as you create your design.
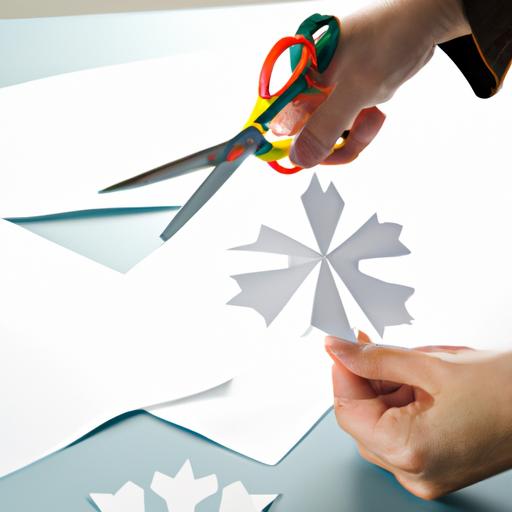
- Carefully cut along the lines of your design. Be sure to cut through all layers of paper.
- Unfold your paper to reveal your beautiful paper snowflake!
Congratulations, you’ve successfully made a paper snowflake easy! Now, let’s move on to some helpful tips and tricks to make the process even smoother.
Step-by-Step Guide (continued)
If you’re having trouble visualizing the folding process, don’t worry. Here’s a more detailed breakdown of the steps:
- Take a square piece of paper and fold it diagonally to form a triangle.
- Fold the triangle in half again, forming a smaller triangle.
- Take the bottom of the triangle and fold it up, creating a smaller triangle once again.
- Cut off any excess paper at the top of the triangle.
- Begin creating your design by drawing lines and shapes on the folded paper.
- Using scissors, cut out your design. Remember that whatever you cut out will be removed, leaving negative space in the paper.
- Unfold the paper to reveal your unique paper snowflake.
If you’re struggling to come up with a design, try starting with simple shapes like triangles or squares. You can also search online for paper snowflake templates to use as a guide.
Tips and Tricks
If you’re looking to improve your paper snowflake making skills, here are some helpful tips and common mistakes to avoid:
Tip 1: Use sharp scissors
Blunt scissors can make the cutting process more difficult and less precise. Make sure your scissors are sharp before starting.
Tip 2: Take your time
While making a paper snowflake is a simple craft, it does require some precision. Take your time when cutting and folding to ensure the best results.
Tip 3: Experiment with different paper types
While white printer paper is the most common paper used for snowflakes, don’t be afraid to experiment with different textures and colors. You may be surprised by the creative possibilities!
Common Mistake: Cutting through the center of the paper
One of the most common mistakes when making paper snowflakes is cutting through the center of the paper, which can ruin the symmetry of the design. Make sure you’re only cutting along the edges of the folded paper.
Common Mistake: Not folding the paper tightly enough
If your folds aren’t tight enough, the paper snowflake may not hold its shape. Make sure your folds are crisp and tight.
By following these tips and avoiding common mistakes, you’ll be making paper snowflakes like a pro in no time.
Variations
Now that you’ve mastered the basic technique for making paper snowflakes, it’s time to get creative! There are endless possibilities for designing unique paper snowflakes, and experimenting with different patterns and decorations can be a lot of fun. Here are a few ideas to get you started:
- Try using different types of paper, such as patterned paper, tissue paper, or even wrapping paper. This can add an extra dimension to your snowflakes and make them even more beautiful.
- Add glitter or sequins to your snowflake to give it some sparkle.
- Cut out small shapes from the snowflake to create a more intricate design.
- Use colored paper or paint to create a more colorful snowflake.
- Experiment with different folding techniques to create new and interesting shapes.
Remember, the possibilities are endless when it comes to making paper snowflakes. Don’t be afraid to try new things and see what you can come up with.
Conclusion
Making a paper snowflake easy is a great way to get in the winter spirit and add some festive decorations to your home. By following these simple steps and tips, you can easily create beautiful snowflakes that are sure to impress. Whether you’re making paper snowflakes with your kids or just enjoying a relaxing afternoon crafting, this activity is sure to bring a smile to your face.
So why not give it a try? Gather your materials, follow the steps, and see what kind of beautiful snowflakes you can create. With a little bit of practice, you’ll be a paper snowflake-making pro in no time!