Table of Contents
Paper stars have been used as decorations for centuries, and they are still as popular as ever. Making a star out of paper is a fun and easy craft project that can be enjoyed by people of all ages. In this article, we will show you how to make a star out of paper, from the materials you need to the folding techniques and decorating tips that will help you create a beautiful and unique paper star.
Materials Needed
Before we get started, you will need to gather some materials. Here is what you will need to create a paper star:
- A square piece of paper
- Scissors (optional)
- Glue (optional)
- Decorations (optional)
The most important material you will need is a square piece of paper. You can use any type of paper, but origami paper is recommended because it is thin and easy to fold. You can also use patterned or colored paper to make your star more interesting. Scissors, glue, and decorations are optional, but they can be used to add a personal touch to your paper star.
When choosing your paper, keep in mind that the size of the paper will determine the size of your star. A larger piece of paper will result in a larger star, while a smaller piece of paper will result in a smaller star. For beginners, it is recommended to start with a larger piece of paper, as it will be easier to fold and maneuver.
Folding Techniques
Once you have your materials, it’s time to start folding your paper into a star. Here’s how:
- Start with a square piece of paper, with the colored side facing down.
- Fold the paper in half diagonally, and then unfold it.
- Fold the paper in half diagonally in the other direction, and then unfold it.
- Fold the paper in half horizontally, and then unfold it.
- Fold the paper in half vertically, and then unfold it.
- Fold the paper in half diagonally, and then fold it in half diagonally in the other direction.
- Push the sides of the paper inwards, and then flatten it into a diamond shape.
- Fold the top layer of the right side of the diamond up to the center crease, and then repeat on the left side.
- Fold the bottom layer of the right side of the diamond up to the center crease, and then repeat on the left side.
- Tuck the top flaps of the right and left sides of the diamond into the pockets created by the bottom flaps.
- Fold the top layer of the right and left sides of the diamond downwards, and then tuck them into the pockets created by the previous folds.
- Flip the paper over, and your paper star is complete!
These steps may seem complicated, but with practice, you will be able to fold a paper star in no time.
Folding Techniques (continued)
If you are struggling with the folding technique, there are many resources available online that can help you. Video tutorials on YouTube, step-by-step instructions on blogs and websites, and even origami books can provide you with the guidance you need to create a perfect paper star.
Additionally, it’s important to remember that practice makes perfect. Don’t be discouraged if your first few attempts don’t turn out as you had hoped. Keep trying, and soon you will be able to fold a paper star with ease.
To make the process even easier, you can use origami paper that is already pre-cut into a square shape. This will eliminate the need to cut the paper yourself, saving you time and effort.
Decorating the Star
Once you have folded your paper star, it’s time to decorate it! Here are some suggestions for adding embellishments and personal touches to your paper star:
- Use glitter, sequins, or stickers to add sparkle and shine to your star.
- Draw or paint designs onto your star using markers or watercolors.
- Cut out shapes from colored paper and glue them onto your star to create a unique pattern.
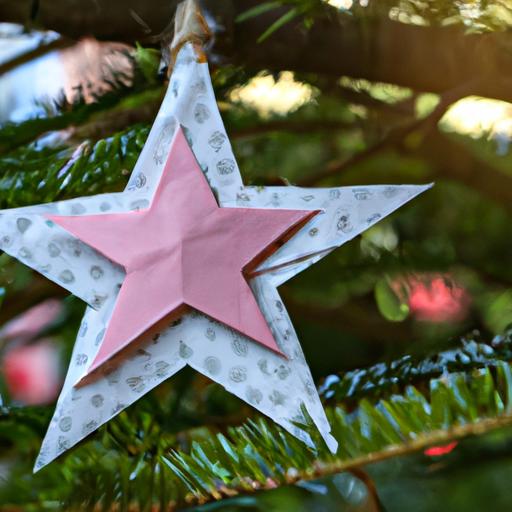
- Use ribbon or string to create a loop at the top of the star, allowing you to hang it up as a decoration.
- Create a series of paper stars and string them together to create a festive garland.
Remember, there are no rules when it comes to decorating your paper star. Let your creativity run wild, and have fun experimenting with different colors, patterns, and materials.
In conclusion, making a star out of paper is a fun and easy craft project that can be enjoyed by people of all ages. With the right materials and some simple folding techniques, you can create a beautiful and unique paper star that will add a touch of whimsy to any room. So grab some paper and get folding – your paper star awaits!
Displaying the Star
Now that you have created your paper star, it’s time to display it! Here are some ideas on how to showcase your finished star:
- Hang it up: You can hang your paper star from a string or ribbon and display it on a wall or in a window. This is a great way to show off your creation and add some color to your room.
- Use it as a centerpiece: A paper star can make a beautiful centerpiece for a table or mantle. You can place it in a vase or on a tray with other decorations to create a festive display.
- Give it as a gift: A paper star also makes a thoughtful and unique gift. You can personalize it by choosing a paper with a pattern or color that the recipient will love, or by adding some decorations like glitter or stickers.
Conclusion
Making a star out of paper is a fun and easy craft project that anyone can enjoy. With just a few materials and some folding techniques, you can create a beautiful and unique paper star that can be used as a decoration or gift. Remember to choose your paper carefully, practice your folding techniques, and add your own personal touch with decorations. We hope you have enjoyed this step-by-step guide and are inspired to try making your own paper star!