
How to Make Paper Snowflakes 3D: A Step-by-Step Guide
Table of Contents
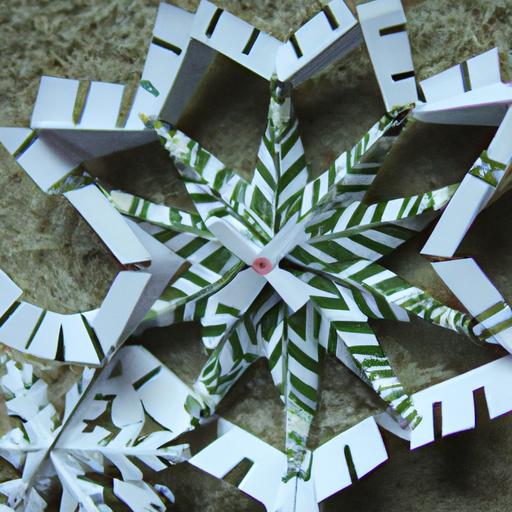
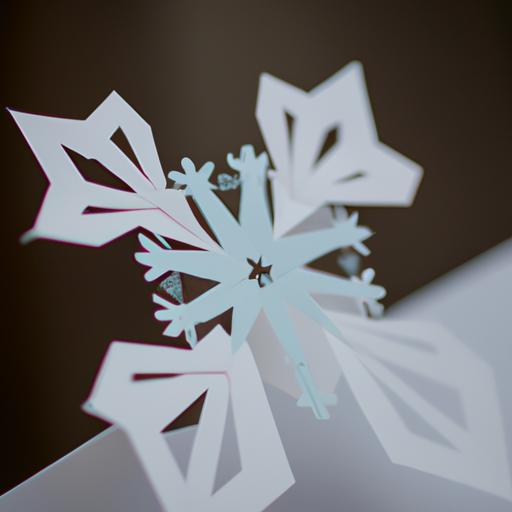
Are you looking for a fun and creative way to decorate your home for the winter season? Look no further than 3D paper snowflakes! These beautiful and intricate decorations are easy to make with just a few simple materials and can add a touch of winter wonderland to any room.
In this step-by-step guide, we’ll walk you through how to make paper snowflakes 3D. From materials needed to different designs, we’ve got you covered. So, grab your scissors and let’s get started!
Materials Needed
Before we get started, let’s make sure you have all the necessary materials. Here’s what you’ll need:
- White paper (printer paper or construction paper works well)
- Scissors
- Pencil
- Ruler
- Glue or tape
It’s important to use white paper to create a traditional snowflake look, but you can also experiment with different colors or patterns for a unique twist. Make sure your scissors are sharp and easy to handle, as this will make the intricate cuts easier to manage. A ruler and pencil will be essential for creating the perfect folds and cuts, and glue or tape will be used to hold the final product together.
Step-by-Step Instructions
Now that you have your materials, let’s get started on making your 3D paper snowflake. Follow these step-by-step instructions:
- Start with a square piece of paper. Fold your paper in half diagonally to create a triangle, then fold it in half again to create a smaller triangle.
- Fold the paper in thirds, making sure the edges line up perfectly. Then, cut off the extra strip of paper at the bottom.
- Using your ruler and pencil, mark lines across the triangle, dividing it into thirds. Cut along these lines, making sure to stop about half an inch from the center of the triangle.
- Unfold the paper and begin to fold it accordion-style, making sure to fold along the lines you just cut. Once you have folded it completely, fold it in half and secure the two ends with glue or tape.
- Cut out small triangles on each side of the folded paper, making sure to leave a small uncut strip in the center. This will create the intricate design of the snowflake.
- Unfold the paper and gently push the center of the snowflake outwards to create the 3D effect. Voila – you’ve made a 3D paper snowflake!
These instructions may seem daunting at first, but with a little practice, you’ll be creating intricate and beautiful snowflakes in no time. Now that you have the basic steps down, let’s move on to some tips and tricks to make the process even easier.
Tips and Tricks
Making 3D paper snowflakes can be a little tricky, but with these tips and tricks, you’ll be a pro in no time:
- Use a bone folder to make sharp creases in the paper for a more precise and clean look.
- Experiment with different sizes and shapes of paper to create unique snowflakes. Small snowflakes make great tree ornaments, while larger snowflakes can be used as wall decorations.
- If you’re struggling to make the cuts precise, try using a craft knife instead of scissors.
- Use a spray adhesive instead of glue for a more secure hold without the mess.
- Don’t be afraid to make mistakes – the beauty of snowflakes is that no two are ever the same!
Step-by-Step Instructions
Let’s take a closer look at the step-by-step instructions on how to make a 3D paper snowflake:
- Start with a square piece of paper. Fold your paper in half diagonally to create a triangle, then fold it in half again to create a smaller triangle.
- Fold the paper in thirds, making sure the edges line up perfectly. Then, cut off the extra strip of paper at the bottom.
- Using your ruler and pencil, mark lines across the triangle, dividing it into thirds. Cut along these lines, making sure to stop about half an inch from the center of the triangle.
- Unfold the paper and begin to fold it accordion-style, making sure to fold along the lines you just cut. Once you have folded it completely, fold it in half and secure the two ends with glue or tape.
- Cut out small triangles on each side of the folded paper, making sure to leave a small uncut strip in the center. This will create the intricate design of the snowflake.
- Unfold the paper and gently push the center of the snowflake outwards to create the 3D effect. Voila – you’ve made a 3D paper snowflake!
It’s important to take your time with each step, especially when making the cuts. The more precise your cuts, the more intricate and beautiful your snowflake will be. Don’t be afraid to practice on scrap paper before moving on to the real thing.
Tips and Tricks
Here are some helpful tips and tricks to make the process of making 3D paper snowflakes even easier and more efficient:
- Use a bone folder to make sharp creases in the paper for a more precise and clean look.
- Experiment with different sizes and shapes of paper to create unique snowflakes. Small snowflakes make great tree ornaments, while larger snowflakes can be used as wall decorations.
- If you’re struggling to make the cuts precise, try using a craft knife instead of scissors.
- Use a spray adhesive instead of glue for a more secure hold without the mess.
- Don’t be afraid to make mistakes – the beauty of snowflakes is that no two are ever the same!
With these tips and tricks, you’ll be making beautiful 3D paper snowflakes in no time! Get creative and experiment with different designs and colors to make your snowflakes truly unique.
Different Designs
While the basic 3D paper snowflake is beautiful on its own, there are many ways to customize and create different designs. Here are a few ideas to get you started:
Star-Shaped Snowflake
- Fold your paper in half diagonally, then in half again to create a smaller triangle.
- Fold the triangle in half lengthwise, then in half again to create another smaller triangle.
- Cut off the bottom strip of paper, then fold the remaining paper in thirds.
- Cut along the lines to create the individual sections, then unfold the paper.
- Cut out additional triangles and shapes to create a star shape in the center of the snowflake.
Heart-Shaped Snowflake
- Fold your paper in half diagonally, then in half again to create a smaller triangle.
- Fold the triangle in half lengthwise, then in half again to create another smaller triangle.
- Cut off the bottom strip of paper, then fold the remaining paper in thirds.
- Cut along the lines to create the individual sections, then unfold the paper.
- Cut out small hearts along the edges of the snowflake.
Snowman-Shaped Snowflake
- Fold your paper in half diagonally, then in half again to create a smaller triangle.
- Fold the triangle in half lengthwise, then in half again to create another smaller triangle.
- Cut off the bottom strip of paper, then fold the remaining paper in thirds.
- Cut along the lines to create the individual sections, then unfold the paper.
- Cut out different-sized circles from the center of each section to create the body of the snowman. Cut out small circles for the eyes and buttons, and a small triangle for the nose.
These are just a few examples of the many different designs you can create with 3D paper snowflakes. Let your imagination run wild and experiment with different shapes and patterns.
Conclusion
Congratulations – you’ve now learned how to make paper snowflakes 3D! With just a few simple materials and some practice, you can create beautiful and intricate decorations for your home. Remember to use a ruler and pencil to make precise cuts and folds, and don’t be afraid to experiment with different designs and colors.
Once you’ve created your snowflakes, be sure to display them proudly and show them off to your friends and family. Whether you use them as tree ornaments, wall decorations, or even gift tags, they’re sure to add a touch of winter wonderland to any space.
So, grab your scissors and get crafting – we can’t wait to see what beautiful 3D paper snowflakes you create!