Table of Contents
If you’re looking for an eco-friendly alternative to plastic bags, making your paper bags is an excellent option. Not only is it a fun and creative activity, but it’s also cost-effective and sustainable. In this article, we’ll provide a step-by-step guide on how to make paper bags. From the materials you’ll need to the final touches, we’ll cover everything you need to know.
Materials Needed
Before you start making your paper bags, you’ll need to gather a few materials. Here’s a list of what you’ll need:
- Paper: You can use any type of paper, but brown kraft paper is the most popular. You can also use old newspapers, magazines, or wrapping paper.
- Ruler: You’ll need a ruler to measure the paper.
- Pencil: You’ll need a pencil to mark the paper.
- Scissors: You’ll need scissors to cut the paper.
- Glue: You’ll need glue to hold the paper together.
- Hole puncher: You’ll need a hole puncher to make holes for the handles.
- Ribbon or string: You’ll need ribbon or string to make the handles.
Now that you have all the materials you need let’s move on to the next step.
Preparing the Paper
To prepare your paper for making bags, follow these steps:
- Lay your paper on a flat surface and use a ruler to measure and mark the dimensions of your bag. The standard size for a paper bag is 6 inches by 3 inches by 8 inches.
- Cut the paper to the dimensions you measured.
- Fold the paper in half lengthwise and make a crease. Unfold the paper and fold the sides in towards the crease. Make a crease along the sides.
- Unfold the sides and fold the bottom of the paper up about an inch. Make a crease.
- Flip the paper over and fold the bottom up again, this time about two inches. Make a crease.
- Unfold the paper and fold the sides in again. Apply glue to the flaps and press them down to secure them in place.
- Fold the bottom of the bag up along the creases and apply glue to the flaps. Press them down to secure them in place.
Making the Paper Bags
Once your paper is prepared, it’s time to make the bags. Here are the steps:
- Take your prepared paper and fold the top down about an inch. Make a crease.
- Use a hole puncher to make a hole on both sides of the bag, about an inch below the crease.
- Cut a piece of ribbon or string to your desired length for the handles. Thread the ribbon through one hole and tie a knot on the inside of the bag. Repeat for the other side.
- Apply glue to the bottom flaps of the bag and fold them up to create the bottom of the bag.
- Hold the sides of the bag and press down on the bottom to make sure it’s secure.
- Your paper bag is complete! You can decorate it with paint, stamps, stickers, or anything else you like.
There are different techniques for making paper bags, such as using a template or creating a gusset at the bottom of the bag. Experiment with different methods to find the one that works best for you. With a little practice, you’ll be making beautiful and functional paper bags in no time!
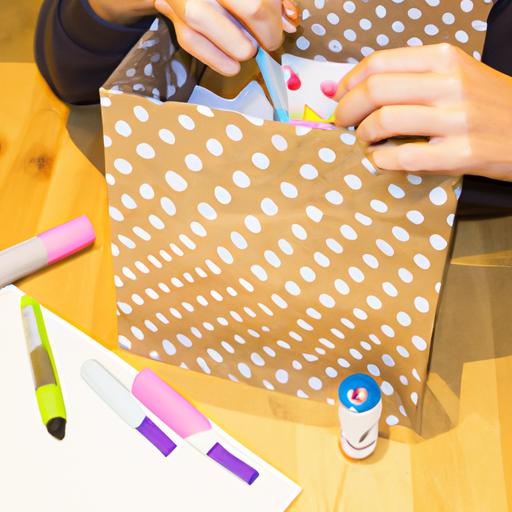
Decorating the Paper Bags
Once you’ve made your paper bags, it’s time to add some personality to them. Here are some tips and ideas for decorating your paper bags:
Stamping
You can use rubber stamps to add designs and patterns to your paper bags. You can purchase ready-made stamps or create your own custom stamps. Use ink pads of different colors to create a unique look.
Paint
Painting your paper bags is another way to add some creativity to them. You can use acrylic or fabric paints to paint your bags. Use stencils or freehand painting to create designs on your bags.
Stenciling
Stenciling is a simple way to add designs to your paper bags. You can use a pre-made stencil or create your own. Use a sponge or brush to apply the paint to the stencil.
Collage
Collage is a fun way to use up old magazines and create unique designs for your paper bags. Cut out images and words from magazines and glue them onto your bags. You can also add other embellishments like buttons or sequins.
Conclusion
In conclusion, making paper bags is an excellent way to reduce your environmental impact while also unleashing your creativity. By following the step-by-step guide in this article, you can make your paper bags at home using simple materials. Decorating your bags adds a personal touch, and there are many ways to do so. Whether you’re using stamps, paint, stencils, or collage, the possibilities are endless. So, next time you need a bag, why not make your own? It’s a fun and rewarding activity that you can feel good about.