
Preparation
Before starting a paper mache project, it is important to prepare the work area and the materials. Preparing the work area ensures that the project is neat and organized, while preparing the materials ensures that they are ready to use.
Preparing the work area involves choosing a clean and spacious workspace. Cover the working surface with newspaper or a plastic sheet to prevent the area from getting messy. The area should also be well-ventilated to allow for proper air circulation.
Preparing the materials involves gathering all the materials needed for the project. The materials needed for paper mache include water, flour, newspaper, balloons, paint, and brushes. Ensure that the materials are of good quality to achieve the best results.
To make the paper mache paste, mix one part flour with two parts water in a large bowl. Stir the mixture until it is smooth and free of lumps. Tear the newspaper into small pieces and set them aside.
How to Paper Mache
Step 1: Inflate a balloon to the desired size and tie it securely. Place the balloon on a stand or any other stable surface.
Step 2: Dip the torn newspaper into the paste and remove any excess paste by running the paper between your fingers. Place the paper onto the balloon, smoothing it down with your fingers. Repeat the process until the balloon is covered with a layer of paper.
Step 3: Allow the first layer to dry completely. It can take several hours or overnight to dry.
Step 4: Apply a second layer of paper mache by repeating the process as in step 2. Allow it to dry completely.
Step 5: Repeat the process with a third layer of paper mache. Allow it to dry completely.
Step 6: Once the third layer is dry, pop the balloon with a pin and remove it from the paper mache shell.
Tips and tricks for a successful paper mache project
-
Use a quality brush to apply the paper mache paste. This will ensure that the paste is evenly distributed, and the project has a smooth finish.
-
Apply a layer of white paint before painting the project with the desired color. This will ensure that the color is bright and vibrant.
-
To add texture to the project, add other materials such as tissue paper or fabric to the paper mache paste.
-
To make the project waterproof, add a layer of varnish or a waterproof sealant.
By following these steps and tips, anyone can create a unique and beautiful paper mache project.
Finishing Touches
After your paper mache project has dried, it’s time to add the finishing touches. The first step is to sand the surface of the paper mache to smooth out any rough spots or bumps. Use a fine-grit sandpaper and gently sand the entire surface of the project.
Once the surface is smooth, you can paint or decorate your paper mache project. For painting, it’s best to use acrylic paints as they will adhere well to the paper mache surface. You can choose any color you like and apply it with a paintbrush. For a more textured look, you can use a sponge or even your fingers to apply the paint. Be sure to let the paint dry completely before adding any additional decorations.
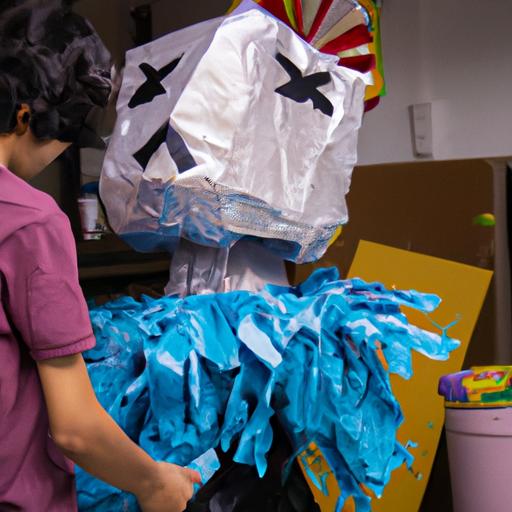
Ideas for decorating your paper mache project are endless. You can use glitter, sequins, beads, ribbons, or even decoupage paper to add texture and interest. If you’re making a paper mache piñata, fill it with candies and small toys, and hang it up for a fun party activity.
Conclusion
In conclusion, paper mache is a fun and creative way to make unique and personalized crafts. With just a few basic materials and some patience, you can create anything from small figurines to large sculptures. Remember to prepare your work area, use the right materials, and follow the steps carefully to ensure a successful paper mache project.
Now that you know how to paper mache, it’s time to get started on your own project. Don’t be afraid to experiment with different shapes, sizes, and colors to create something truly unique. Whether you’re making a gift for a loved one or just exploring your own creativity, paper mache is a fun and rewarding activity that anyone can enjoy. So grab some newspaper, glue, and a paintbrush, and let your imagination run wild!