
- Setting Up the Paper
Before paper tuning your bow, you must set up the paper on a target. Follow these steps to set up the paper correctly:
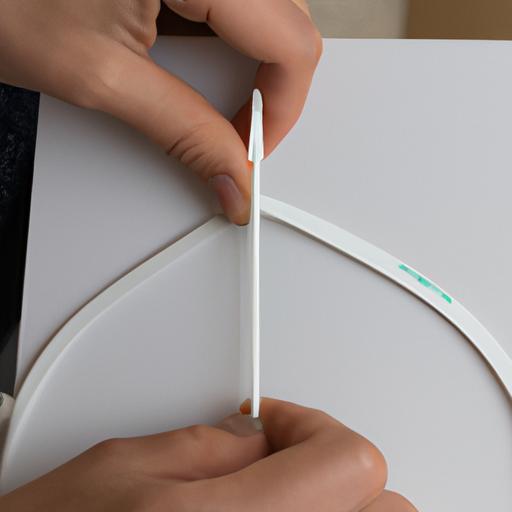
Step 1: Hang the paper on the target – Start by hanging the paper on the target, making sure that it is taut and flat. Use clips or tape to secure it in place.
Step 2: Mark the center – Using a ruler or measuring tape, locate and mark the center of the paper. This is where you will shoot the arrow.
Step 3: Draw a horizontal line – Draw a horizontal line across the center of the paper. This line will help you identify the horizontal position of the arrow tear.
Step 4: Draw a vertical line – Draw a vertical line across the center of the paper. This line will help you identify the vertical position of the arrow tear.
Step 5: Check the distance – Make sure that the paper is at the correct distance from the bow. The recommended distance is around 6 feet.
- Shooting the Arrow
Once you have set up the paper correctly, it’s time to shoot the arrow. Follow these instructions to shoot the arrow through the paper:
Step 1: Nock the arrow – Place the arrow on the bowstring and make sure that it is properly nocked.
Step 2: Take aim – Take aim at the center of the paper and try to shoot the arrow as straight as possible.
Step 3: Shoot the arrow – Release the arrow and shoot it through the center of the paper.
Step 4: Inspect the results – Inspect the paper to see the arrow tear. Look for tears on both sides of the horizontal and vertical lines and in the middle of the paper.
By following these steps, you can ensure that you get accurate results when paper tuning your bow. Next, we will discuss how to analyze the results of the paper tuning process.
Analyzing the Results
Once you’ve shot an arrow through the paper, it’s time to analyze the tears in the paper. These tears will give you an idea of how your bow is performing and whether any adjustments need to be made.
If the tear in the paper is vertical, it means that the nocking point is too high or too low. A high nocking point will cause the arrow to tear at the top, while a low nocking point will cause the tear at the bottom. Adjust the nocking point accordingly and shoot another arrow through the paper.
If the tear is horizontal, it means that the arrow rest is not aligned correctly. If the tear is to the left, adjust the rest to the right, and vice versa. Shoot another arrow through the paper to see if the tear has been corrected.
If the tear is diagonal, it means that there is an issue with the bow’s cam timing or the arrow spine. A professional should be consulted to fix these issues.
Fine-Tuning the Bow
Once you have made the necessary adjustments to your bow, it’s time to fine-tune the bow to get the best performance out of it. One way to do this is by adjusting the bow’s draw weight. Increasing the draw weight will increase the arrow’s speed, while decreasing it will make the bow easier to draw.
Another way to fine-tune the bow is by adjusting the arrow’s weight and spine. A heavier arrow will be slower but more stable, while a lighter arrow will be faster but less stable. The arrow’s spine should also be matched to the bow’s draw weight and length.
Lastly, you can fine-tune the bow by adjusting the bow’s stabilizers. Adding or removing weight from the stabilizers can help balance the bow and reduce recoil.
In conclusion, paper tuning a bow is an essential step in ensuring that your bow is performing at its best. By following the steps outlined in this article, you can easily paper tune your bow and make any necessary adjustments to achieve optimal performance. Remember to always consult a professional if you encounter any issues that you are unsure how to fix.