DIY Paper Bag Flooring: A Creative and Cost-Effective Solution for Your Home
Table of Contents
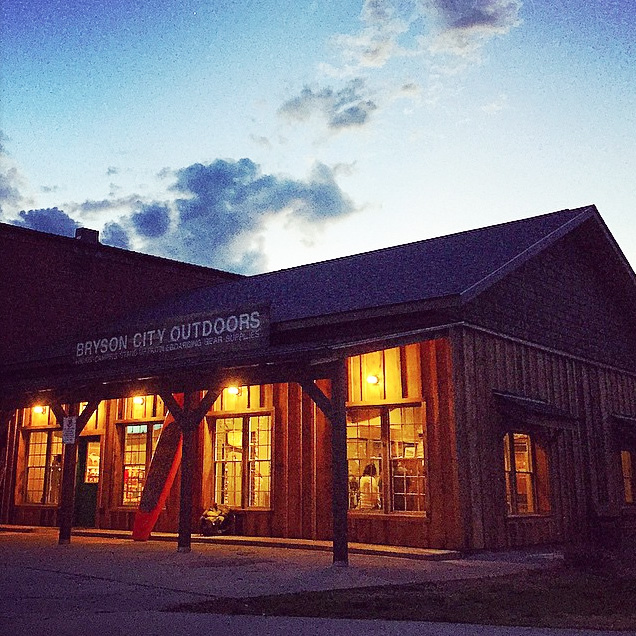
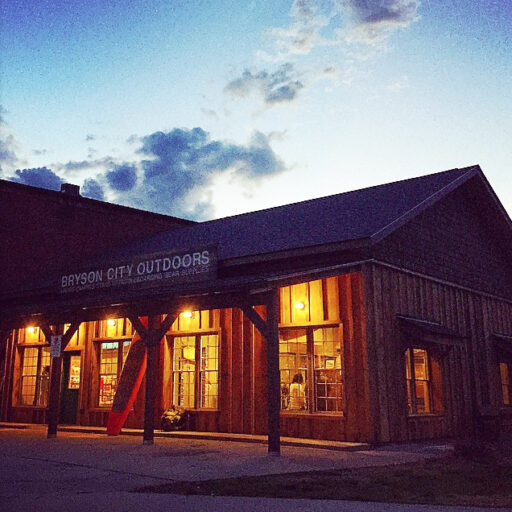
Transforming Bryson City Outdoors with Paper Bag Flooring

Bryson City Outdoors has been open for business for the past two months, and the speed at which the renovation was completed still amazes me. If you’re curious about the full details of our eco-friendly transformation, you can find them here. But what I want to share with you today is the story of how the idea of using paper bags to create a stunning floor came to life.
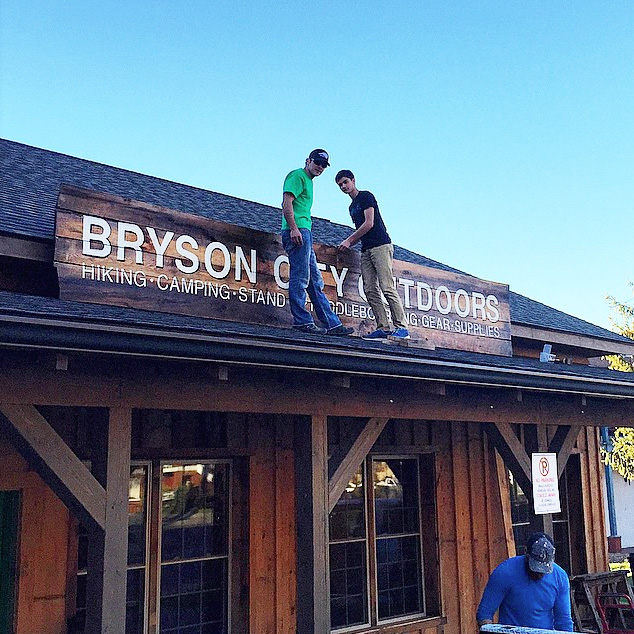
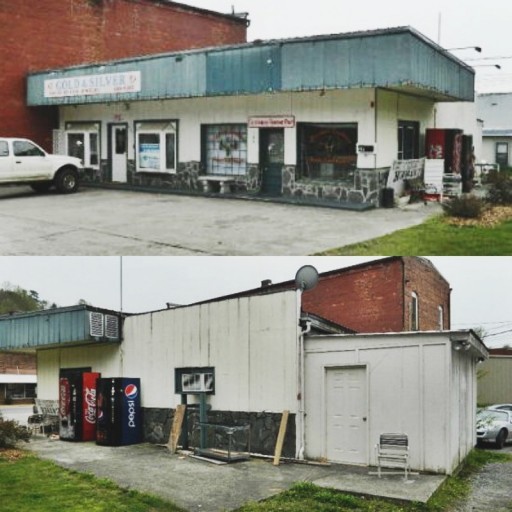
The Journey from a Worn-down Building to a Beautiful Store
Before we started renovating the building, located at the bustling intersection of Main Street and Everett, it had gone through numerous iterations, including being a tire shop, pawn shop, real estate office, leather shop, and who knows what else. The interior was a patchwork of concrete, outdoor carpeting, and uneven surfaces. It was clear that something needed to be done.
A Surprising Solution: The Paper Bag Floor
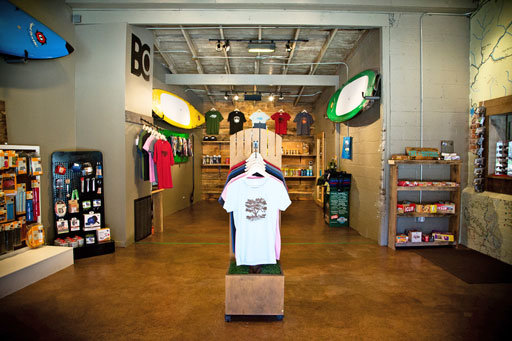
To test the concept, Brett, one of our team members, decided to try a paper bag floor in the bathroom during the previous winter. The results exceeded our expectations, and we realized that this technique could be applied throughout the entire store. Just take a look at these incredible images captured by Sarah Mattingly, showcasing the finished store interior:
The Unexpected Durability of Paper Bag Flooring
Despite the high foot traffic in our retail store, the paper bag floor has proven to be remarkably resilient. What’s more, it has an uncanny resemblance to an expensive concrete finish. Even if some areas show wear over time, the floor can be easily patched.
How to Create Your Own Paper Bag Floor

Here’s a quick tutorial to guide you through the process:
Step 1. Gather the Materials
You will need:
- A large roll of contractors paper or paper grocery bags
- Elmer’s Glue-All by the gallon
- Floor-grade polyurethane (Oil-modified Minwax)
- A large bucket for mixing
- Plastic gloves
Step 2. Prepare the Paper
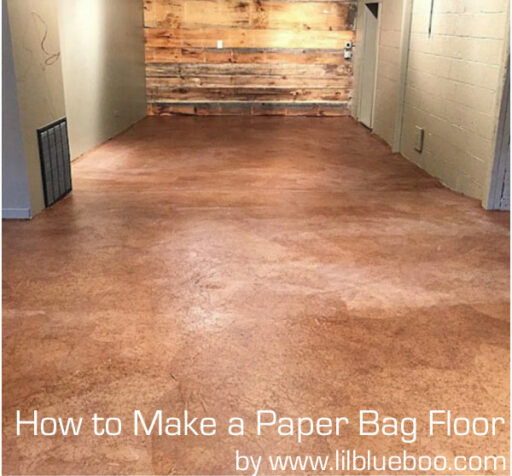
Tear or cut the paper into large pieces, depending on the desired look. For a mottled effect like ours, crumple each piece. Dip the paper into a mixture of glue and water (50/50 ratio) until fully saturated. Smooth out any air bubbles before laying the paper on the floor.
Step 3. Cover the Entire Floor
Continue the process until the entire floor is covered with the paper.
Step 4. Allow for Drying Time
Let the floor dry completely, which may take around 24 hours or more, depending on the climate.
Step 5. Apply the Protective Coating
Use a paint roller with a light nap to apply a coat of floor-grade polyurethane. Ensure proper ventilation during this step. After the coat has dried, your paper bag floor is finished!
A Budget-Friendly and Stylish Home Solution
In addition to being an excellent way to transform an unsightly tile or bare concrete floor, the cost of creating a paper bag floor is surprisingly low. For Bryson City Outdoors, the total cost per square foot was only around 60-70 cents.
It’s truly amazing, isn’t it? If you’re as captivated by this idea as we were, consider visiting our store in Bryson City, NC, to see the results in person. And if you’re not local, don’t worry! You can still support us by purchasing a hat or t-shirt from our online store here!
Before we wrap up, take a moment to appreciate the two adorable faces that inspired us to create this beautiful space: