
How to Draw a Paper Airplane: Unleash Your Creativity!
Table of Contents
As children, we were captivated by the simple joy of crafting paper airplanes and watching them soar through the air. Despite the digital age we live in, where screens dominate our attention, the timeless appeal of paper airplanes endures as the easiest and most enjoyable toy aircraft to build and fly.
But what if we told you there was a new way to explore the world of paper airplanes? Instead of creating them, why not try drawing one? It’s a fresh twist on a classic pastime that will unlock your inner artist and allow you to personalize your own paper airplane designs.
In this step-by-step tutorial, we’ll show you how to draw a paper airplane in just nine quick and easy steps. Each instruction is accompanied by an illustration that serves as your visual guide as you bring your paper airplane to life.
So, let’s dive in and discover the art of drawing a paper airplane together!
Let’s Get Started!
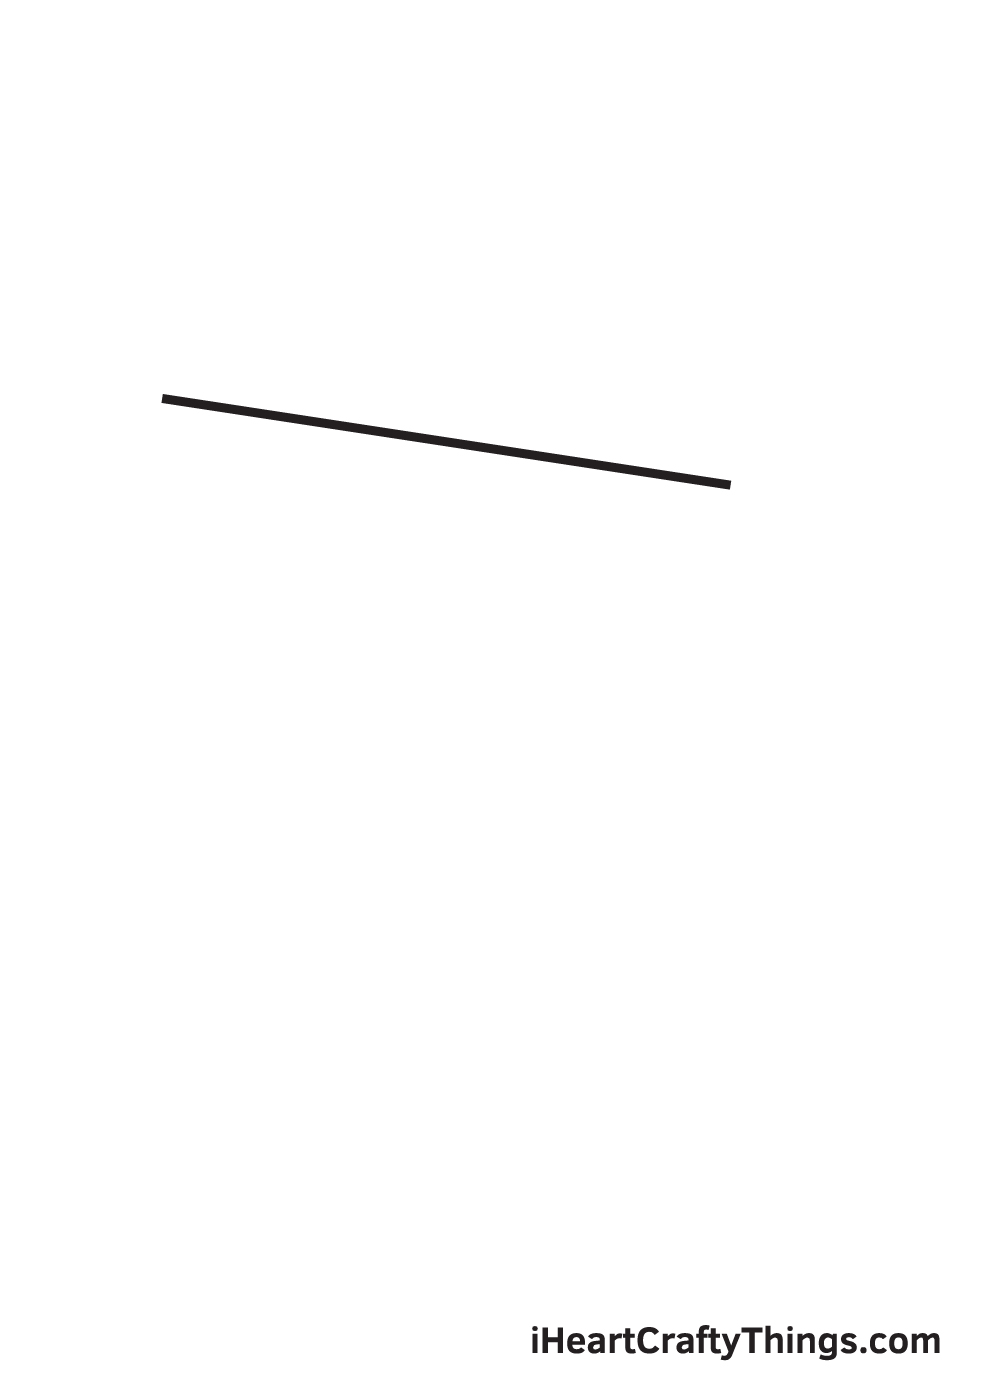
Step 1: Imagining the Shape
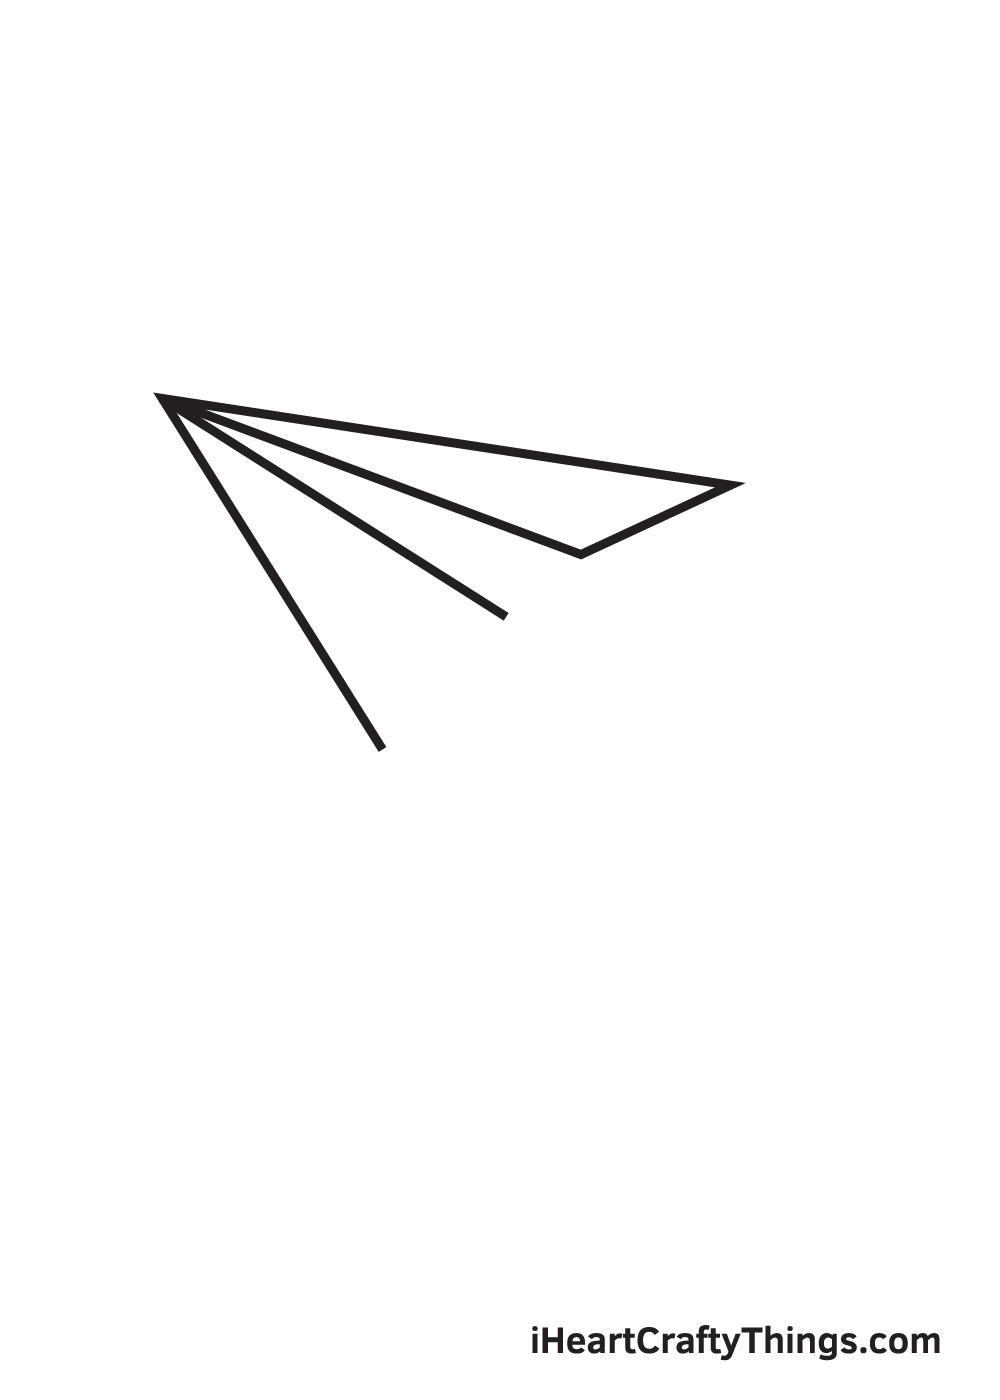
To begin, envision a horizontal or upside-down letter “V” that represents the paper airplane. Start by drawing the upper part of the airplane with a descending diagonal line on the upper portion of your paper. Don’t worry if you need a little help keeping your lines straight – a ruler can be a handy tool!
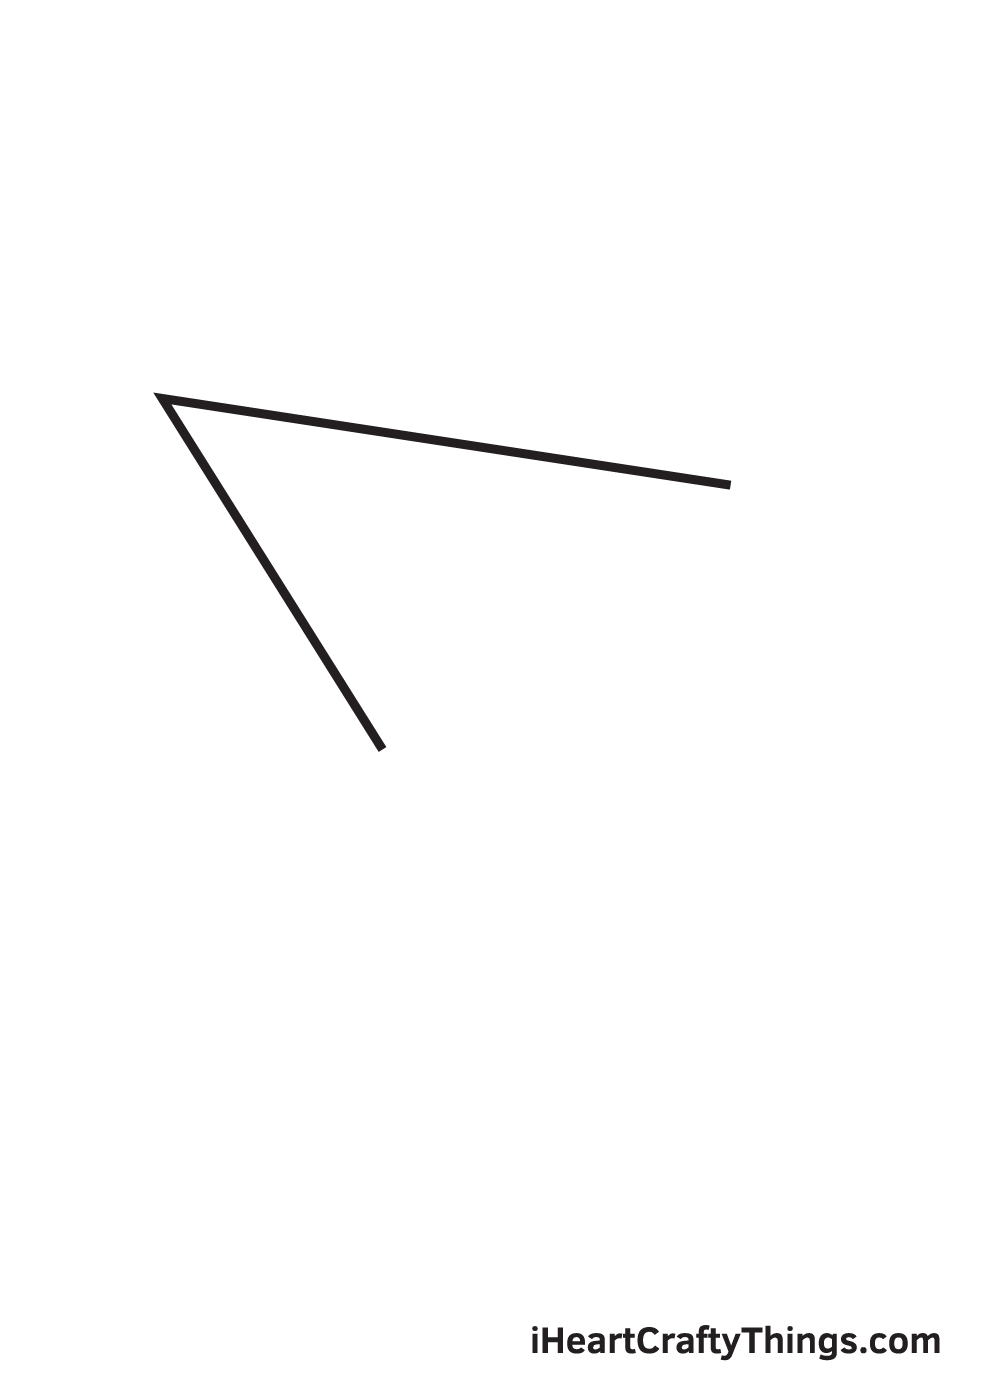
Step 2: Outlining the Structure
Next, complete the “V” shape by drawing another diagonal line that connects to the upper tip of the first diagonal line. This will form the outline of your paper airplane.
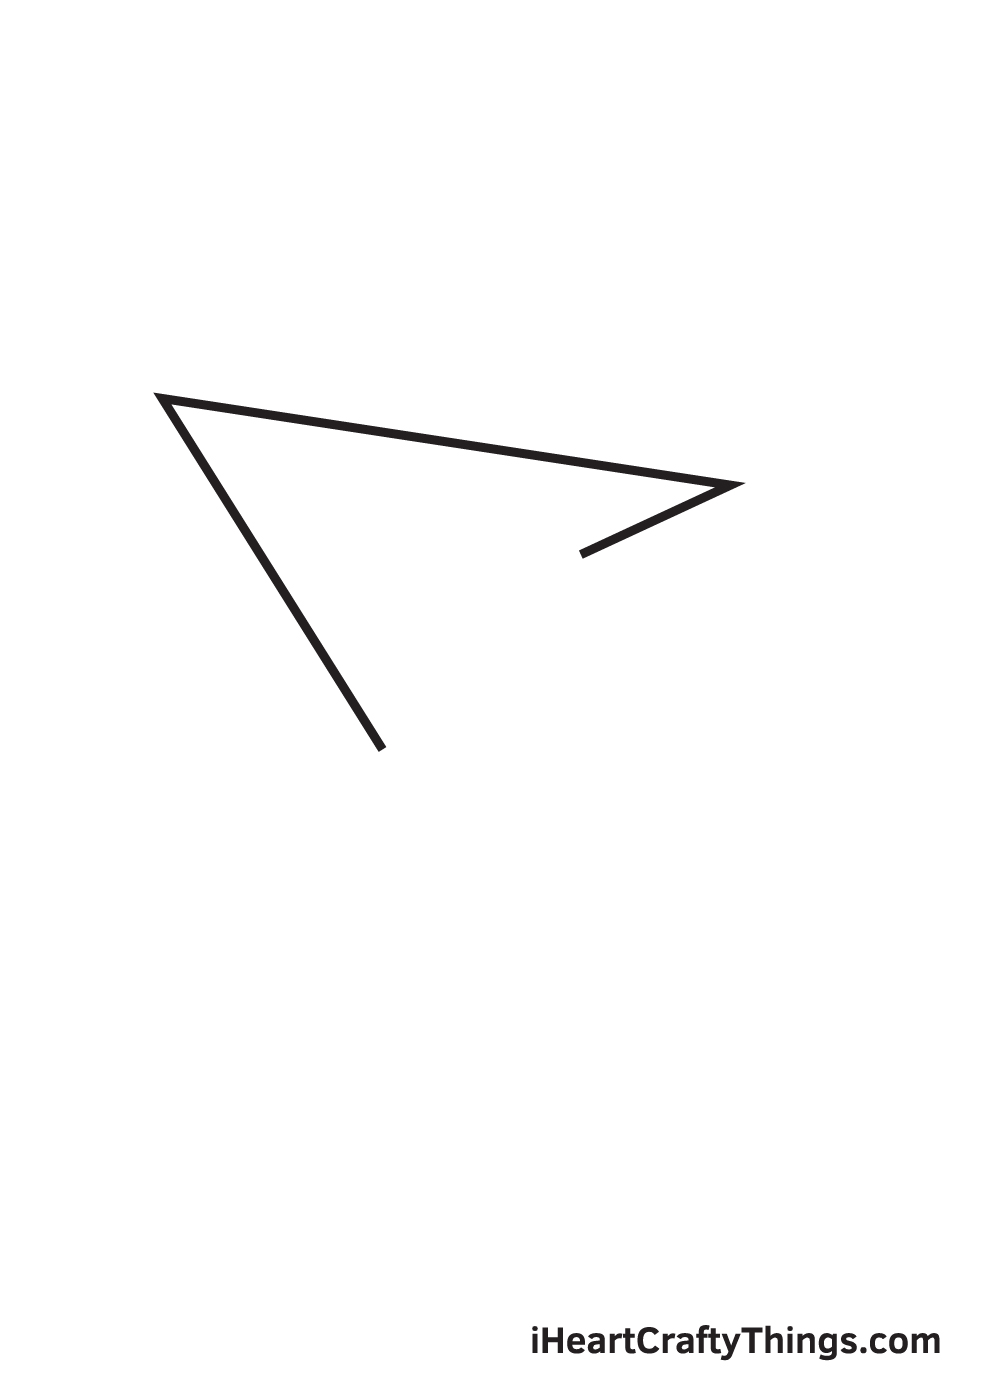
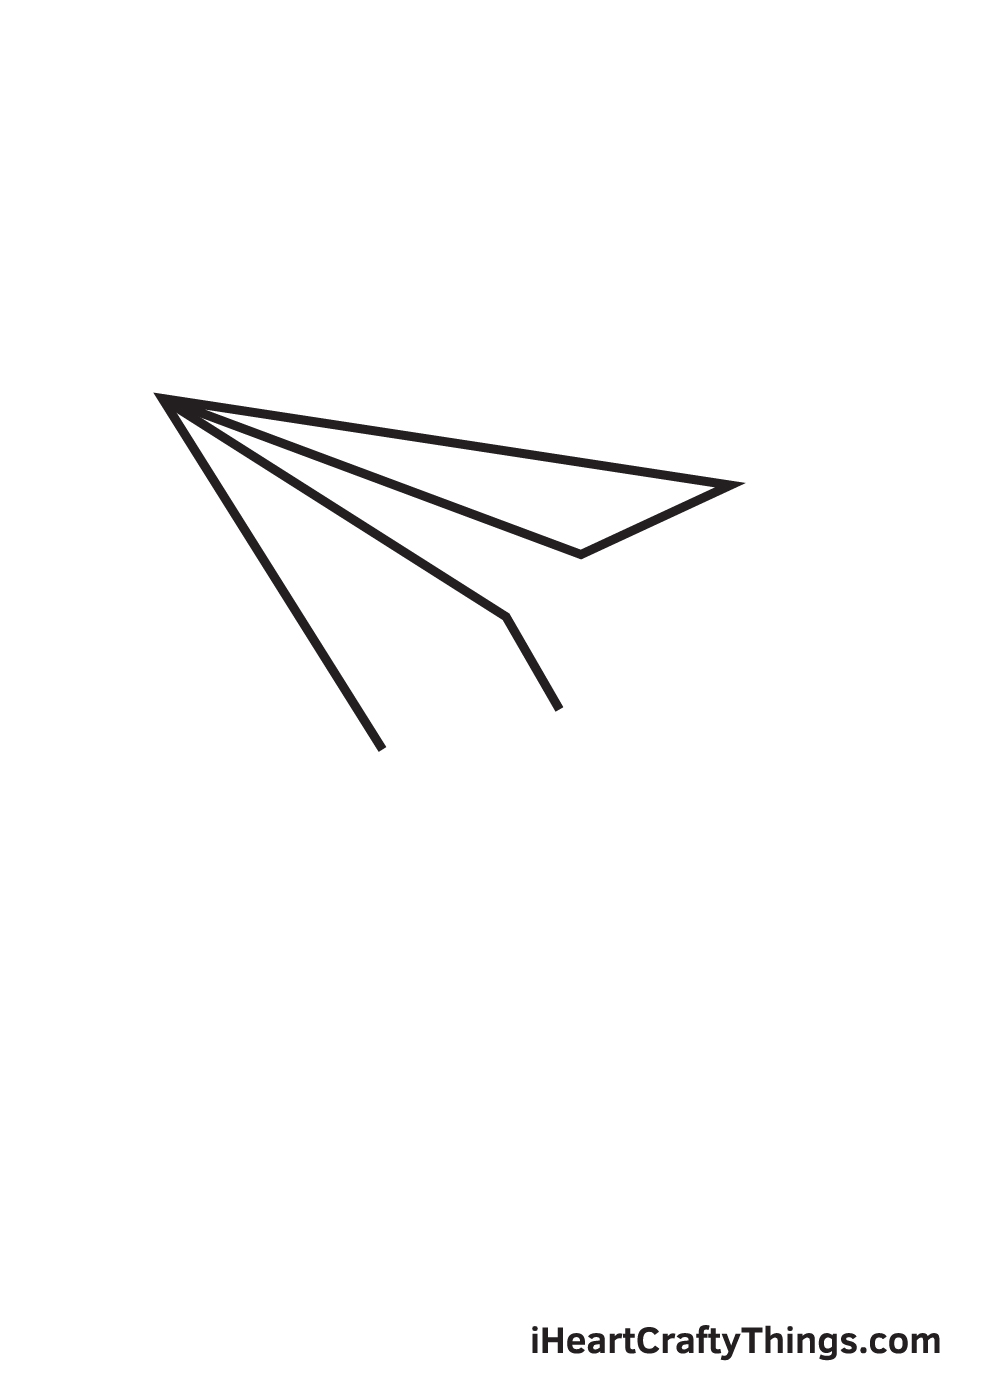
Step 3: Creating the Right Wing
In this step, we’ll focus on drawing the right wing of the paper airplane. Draw a short downward diagonal line connected to the endpoint of the upper diagonal line. This will form the pointed end of the right wing.
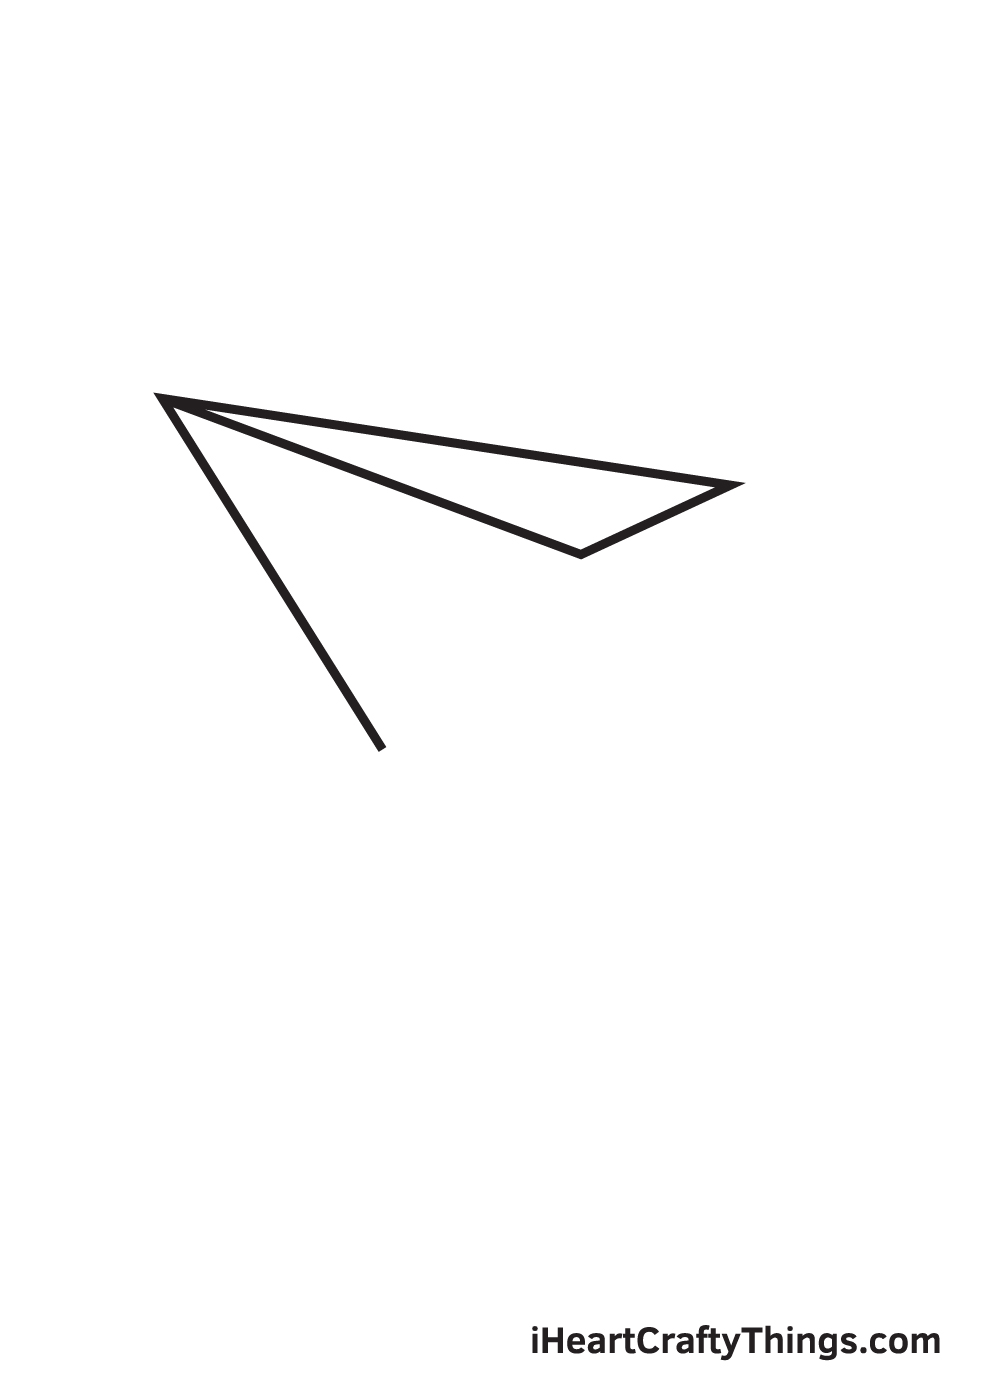
Step 4: Finalizing the Right Wing
Now, draw a straight line from the bottom endpoint of the diagonal line in the previous step to the pointed edge of the V-shaped outline. This completes the structure of the paper airplane’s right wing.
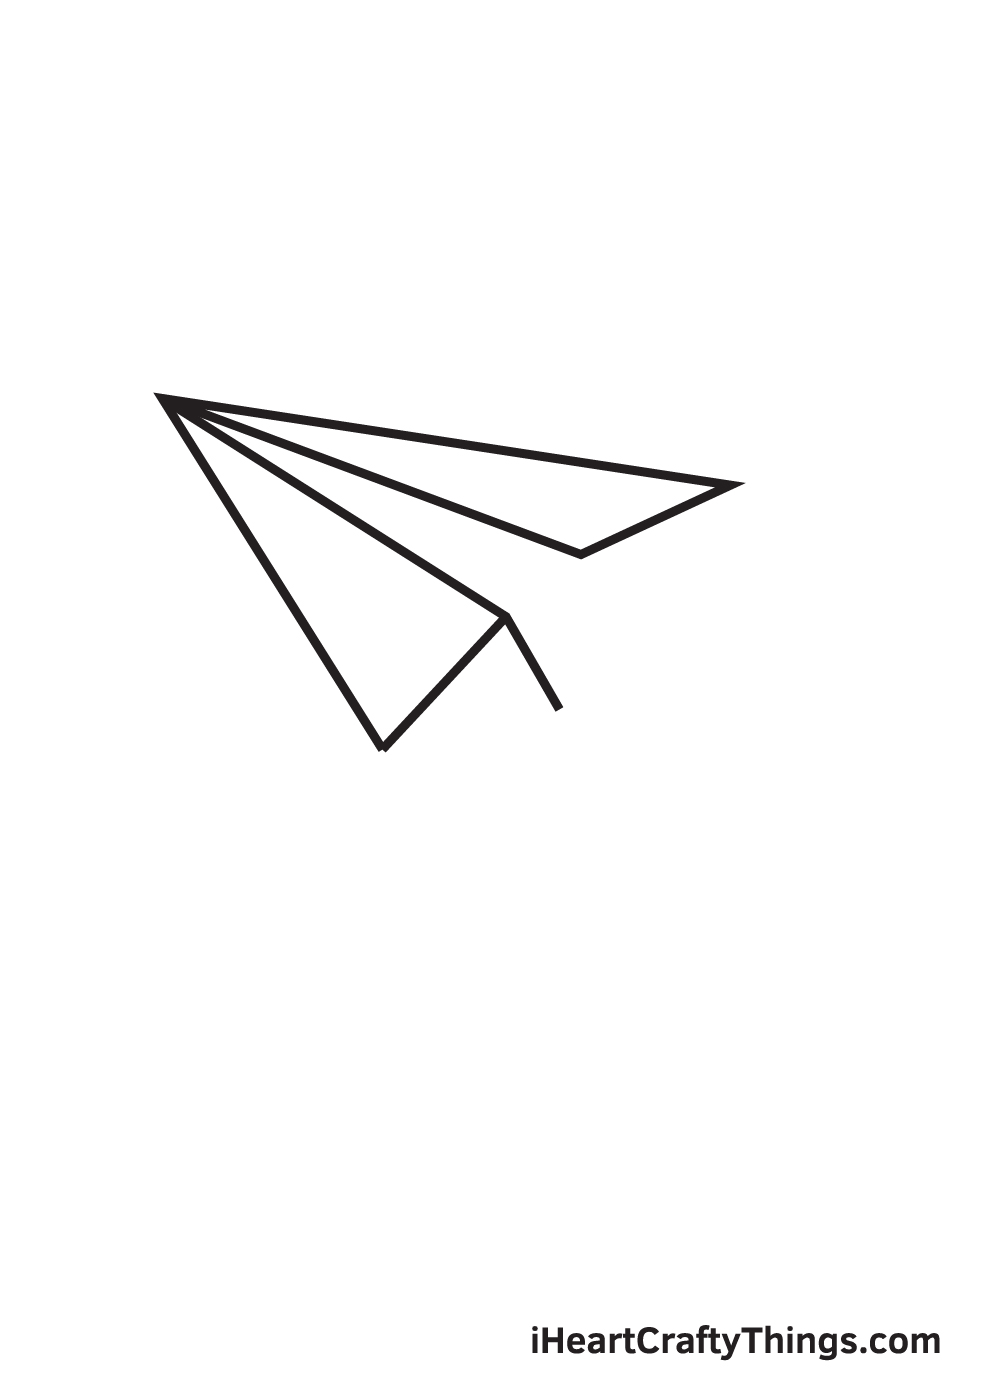
Step 5: Drawing the Left Wing
Repeat the previous step on the opposite side to create the left wing of the paper airplane. This forms the side-by-side structure of the left wing. Make sure the line is connected to the pointed edge of the V-shaped outline and aligned with the bottom endpoint of the left diagonal line.
Step 6: Adding Folds to the Left Wing
In this step, draw a short diagonal line starting from the endpoint of the diagonal line from the previous step. This line represents the folds of the left wing, the part we hold when throwing the paper airplane into the air.
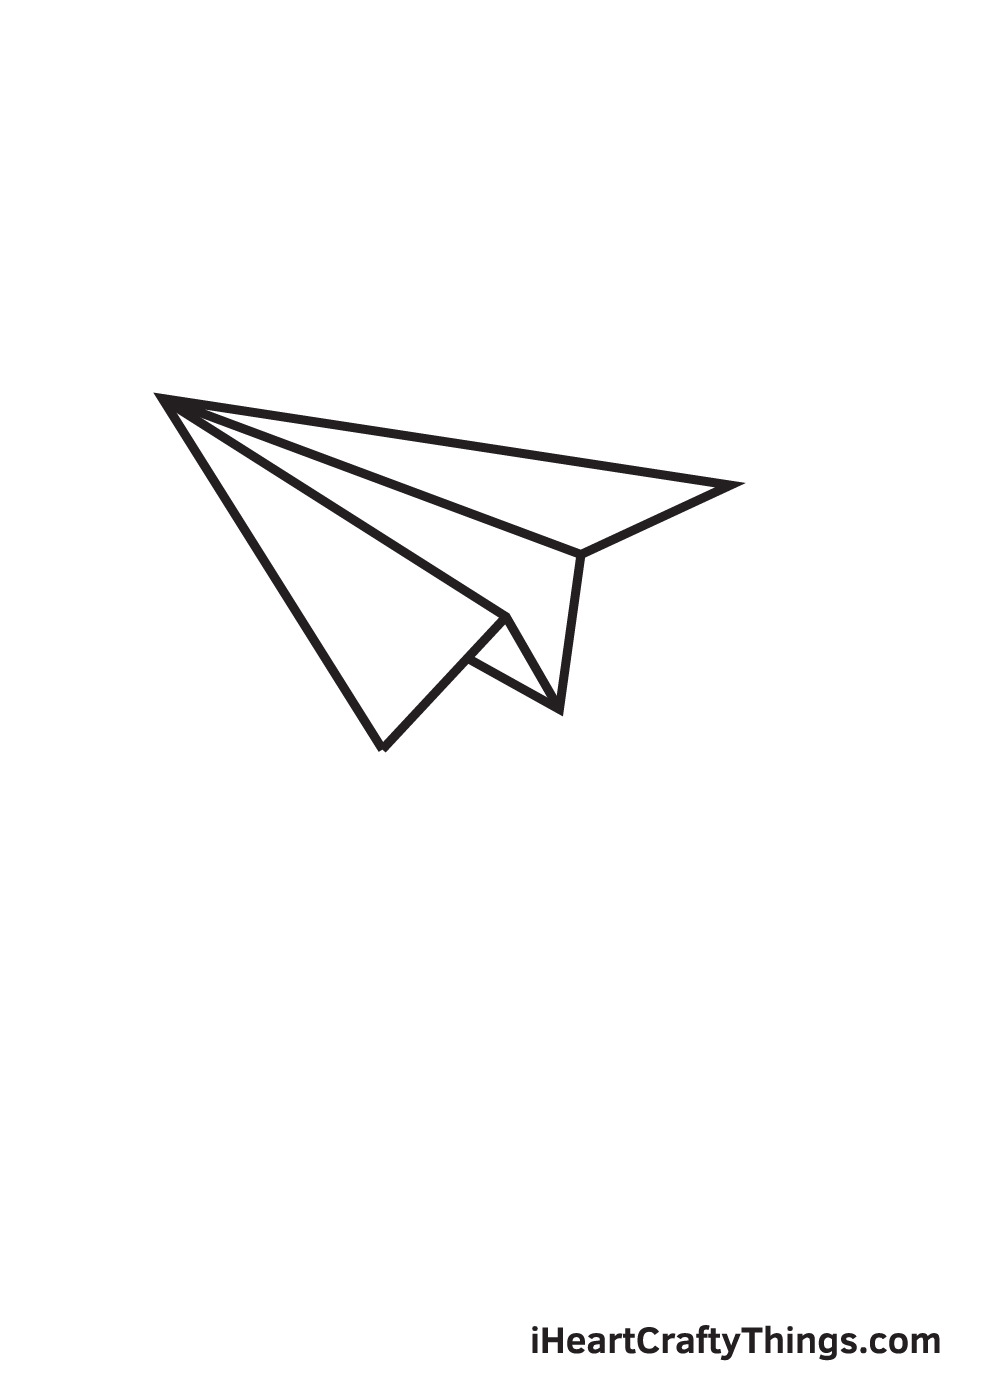
Step 7: Completing the Left Wing
Connect both sides of the paper airplane’s left wing with a straight line. This finalizes the structure of the left wing. At this point, both wings of the paper airplane should be complete.
Step 8: Adding the Handle
Draw an irregular V-shaped line right underneath both wings of the paper airplane. This forms the handle, an essential part of the paper airplane that helps it fly. The line should connect all the endpoints of the paper airplane, completing the structure.
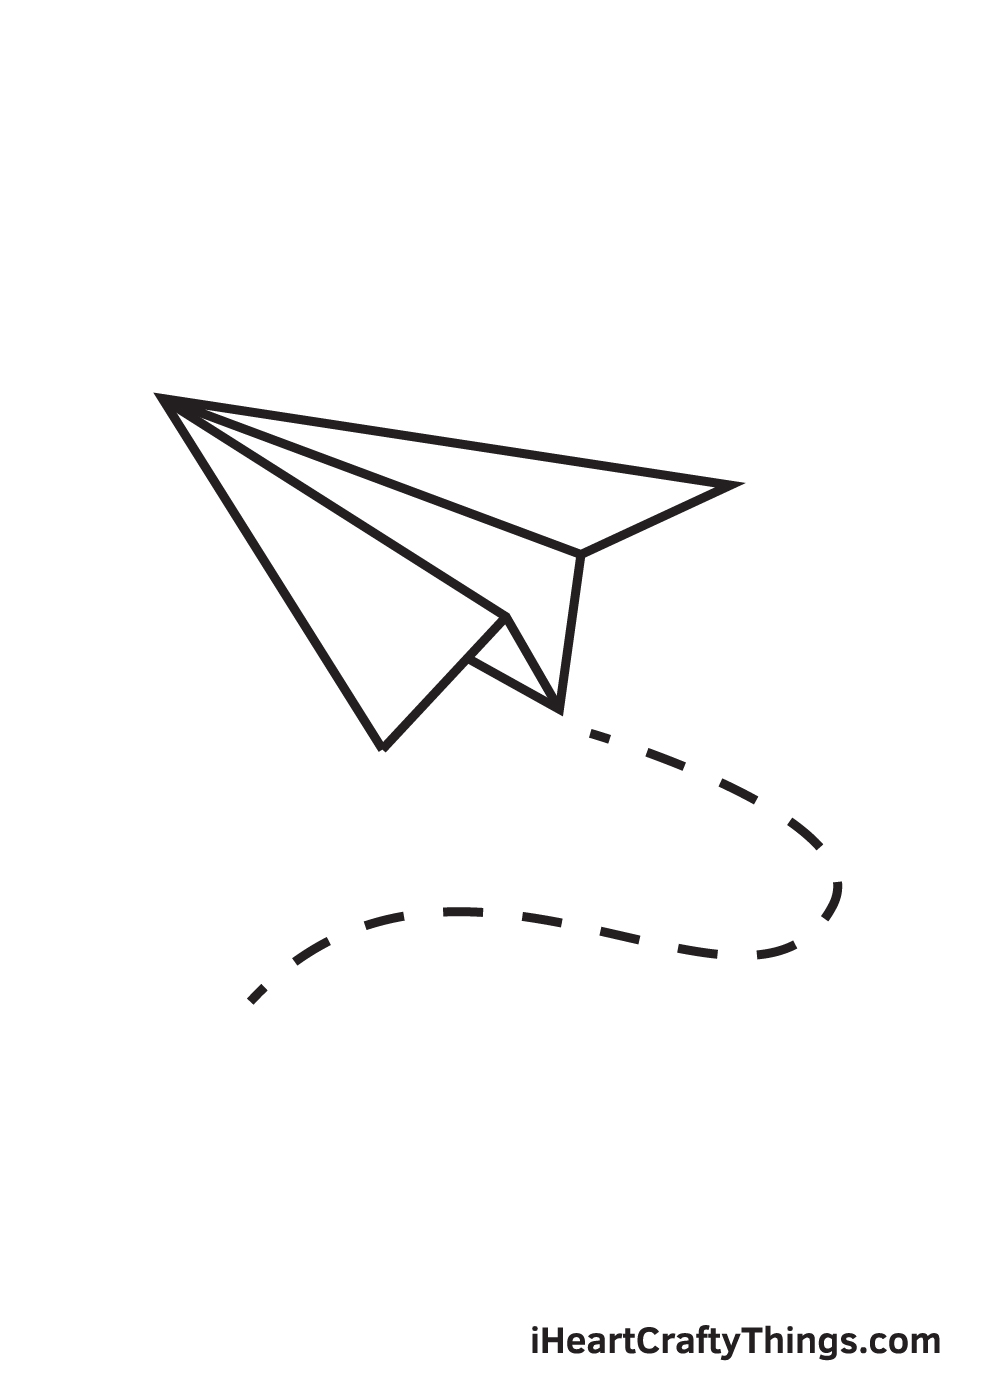
Step 9: Bringing the Paper Airplane to Life
To create the illusion of flight, draw a dashed line consisting of multiple lines forming a curve starting from the tail of the paper airplane. This gives the impression of the paper airplane soaring through the air.
Congratulations! You’ve successfully drawn a paper airplane. Now comes the most exciting part – coloring it! Since paper airplanes are made of paper, you can use any colors you desire. Let your creativity take flight and watch as your paper airplane comes to life with vibrant hues.
Remember, the sky’s the limit when it comes to personalizing your paper airplanes. You can even experiment with multi-colored designs for a truly unique creation!
So, grab your pencils, unleash your imagination, and get ready to embark on a journey through the art of paper airplane drawing.
For more inspiration and creative ideas, visit Quill And Fox – your go-to destination for all things artistic and imaginative. Happy drawing!