
Vertical Wrapping Paper Storage
Table of Contents
Rein in those misbehaving rolls of gift wrap with this simple and inexpensive vertical wrapping paper storage idea you can DIY in a few minutes.
The Problem With Wrapping Paper Storage Solutions
I have a lot of organizational challenges to tackle in my house. So for solving how to store wrapping paper upright, I needed a simple, inexpensive solution. This wasn’t the time to blow $150 on some Elfa gift wrap cart at the Container Store.
Not that I wouldn’t like a storage rack that can hold my tissue paper, bows, gift bags and ribbon. It just wasn’t a high priority this time around.
This is an ideal storage solution whether you’re organizing your house room by room or if, like me, you just need to squeeze a vertical gift wrap storage solution into a random nook in your house.
Storage For Small Spaces
This easy way of storing wrapping paper is an efficient use of vertical space, meaning you really can store quite a bit of wrapping paper in a small, forgotten area of your home or basement.
You’ll love this easy solution if you don’t have a lot of space to store gift wrap, or just want to make better use of your walls for extra storage. I built this wrapping paper storage station behind a door in my craft-studio-turned-daughter’s bedroom. The door is still able to open almost completely and all our gift wrap can stay out of sight until the next special occasion.
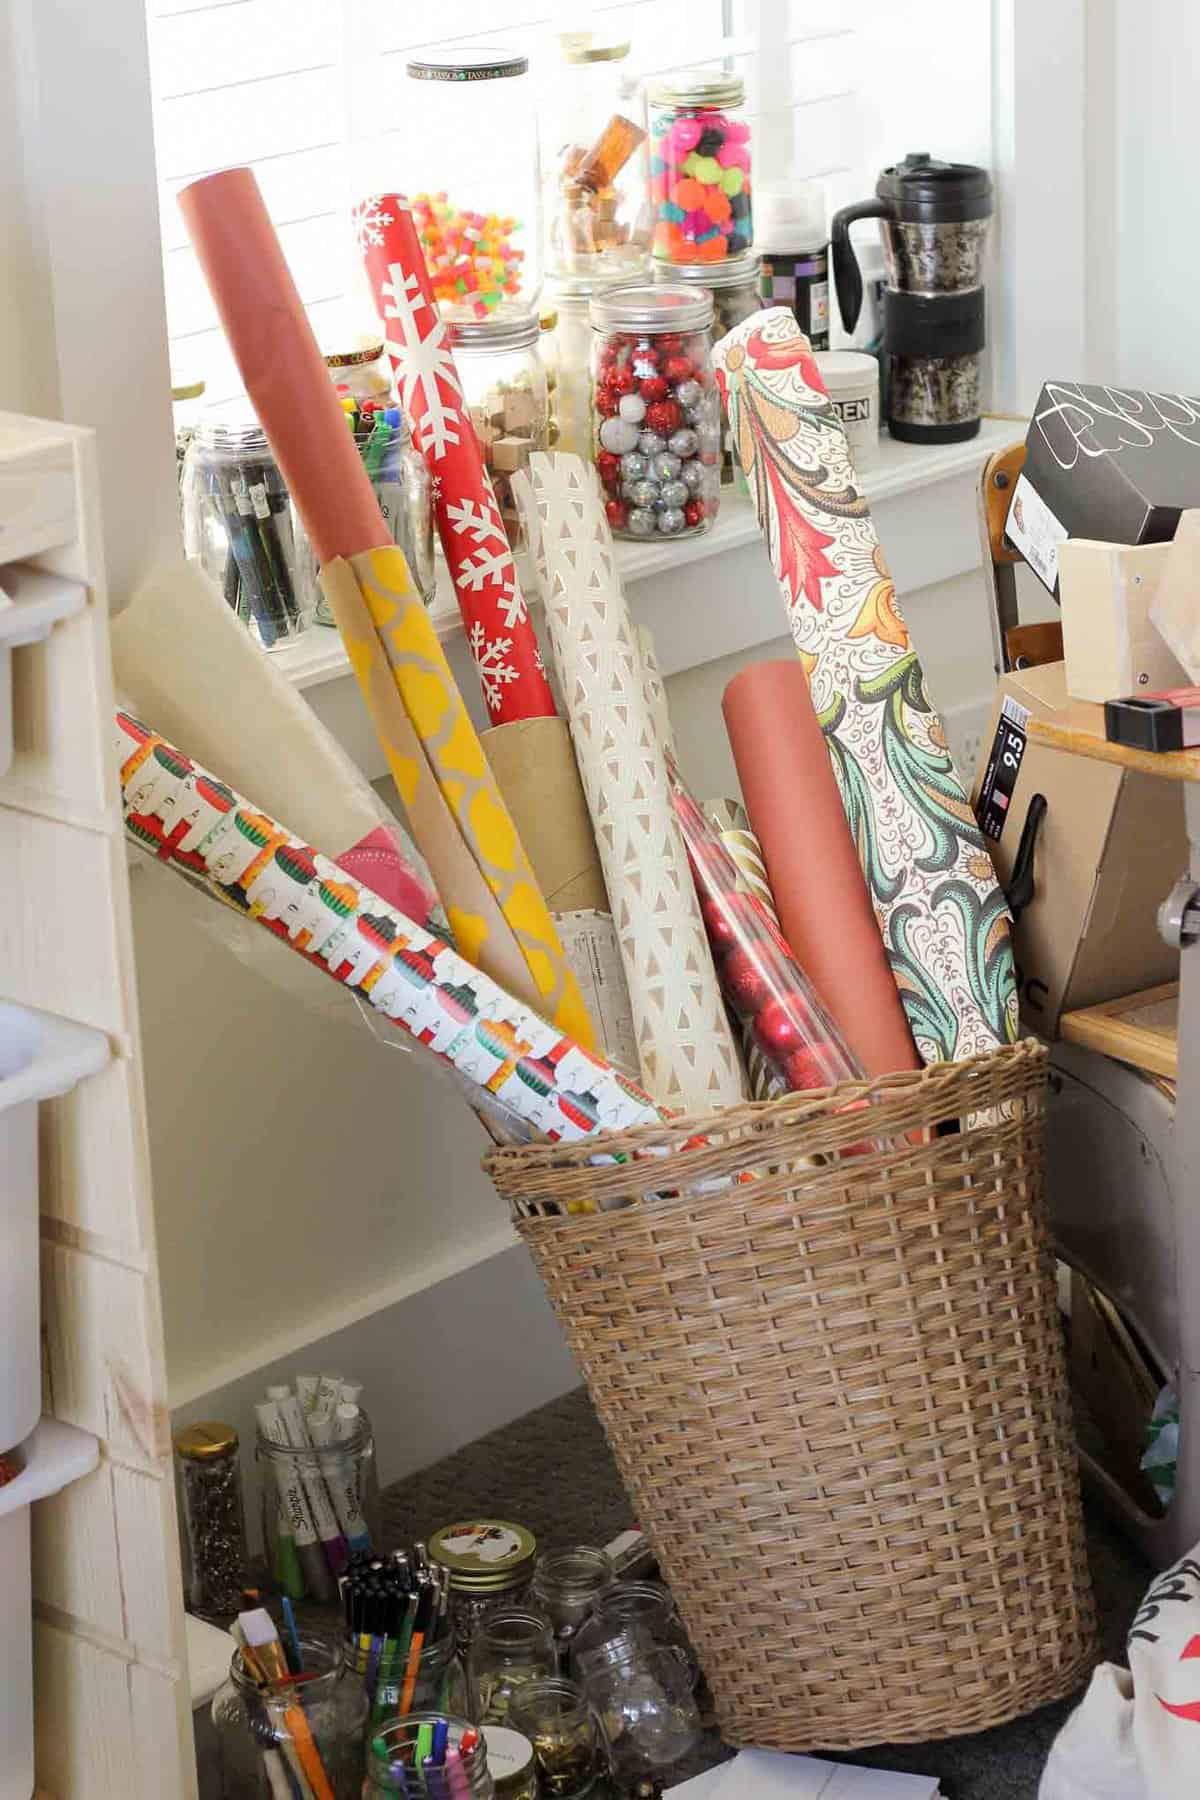
The Before
So. Here is what my wrapping paper looked like before I decided to organize it.
Yikes. Can we just admit that the wrapping paper is honestly the least of my worries in this photo of my craft room? Luckily, I shot this before I started a huge home office overhaul and am happy to report that I no longer have 26 jars of button specimens littering my floor. Now they’re on a shelf. Ha.
It goes without saying that I needed some serious gift wrap storage help because the size of the tubes and the tippyness of my basket were obviously not working out. I contemplated using curtain rods, a door rack with clear pockets, hooks, dresser drawers, and wire baskets. I ultimately decided against each of these solutions though for two reasons:
1. I only have a small space so I didn’t want to use up valuable floor real estate.
2. I didn’t want to have to SEE the wrapping paper when it was out of use.
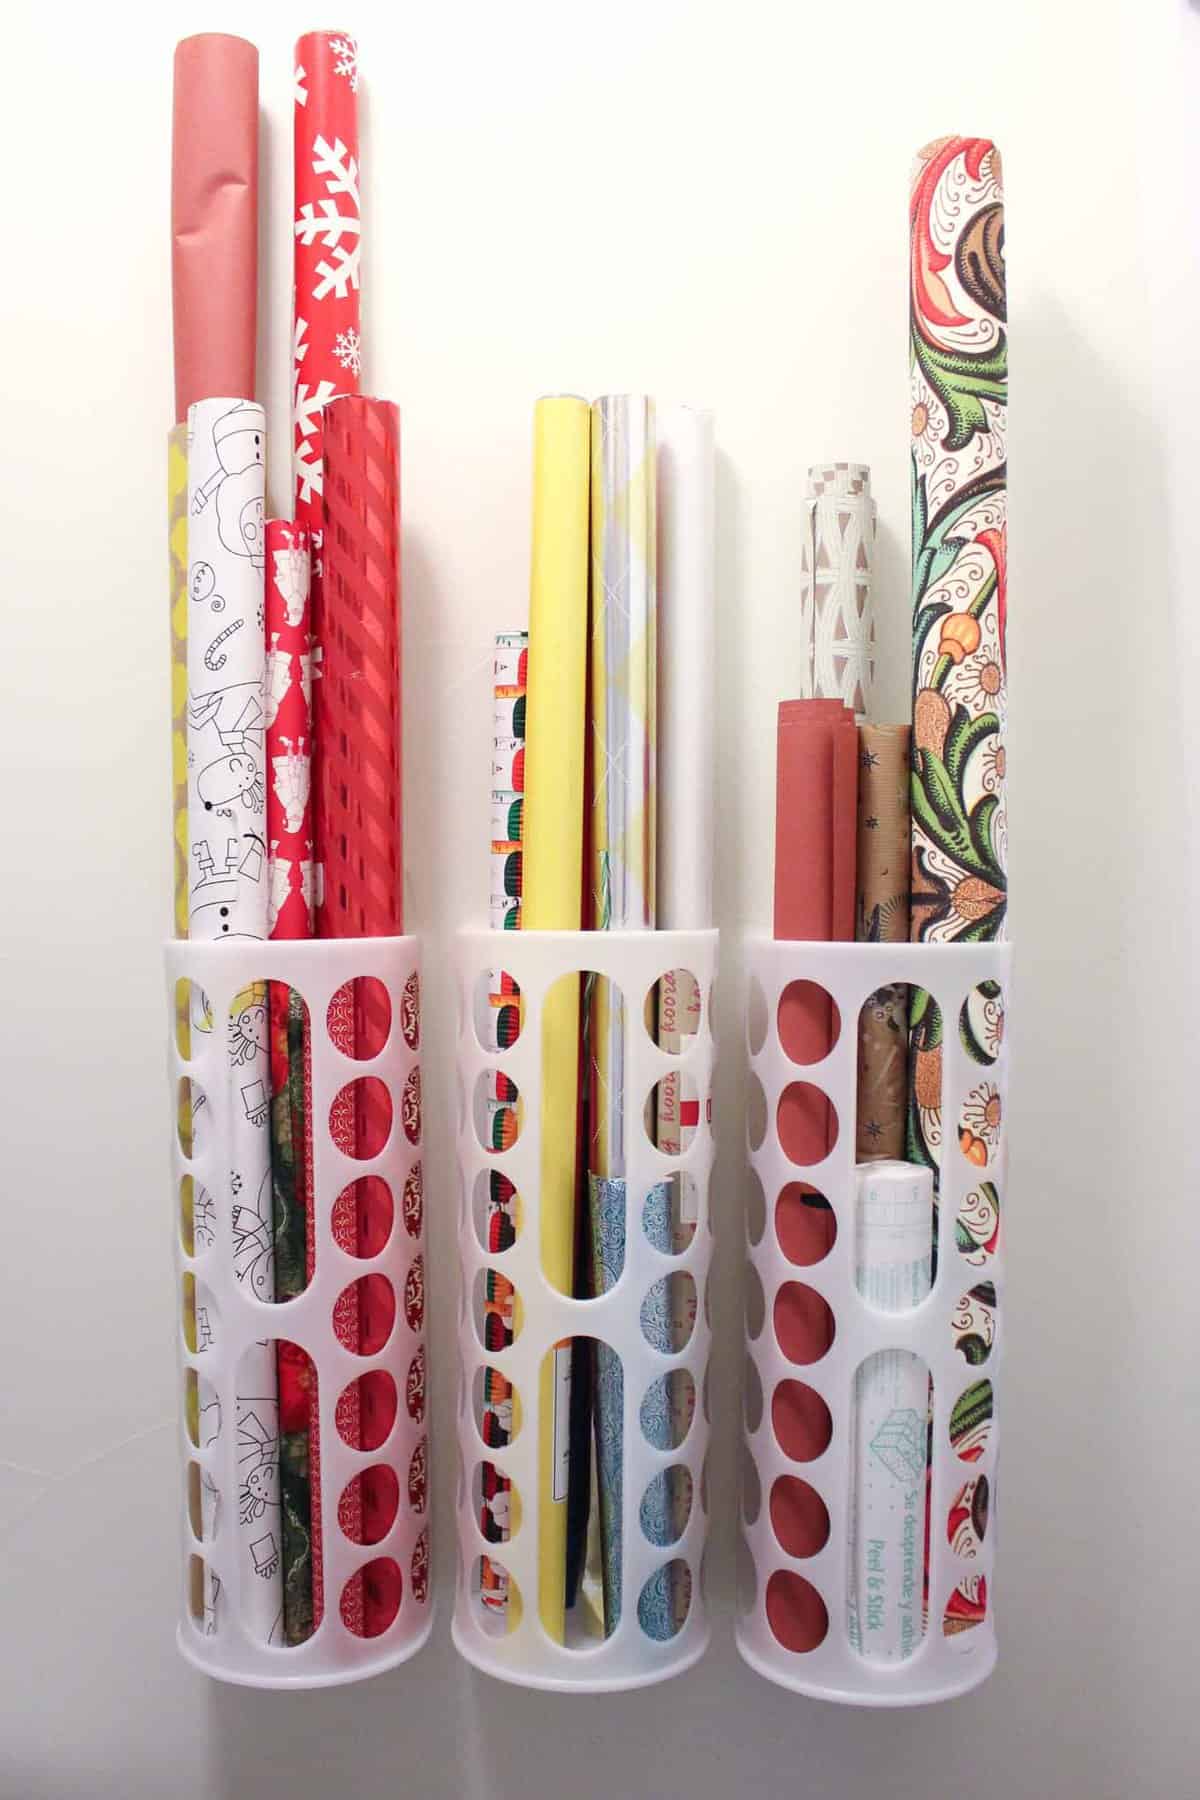
Enter Variera from IKEA. For a few dollars each, these little plastic wonders can reign in a gift wrap apocalypse so that your little tube soldiers are standing at attention.
Variera is meant for plastic bag storage, but I think an even better alternative is to use them for anything tall and thin (and annoying) like long rolls of wrapping paper.
How to Store + Organize Wrapping Paper
I interrupt our regularly scheduled programming to bring you some uncharacteristically ugly photos. You might want to close one eye.
After photographing this DIY wrapping paper storage overhaul and downloading the photos to my computer, I seriously contemplated not posting this tutorial at all.
It’s not so much that I’m worried you’ll judge me for the ugliness (I’m judging right there with you), it’s that I don’t want these photos of my mess and then my cleaned-up mess inside a dark closet corrupting the other pretty DIY projects that will live alongside this post.
Oh well, I’m over it. You know why? This vertical wrapping paper organization idea has been such a simple and effective game changer for me that I just really want to show you how you can do it too. If that means we have to take a break from carefully honed DIY art and free crochet patterns for a sec, so be it.
DIY Vertical Wrapping Paper Organization Supplies
Although you don’t need any tools to assemble these Valiera bag dispensers, you will need a drill to mount them to your wall. This post contains affiliate links at no extra cost to you.
• Valiera plastic bag organizers from IKEA• (2) 1.5″ screws per Valiera• drill (I love ours!)• measuring tape• level• pencil
Step-By-Step Instructions
1. The space between the two holes for hanging the Valiera is 3.75″. So this is the distance apart your screws will need to be on the wall. From each screw to the outside of the container is a little less than 1.5″. (This part is key. I overlooked it at first and put all the screws to close to actually fit the containers next to each other. Welp, good thing it’s a closet because now it’s now got a new “ventilation system.”)
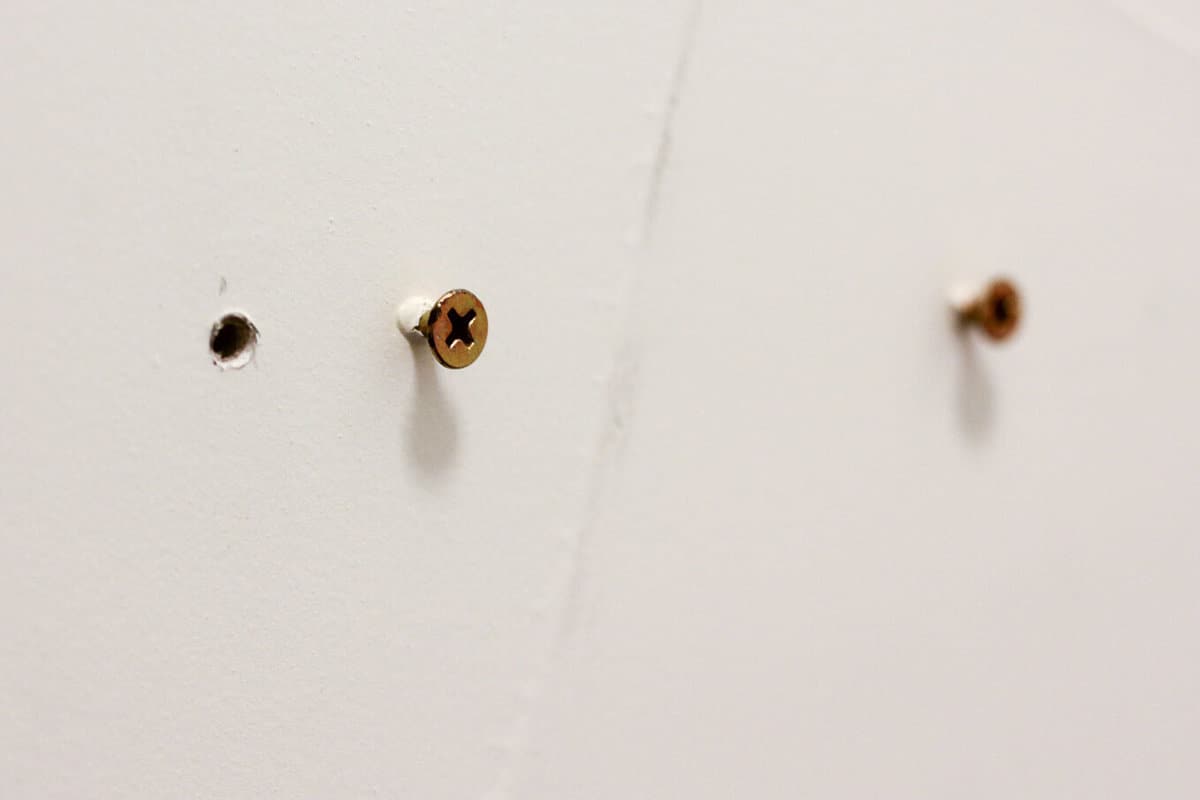 2. Use your ruler and level to mark the places where you will place your screws. As noted above, give yourself at least 3-3.5″ between each set of two screws.
2. Use your ruler and level to mark the places where you will place your screws. As noted above, give yourself at least 3-3.5″ between each set of two screws.
3. Drill your holes.
4. Using the screwdriver attachment on your drill, screw the screws into the wall.
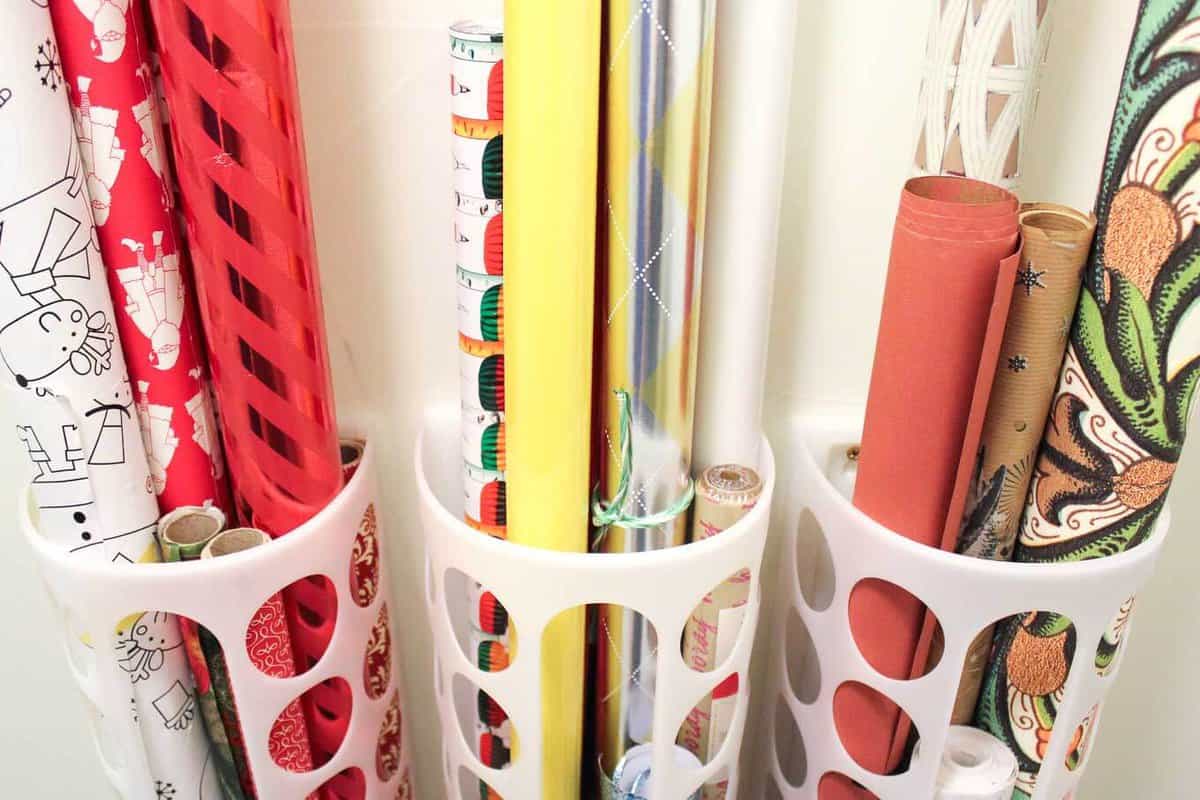
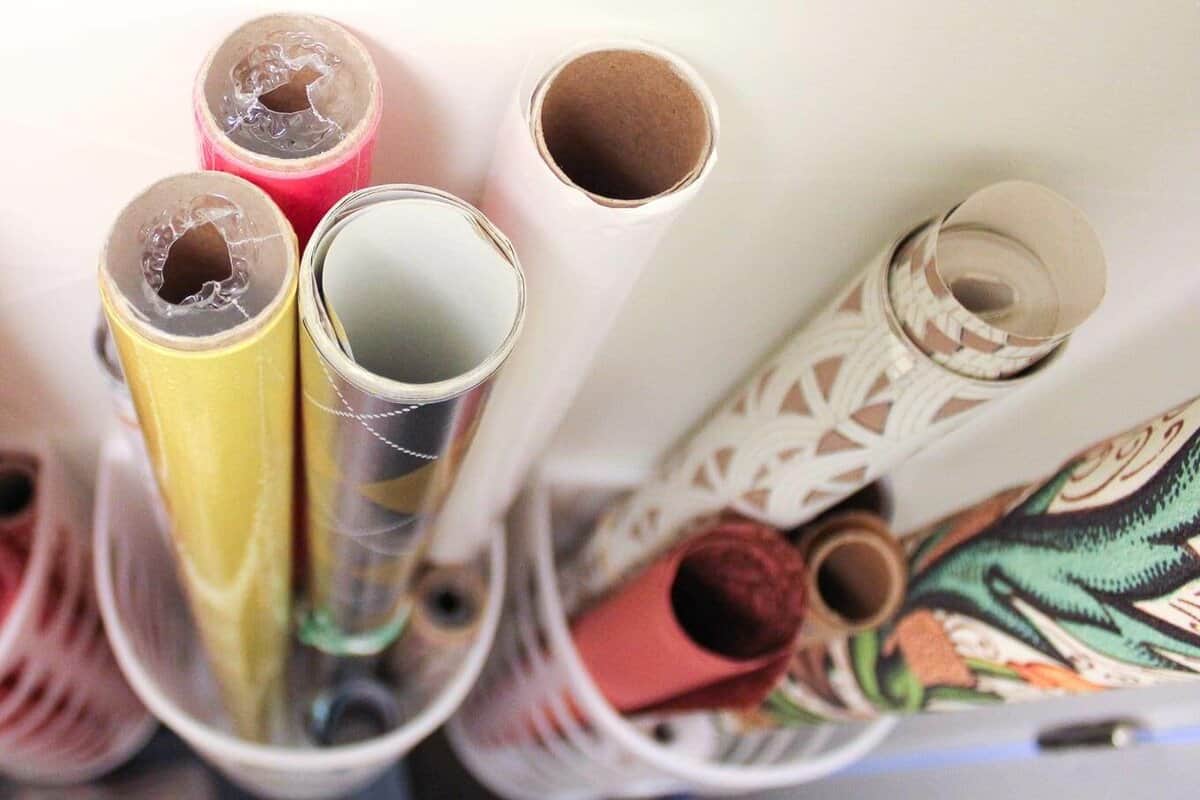
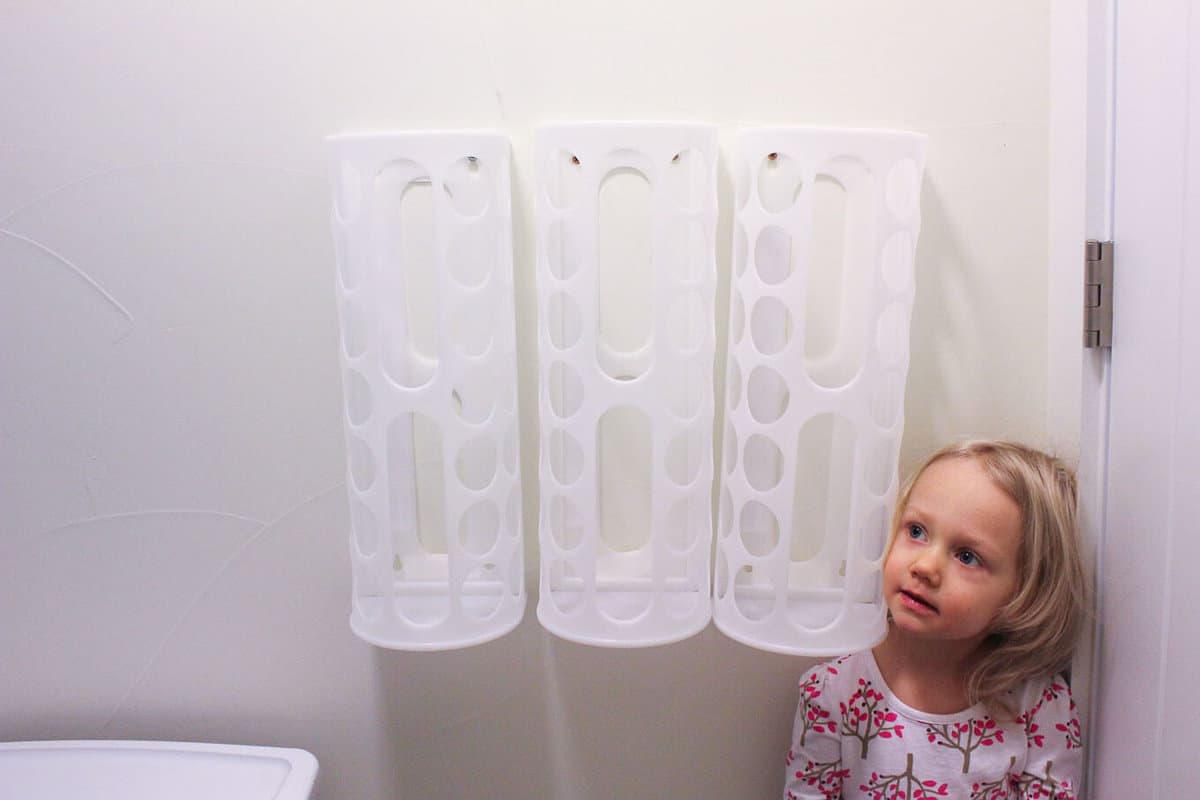
5. Hang up your Valiera and nestle your wrapping paper rolls, dowels or any other tall, skinny and unruly craft supplies inside.
(Did I mention it’s hard to take photos inside a small, dark closet? Well, it’s even harder when a three-year-old wants to be in the closet with you.)
Notes on this Ikea Hack
Another surprising perk of this easy vertical gift wrap storage system is that it has limited capacity. I’m going to have to think long and hard about that roll of wrapping paper calling my name in the $1.50 bins at Michael’s. Who knows, I might just switch to yarn bombing all my gifts and let this paper hang peacefully on the wall.
It’s worth noting, though, each of these wall-mounted Valiera containers holds about seven regular-sized wrapping paper tubes. Not bad for a $4.99 piece of plastic from IKEA, huh?!
Do you have any good systems or IKEA hacks for organizing yarn and unruly craft supplies? Seriously, I am all ears. My craft room can use all the good ideas you’ve got.
Modern DIY Storage Ideas
If you’re as crafty (and messy!) as me, you’ll love these other do-it-yourself solutions for creating more storage in your home.
- How to Build Reclaimed-Looking Shelves with Wooden Crates
- DIY Hexagon Shelf Made From Popsicle Sticks – with free template
- How to Make Honeycomb Shelves – with free template
And if you’re into crocheting, you’re in luck because we have a TON to share with you.