Table of Contents
If you’re looking for a fun and easy DIY project, then learning how to fold a paper boat is a great place to start. Not only is it a simple and enjoyable activity, but it’s also a great way to exercise your creativity. With just a few simple folding techniques, you can create a beautiful paper boat that you can use for decoration or even for play.
In this article, we’ll take a closer look at the step-by-step process of folding a paper boat, as well as some helpful tips and tricks to make the process even easier. So whether you’re a seasoned paper-folding expert or a complete beginner, let’s dive in and explore the wonderful world of paper boats!
Materials Needed
Before we get started, let’s take a quick look at the materials you’ll need to make your paper boat. Fortunately, this project doesn’t require anything fancy, and you likely have everything you need already on hand. Here are the materials you’ll need:
-
A square piece of paper: The size of the paper can vary depending on how big you want your boat to be. For beginners, we recommend using a standard 8.5 x 11-inch piece of paper.
-
A flat surface: You’ll need a flat surface to fold your paper on. A desk or table works great.
-
Your hands: This project requires no scissors or glue, so your hands are your most important tool!
Now that you have your materials ready, let’s move on to the fun part: folding the paper boat.
Steps to Fold a Paper Boat
Step 1: Start with a Square Piece of Paper
The first step in folding a paper boat is to start with a square piece of paper. If you’re using a standard 8.5 x 11-inch piece of paper, you’ll need to fold it in half diagonally to create a square. Simply line up the top corner of the paper with the bottom corner, and then crease the paper in half diagonally.
Step 3: Fold the Top Corners Down to the Center Crease
Next, take the top layer of the right corner and fold it down to meet the center crease. Repeat this step with the left corner and make sure that the two corners overlap slightly in the center.
Step 4: Fold the Bottom Edge Up to the Center Crease
Now, take the bottom edge of the paper and fold it up to the center crease. This will create a triangle shape at the bottom of the paper.
Step 5: Fold the Corners Back and Out
Flip the paper over and fold the right and left corners back and out to create the sides of the boat. You can adjust the angle of the folds to create a wider or narrower boat.
Step 6: Fold the Top Point Down to the Bottom Point
Finally, fold the top point of the paper down to meet the bottom point. Crease the paper well and then unfold it slightly to create the base of the boat.
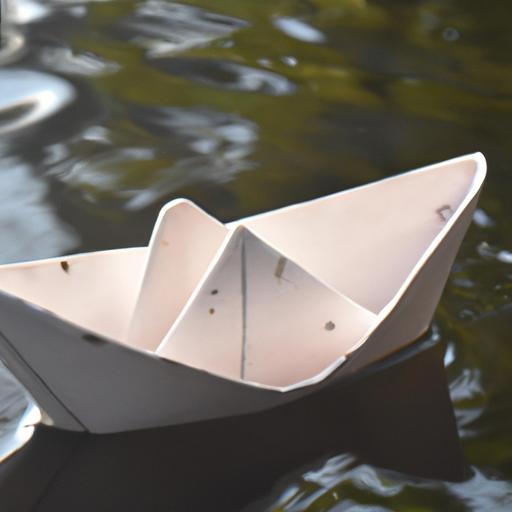
Congratulations, you’ve folded your very own paper boat! With a little bit of practice, you can experiment with different paper sizes and folding techniques to create a variety of unique boats.
Decorating the Paper Boat
Once you’ve folded your paper boat, you can take it to the next level by decorating it. You can use markers, crayons, or paint to add color and designs to your boat. You can also add stickers, cut out shapes, or even glue on glitter to make your boat stand out.
Another fun way to decorate your paper boat is by adding a sail. You can use toothpicks or skewers to make a mast, and then attach a small piece of paper or fabric to create a sail. You can even write your name or a message on the sail to personalize your boat.
Tips and Tricks
Here are some helpful tips and tricks to keep in mind as you fold your paper boat:
-
Make sure to crease your paper well after each fold to create sharp, clean lines.
-
Experiment with different paper sizes and folding techniques to create unique boats.
-
If you’re having trouble with a particular step, try watching a video tutorial or asking a friend for help.
-
Don’t be afraid to get creative with your decorations! The possibilities are endless.
Conclusion
Learning how to fold a paper boat is a fun and easy DIY project that anyone can enjoy. With just a few simple folds, you can create a beautiful paper boat that you can use for decoration or even for play. So grab some paper and get folding – your next paper boat adventure is waiting for you!
Step 5: Fold the Corners Back and Out
Next, you’ll want to fold the corners of the paper back and out to create the boat’s sides. To do this, take the top layer of each corner and fold it back and out towards the edges of the paper. This will create two triangular flaps on each side of the paper.
Step 6: Fold the Top Point Down to the Bottom Point
Finally, you’ll want to fold the top point of the paper down to the bottom point to create the boat’s hull. To do this, simply take the top point of the paper and fold it down to the bottom point, creasing the paper firmly along the way.
And there you have it! Your paper boat is complete and ready to sail. But before you set it out to sea, let’s take a closer look at some helpful tips and tricks to make your paper boat-folding experience even more enjoyable.
Decorating the Paper Boat
One of the best things about folding a paper boat is that you can get creative with the design and decoration. There are endless ways to personalize your paper boat and make it unique. Here are a few ideas to get you started:
-
Use patterned paper: If you want to add some extra flair to your paper boat, try using patterned paper instead of plain white paper. You can find a wide variety of patterned paper at your local craft store, or you can print your own designs onto plain paper.
-
Add stickers or drawings: Another way to decorate your paper boat is to add stickers or draw your own designs onto the paper. You can use markers, crayons, colored pencils, or any other art supplies you have on hand.
-
Create a fleet: Once you’ve mastered the art of folding a paper boat, try making multiple boats in different sizes and colors to create a whole fleet of paper boats.
Tips and Tricks
-
Use crisp, clean paper: To ensure that your paper boat turns out looking neat and tidy, use a crisp, clean piece of paper. Wrinkled or crumpled paper can make the folding process more difficult and result in a less polished final product.
-
Be patient: Folding a paper boat takes a bit of practice and patience. Don’t get discouraged if your first few attempts don’t turn out perfectly. Keep practicing, and you’ll soon become a paper-folding pro.
-
Experiment with different paper sizes: While we recommend starting with a standard 8.5 x 11-inch piece of paper, don’t be afraid to experiment with different paper sizes to create boats of varying shapes and sizes.
With these tips and tricks in mind, you’ll be well on your way to creating beautiful paper boats in no time. So grab some paper, and let your creativity set sail!