
How to Fold a Paper into an Envelope: Step-by-Step Guide
Table of Contents
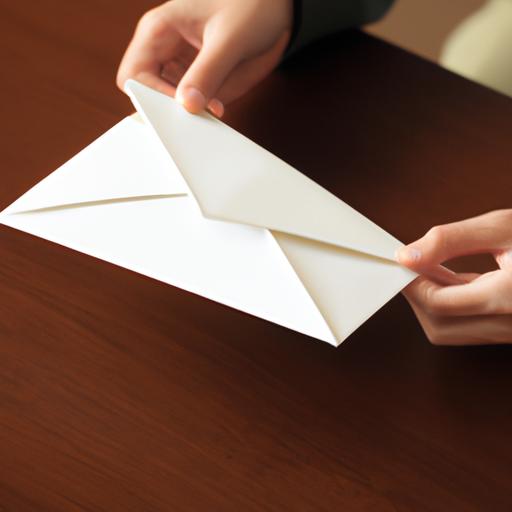
Are you tired of buying envelopes every time you need to send a letter or card to someone? Why not make your own envelope using a piece of paper? It’s incredibly easy and only takes a few minutes. In this article, we’ll show you how to fold a paper into an envelope step-by-step.
Materials Needed
Before we begin, let’s make sure we have all the materials we need to make our own envelope. Here’s a list of what you’ll need:
- A piece of paper (8.5 x 11 inches or A4 size)
- Ruler or straight edge
- Scissors
- Glue or double-sided tape (optional)
Now that you have all the necessary materials, let’s get started on folding your paper into an envelope!
Step-by-Step Process
-
Start by placing your paper in front of you with the short edge facing you. Fold the bottom edge up to the top edge, crease it well, and unfold.
-
Take the right corner of the paper and fold it towards the center crease. Repeat the same step with the left corner of the paper.
-
Fold the bottom edge of the paper up to the bottom of the two diagonal folds you made in step 2. Crease it well and unfold.
-
Fold the bottom edge of the paper up to the center crease. Crease it well and unfold.
-
Take the top corner of the paper and fold it down to the center crease.
-
Fold the bottom edge of the paper up to the bottom of the triangle you made in step 5.
-
Take the right corner of the paper and fold it towards the center crease. Repeat the same step with the left corner of the paper.
-
Tuck the corners of the paper into the pocket you created in step 6.
Your paper envelope is now complete! If you want to ensure that it stays closed, you can use glue or double-sided tape to seal the top flap.
Tips and Tricks
To make your paper envelope look neater and more professional, you can use a bone folder or the back of a spoon to make crisp folds. You can also use patterned or colored paper to create a more unique envelope. If you’re feeling creative, try adding some extra decorations like stickers, washi tape, or hand-drawn designs.
Now that you know how to fold a paper into an envelope, you’ll never have to buy envelopes again! It’s a simple and fun DIY project that can save you money and add a personal touch to your letters and cards. Next, we’ll discuss some alternative folding techniques and materials you can use to create even more unique envelopes.
Step-by-Step Process (Continued)
For those who prefer visual aids, here’s a more detailed breakdown of the folding process with images:
-
Start with a rectangular piece of paper, with the printed side facing down.
-
Fold the bottom edge of the paper up to meet the top edge, and crease well. Unfold the paper.
-
Take the bottom-right corner of the paper and fold it up diagonally to meet the top edge. Crease well. Repeat this step with the bottom-left corner of the paper.
-
Fold the bottom edge of the paper up to meet the crease made in step 3. Crease well.
-
Fold the bottom edge of the paper up again, this time to meet the center crease. Crease well.
-
Take the top-right corner of the paper and fold it down diagonally to meet the center crease. Crease well.
-
Repeat step 6 with the top-left corner of the paper.
-
Fold the bottom edge of the paper up to meet the crease made in step 6. Crease well.
-
Tuck the triangular flaps created in step 6 into the pocket created in step 8.
-
Finally, fold the top flap of the paper down and crease well. Your envelope is now complete!
Tips and Tricks (Continued)
If you want to make your envelope look even neater, you can trim the edges with scissors to give them a straight edge. You can also use decorative scissors to create a scalloped or zigzag edge.
Another tip is to use a heavier paper or cardstock to make your envelope. This will make it sturdier and more durable, especially if you’re planning to mail it.
To decorate your envelope, you can use stickers, washi tape, rubber stamps, or even hand-drawn designs. You can also use colored or patterned paper to make your envelope stand out. Just make sure to use a glue stick or double-sided tape to attach any decorations, as regular glue can make your envelope buckle or wrinkle.
With these tips and tricks, your homemade envelope will look just as good as store-bought ones, if not better! So why not try making your own envelopes the next time you need to send a letter or card? It’s a fun and creative way to add a personal touch to your correspondence.
Alternatives
While the traditional envelope folding technique we’ve discussed is simple and effective, there are many alternative folding techniques and materials you can use to create unique and eye-catching envelopes. Here are a few suggestions:
- Try using origami paper to create intricate and detailed envelopes, like the traditional Japanese crane envelope.
- Use a square piece of paper to create a triangular envelope, perfect for holding small items like jewelry or seeds.
- Fold an envelope out of a map or other decorative paper to create a personalized and unique envelope.
- Experiment with different envelope shapes, like hearts, stars, or even animals.
By using different materials and experimenting with different folding techniques, you can create envelopes that are truly one-of-a-kind.
Conclusion
Learning how to fold a paper into an envelope is a simple and useful skill that can save you money and add a personal touch to your letters and cards. By following our step-by-step guide, you’ll be able to create your own envelopes in just a few minutes. And if you want to get creative, there are many alternative techniques and materials you can use to create unique and eye-catching envelopes.
So next time you need to send a letter or card, why not try making your own envelope? It’s a fun and easy DIY project that’s sure to impress the recipient. Happy folding!