
How to Make a Ninja Star Out of Paper: A Step-by-Step Guide
Table of Contents
Ninja stars, also known as shurikens, are popular weapons used in martial arts and have been depicted in movies and video games. However, making a ninja star out of paper can be a fun and creative activity for all ages. In this article, we will provide you with a step-by-step guide on how to make a ninja star out of paper.
Materials Needed
Before we start, it’s important to gather all the necessary materials. Here’s what you will need:
1. Two square pieces of paper
The size of the paper can vary, but it’s recommended to use paper that’s around 6 inches by 6 inches. You can use any type of paper, including origami paper, construction paper, or printer paper.
2. Scissors
You will need a pair of scissors to cut the paper into the right shape.
3. Ruler
Using a ruler will help you make precise folds and cuts.
4. Pencil
A pencil will be needed to mark the paper before cutting and folding.
5. Optional: Decorative materials
If you want to add a personal touch to your ninja star, you can use decorative materials such as markers, stickers, or washi tape.
Now that you have all the materials, let’s get started on making your very own ninja star out of paper.
Step-by-Step Instructions
-
Take one square piece of paper and fold it in half diagonally to create a crease. Unfold the paper and repeat the same fold diagonally in the opposite direction to create an X-shaped crease.
-
Fold each corner of the paper towards the center of the X-shaped crease. You should end up with a smaller square shape.
-
Take the second square piece of paper and repeat steps 1 and 2.
-
Place one of the folded paper squares on top of the other in a cross shape. The folds should overlap in the center.
-
Fold one corner of the top paper square towards the center of the cross shape. The corner should meet the center point where the folds overlap.
-
Repeat step 5 with the remaining three corners of the top paper square.
-
Take the bottom paper square and fold one of its corners up towards the center of the cross shape. The corner should meet the center point where the folds overlap.
-
Repeat step 7 with the remaining three corners of the bottom paper square.
Stay tuned for the next two sections!
Step-by-Step Instructions (continued)
-
Insert the folded corners of the top paper square into the pockets created by the folded corners of the bottom paper square. The pockets should be located between the two layers of paper.
-
Gently press down on the ninja star to create creases where the folds meet. This will help the ninja star stay together.
-
Flip the ninja star over and repeat step 10 on the other side.
-
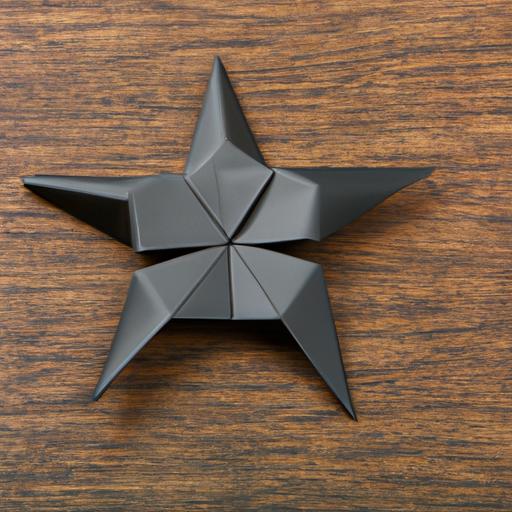
Congratulations, you’ve made your very own ninja star out of paper!
Tips and Tricks
Now that you know how to make a ninja star out of paper, here are some additional tips to make the process easier and avoid common mistakes:
1. Use square paper
Using square paper will make the folding process easier and ensure that the ninja star comes out symmetrical.
2. Make precise folds
It’s important to make precise folds to ensure that the ninja star stays together and looks neat. Using a ruler can help with this.
3. Use decorative materials
Adding decorative materials such as markers or stickers can make your ninja star unique and personalized.
4. Practice makes perfect
Don’t worry if your first ninja star doesn’t come out perfectly. Keep practicing and you’ll get the hang of it in no time.
5. Avoid using thick paper
Thick paper can make it difficult to fold and crease the ninja star. Stick to using thinner paper for best results.
6. Don’t force the folds
Forcing the folds can cause the paper to tear or the ninja star to come out crooked. Take your time and be gentle with the folds.
By following these tips and tricks, you’ll be able to make a perfect ninja star out of paper every time.
Variations and Customizations
Making a ninja star out of paper is a great way to express your creativity, and there are many ways you can customize your ninja star to make it unique. Here are some ideas to get you started:
1. Different types of ninja stars
There are many different types of ninja stars you can make out of paper. For example, you can try making a four-pointed star instead of an eight-pointed star. Or you can experiment with different shapes and sizes of paper to create a mini ninja star or a giant ninja star.
2. Ways to customize with colors, patterns, and designs
You can also customize your ninja star with colors, patterns, and designs. You can use markers, stickers, or washi tape to add colorful accents to your ninja star. You can also use patterned paper or draw your own designs on the paper before folding and cutting it.
Conclusion
Congratulations, you have successfully made a ninja star out of paper! Making a ninja star out of paper is not only a fun and creative activity but also a great way to exercise your fine motor skills and patience. Plus, you now have your very own ninja star that you can use as a decoration or a toy.
In conclusion, we hope this step-by-step guide has been helpful in teaching you how to make a ninja star out of paper. Remember, you can always experiment with different types of paper and customization options to make your ninja star unique. So, grab some paper and start making your own ninja star today!