
How to Make a Paper Wallet: A Beginner’s Guide
Table of Contents
Cryptocurrency is becoming more popular than ever, and with that comes the need to store it securely. One way to do so is by using a paper wallet. A paper wallet is a physical copy of your private and public keys that you can print and keep offline. It’s a secure and straightforward way to store your cryptocurrency, and in this beginner’s guide, we’ll show you how to make a paper wallet.
Understanding Paper Wallets
Before we dive into the steps to create a paper wallet, it’s essential to understand what it is and why it’s useful. A paper wallet is a physical copy of your private and public keys, which are used to access your cryptocurrency. By printing your keys on paper, you eliminate the risk of your keys being hacked or stolen online.
One of the advantages of using a paper wallet is that it’s entirely offline, making it immune to online threats such as phishing attacks or malware. Additionally, it’s easy to create, and you can store it in a safe location, such as a fireproof safe or a safety deposit box.
Materials Needed
To create a paper wallet, you’ll need a few materials. The first thing you’ll need is paper. We recommend using high-quality paper that is resistant to tearing, water, and fire. You can also use printer paper, but it’s not as durable.
You’ll also need a printer to print your paper wallet template. You can find paper wallet templates online, or you can create your own. When printing your template, make sure that your printer is set to high-quality printing to ensure that your keys are legible.
Lastly, you’ll need a pair of scissors to cut out your paper wallet. Make sure that your scissors are sharp and can cut through the paper without tearing it.
Steps to Create a Paper Wallet
Now that you have your materials ready, it’s time to create your paper wallet. Follow these steps to create a paper wallet:
Step 1: Download or Create a Template
You can find a paper wallet template online, or you can create your own. If you decide to create your own, make sure that it includes space for your private and public keys, a QR code, and a place to write down any notes.
Step 2: Print the Template
Once you have your template ready, it’s time to print it. Make sure that your printer is set to high-quality printing to ensure that your keys are legible.
Step 3: Cut the Template
After printing your template, use your scissors to cut out the paper wallet. Be careful not to cut off any important information or damage the keys.
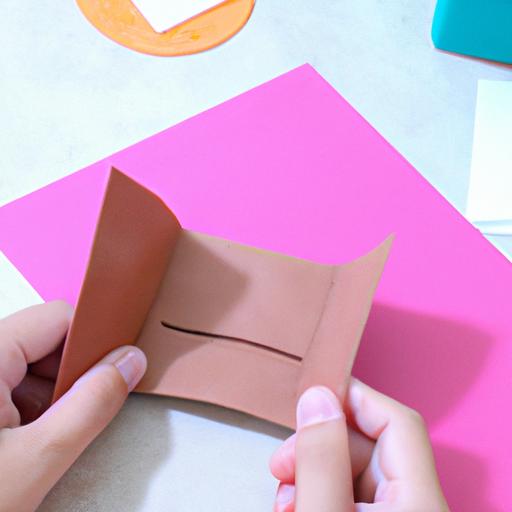
Step 4: Fold the Wallet
Once you’ve cut out your paper wallet, it’s time to fold it. Follow the instructions on your template to fold your wallet properly. Make sure that you don’t crease the keys or damage them in any way.
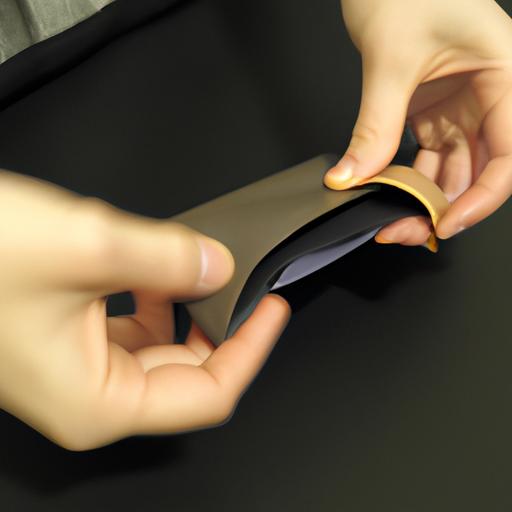
How to Store Your Paper Wallet
Now that you have your paper wallet ready, it’s essential to store it safely. Here are some tips on how to store your paper wallet:
Precautionary Measures
Before storing your paper wallet, make sure that you take some precautionary measures to ensure its safety. For instance, make sure that your printer is not connected to the internet to prevent any hacking attempts.
Additionally, make sure that you store your paper wallet in a safe location, such as a fireproof safe or a safety deposit box. You can also consider storing it in a sealed envelope or laminating it to protect it from water damage.
Tips for Safe Storage
When storing your paper wallet, make sure that you store it somewhere that only you can access. Avoid storing it in a public or shared location, such as a coworking space or a coffee shop.
Also, make sure that you keep it away from any potential hazards, such as heat sources, water, or direct sunlight. Lastly, make sure that you have a backup of your keys in case your paper wallet is lost or damaged. You can store your backup in a separate location, such as a USB drive or a cloud storage service.
How to Use Your Paper Wallet
Now that you’ve created your paper wallet, you’re ready to start using it. Here’s how you can use your paper wallet to transfer and receive cryptocurrency:
Transferring Funds
To transfer funds from your paper wallet to another wallet, you’ll need to follow these steps:
- Open your digital wallet application and click on the “Send” button.
- Enter the public key of the wallet you want to transfer the funds to.
- Enter the amount of cryptocurrency you want to transfer.
- Click on the “Send” button and confirm the transaction.
Once the transaction is confirmed, your cryptocurrency will be transferred to the recipient’s wallet.
Receiving Funds
To receive funds in your paper wallet, you’ll need to follow these steps:
- Obtain your public key, which is printed on your paper wallet.
- Provide your public key to the person who wants to send you cryptocurrency.
- Once they’ve sent the cryptocurrency, the funds will be added to your wallet.
It’s important to note that paper wallets are not meant to be used for frequent trading or transactions. They’re best used as long-term storage solutions for your cryptocurrency.
Conclusion
In conclusion, a paper wallet is a simple, secure, and reliable way to store your cryptocurrency offline. By following the steps outlined in this guide, you can create a paper wallet and start storing your cryptocurrency safely. Remember to always keep your paper wallet in a secure location and to follow best practices when transferring or receiving cryptocurrency. With a little effort, you can keep your cryptocurrency safe and secure for years to come.