
How to Make a Snowflake Out of Paper: A Fun and Easy Winter Craft Activity
Table of Contents
Winter is here, and nothing screams winter more than snowflakes. Making snowflakes out of paper is a classic winter craft activity that is both fun and easy. Not only is it a great way to pass the time on a cold winter day, but it’s also an excellent activity for kids and adults alike. In this article, we will provide you with step-by-step instructions on how to make a snowflake out of paper, including advanced techniques and suggestions for decorating and displaying your completed snowflakes.
Materials Needed
Before we start, let’s gather the materials we need for this activity. You will need:
- Paper (white or colored)
- Scissors
- Pencil
- Ruler (optional)
- Glue (optional)
- Decorative items (optional)
The type of paper you use is entirely up to you. However, we recommend using thin and lightweight paper, such as printer paper or origami paper, as it’s easier to fold and cut. If you want to add some color to your snowflakes, use colored paper. A pencil is required to draw the snowflake’s initial design, while scissors are used to cut out the snowflake. A ruler is optional, but it can help you create more precise and symmetrical snowflakes. Glue is optional, but it’s useful if you want to add some decorative items to your snowflakes, such as glitter or sequins.
Now that we have our materials let’s move on to the step-by-step instructions on how to make a basic snowflake out of paper.
Step 1 – Fold the Paper:
Take a square sheet of paper and fold it in half diagonally to create a triangle. Then fold the triangle in half again to create a smaller triangle.
Step 2 – Divide the Triangle:
Divide the triangle into three equal sections by folding the triangle into thirds. You should end up with three smaller triangles.
Step 3 – Create the Design:
Using a pencil, draw a design on one of the smaller triangles. It can be any design you want, but make sure it’s symmetrical. You can draw lines, curves, or any shape you like.
Step 4 – Cut the Design:
Using scissors, cut along the lines you drew on the triangle. Be careful not to cut through the folded edges, or your snowflake will fall apart.
Step 5 – Unfold the Snowflake:
Carefully unfold the paper, and you should have a beautiful snowflake.
Step 6 – Repeat:
Repeat steps 1 to 5 with the remaining two triangles to create two more snowflakes.
These are the basic steps to make a snowflake out of paper. Now that you have mastered the basic technique, let’s move on to some advanced techniques to create more intricate designs.
Step-by-Step Instructions (contd.)
To create more intricate designs, you can use the same basic technique and add some variations to it. Here are some advanced techniques to create more intricate snowflake designs:
Technique 1 – Cut off the Corners:
Instead of dividing the triangle into three equal sections, divide it into four equal sections by folding the triangle in half twice. Then cut off the corners of the triangle before cutting the design. This will create a more delicate and intricate design.
Technique 2 – Fold the Paper Twice:
Fold the paper in half twice to create a smaller square. Then use a ruler to draw lines across the paper to create a grid. Use the grid to create your snowflake design, and then cut along the lines. This will create a more geometric and structured snowflake design.
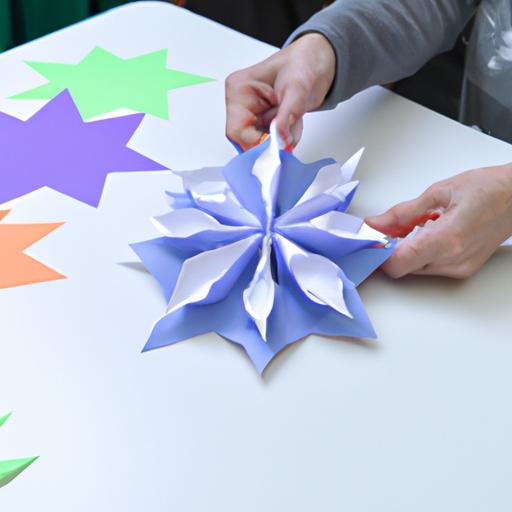
Technique 3 – Create Multiple Layers:
Take multiple sheets of paper and create snowflakes using the basic technique. Then layer the snowflakes on top of each other and glue them together. You can create different designs on each layer to create a more 3D effect.
Advanced Techniques
Now, let’s take a look at some examples of different designs you can create using the advanced techniques:
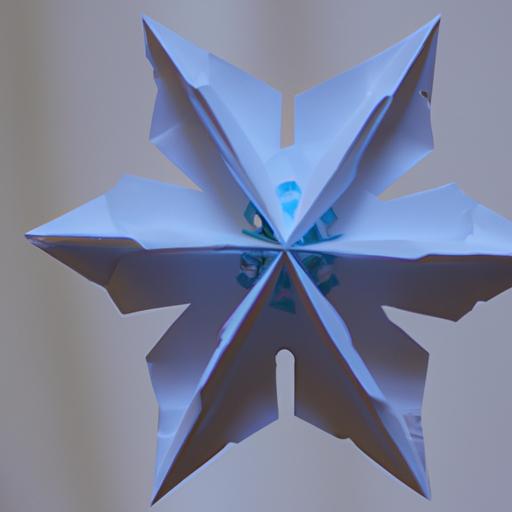
Design 1 – 3D Snowflake:
Take six sheets of paper and create six snowflakes using the basic technique. Then layer the snowflakes on top of each other, rotating each snowflake slightly to create a 3D effect. Glue the snowflakes together, and you will have a beautiful 3D snowflake.
Design 2 – Star Snowflake:
Fold the paper in half twice to create a smaller square. Then draw a star shape on the paper, making sure the points of the star touch the edges of the paper. Cut out the star shape, and you will have a beautiful star-shaped snowflake.
Design 3 – Lace Snowflake:
Divide the triangle into four equal sections by folding the triangle in half twice. Cut off the corners of the triangle, and then cut intricate designs into the triangle. When you unfold the paper, you will have a beautiful lace-like snowflake.
These are just a few examples of the different designs you can create using the advanced techniques. With some creativity and imagination, you can create a wide variety of snowflake designs.
Decorating and Displaying Snowflakes
Once you have created your snowflakes, it’s time to decorate and display them. Here are some suggestions on how to make your snowflakes stand out:
-
Add some sparkle: You can use glitter or sequins to add some sparkle to your snowflakes. Simply dab some glue onto the snowflake and sprinkle some glitter or sequins on top.
-
Hang them up: You can hang your snowflakes from your ceiling or windows using fishing line or string. This creates a beautiful winter wonderland effect in your home.
-
Create a snowflake mobile: You can string together multiple snowflakes to create a mobile. Use a hanger or a wooden dowel as the base and attach the snowflakes using fishing line or string.
-
Use them as gift tags: You can use your snowflakes as gift tags. Write the recipient’s name on the snowflake and attach it to the gift using ribbon or string.
Tips for Preserving Snowflakes for Future Use
If you want to preserve your snowflakes for future use, follow these tips:
-
Spray them with hairspray: After you have decorated your snowflakes, spray them with hairspray. This will help to harden them and prevent them from getting damaged.
-
Store them in a container: Once your snowflakes are completely dry, store them in a container. You can use a clear plastic container or a shoebox. Make sure to place a piece of tissue paper between each snowflake to prevent them from sticking together.
-
Keep them away from moisture: Snowflakes are delicate, and moisture can damage them. Store your snowflakes in a dry place away from any source of moisture.
Conclusion
In conclusion, making snowflakes out of paper is a fun and easy winter craft activity. It’s a great way to pass the time on a cold winter day and create beautiful decorations for your home. By following our step-by-step instructions, you can create basic snowflakes and experiment with advanced techniques to create more intricate designs. Once you have created your snowflakes, you can decorate and display them in various ways, such as hanging them up or creating a snowflake mobile. By following our tips for preserving snowflakes, you can enjoy your creations for years to come. So, grab some paper, scissors, and let’s get crafting!