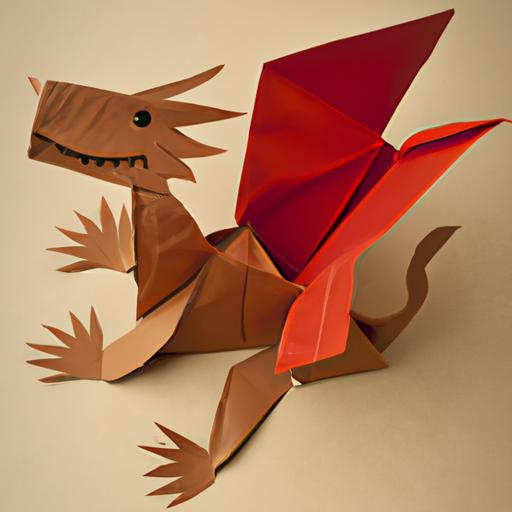
- Basic Puppet Design
Creating a basic paper puppet is an excellent place to start if you are new to the craft. With a few simple steps, you can create a unique character that you can use to tell stories or put on a show.
Step 1: Gather Materials
To create a basic paper puppet, you will need a few supplies. These include paper, scissors, glue, and markers or crayons. You can also use googly eyes, feathers, or other embellishments to add extra details.
Step 2: Create the Puppet Body
Fold your paper in half lengthwise and cut along the crease. This will give you two identical pieces of paper. Take one of the pieces and fold it in half again, this time widthwise. Cut along the crease, leaving a small section uncut for the puppet’s neck. Open up the paper, and you will have the puppet’s body.
Step 3: Add Arms and Legs
Cut out two rectangles for the arms and two for the legs. Fold each rectangle in half and glue the folded edge to the body. You can make the arms and legs as long or as short as you like.
Step 4: Create the Head
Cut out a circle for the head and glue it to the top of the puppet’s body. Draw a face on the head, or glue on googly eyes and other embellishments.
Step 5: Personalize Your Puppet
Now that you have created the basic puppet, it’s time to add your own personal touches. You can draw on clothes, add hair, or even create a hat or other accessories.
- Advanced Puppet Design
Once you have mastered the basic paper puppet, it’s time to take your skills to the next level. Creating a more complex puppet allows you to add movement and functionality to your design, making it even more engaging.
Step 1: Gather Materials
For an advanced puppet, you will need additional supplies, such as brads, straws, and string. You can also use fabric, yarn, or other materials to create clothes and accessories.
Step 2: Create the Puppet Body
Follow the same steps as for the basic puppet, but this time, add additional folds and cuts to create joints for the arms and legs. Attach brads to the joints to allow for movement.
Step 3: Add Arms and Legs
For the arms and legs, use straws to create a skeleton. Thread string through the straws and attach them to the brads on the puppet’s body. This will allow you to move the arms and legs more easily.
Step 4: Create the Head
Create the head as you would for the basic puppet, but this time, attach it to the body using a piece of fabric or other material. This will allow the head to move independently of the body.
Step 5: Personalize Your Puppet
Now that you have created your advanced puppet, add your own personal touches. You can create clothes, hair, and accessories using fabric, yarn, or other materials. You can also add additional details to the face and body to make your puppet truly unique.
Decorating Your Puppet
Now that you have created your paper puppet, it’s time to bring it to life with some decorating. Here are some ideas for decorating your paper puppets:
-
Paint: One of the easiest ways to decorate your puppet is by using acrylic paint. You can use any color you like and even mix different colors to create a unique look. You can also use a paintbrush or sponge to apply the paint.
-
Markers: Another way to decorate your puppet is by using markers. You can use regular markers or permanent markers to add details to your puppet’s face, clothes, and accessories.
-
Collage: You can also use a collage technique to decorate your puppet. Cut out pictures from magazines or newspapers and glue them onto your puppet to create a unique design.
-
Accessories: Finally, you can add accessories to your puppet to give it more personality. You can use paper clips or wire to create glasses, jewelry, or even a hat.
Tips for adding finishing touches and accessories to the design
-
Use details to make your puppet stand out: Adding details such as buttons, sequins, or ribbon can make your puppet look more polished and professional.
-
Experiment with different textures: You can use different materials such as fabric, ribbon, or lace to give your puppet a unique texture and feel.
-
Don’t be afraid to make mistakes: Remember that paper puppets are meant to be fun and creative. Don’t worry if your puppet doesn’t turn out exactly as you planned. Embrace the imperfections and enjoy the process.
Conclusion
In conclusion, making paper puppets is a fun and creative craft that anyone can enjoy. By following the steps outlined in this article, you can create your own paper puppet and personalize it with your own unique style. Remember to experiment with different colors, textures, and accessories to make your puppet stand out. Keep exploring the craft of paper puppet-making and see where your creativity takes you.

