
How to Make Paper Shuriken: A Step-by-Step Guide
Table of Contents
Are you a fan of ninja movies and anime? Do you want to learn how to make paper shuriken, also known as ninja stars? Look no further! In this guide, we’ll walk you through the step-by-step process of creating your very own paper shuriken.
Shuriken were originally used as weapons by Japanese ninjas, but now they are more commonly used as a form of entertainment or decoration. By the end of this guide, you’ll have a stylish and authentic-looking paper shuriken that you can proudly display or use to impress your friends.
Materials Needed
Before we dive into the process of making a paper shuriken, let’s first gather the materials you’ll need. Fortunately, you won’t need anything too complicated or expensive. Here’s what you’ll need:
- Square paper (preferably 6-inch origami paper)
- Scissors
- Ruler
- Pencil
Now that you’ve gathered your materials, let’s get started on creating your very own paper shuriken.
Step 1: Folding the Paper
The first step in making a paper shuriken is to fold your square paper in half diagonally, making a crease. Then, unfold the paper and fold it diagonally in the opposite direction, creating another crease. This will create an X-shaped crease in the center of the paper.
Next, fold the paper in half vertically and horizontally, creasing each time. This will create four smaller squares within the larger square.
Step 2: Cutting the Paper
With your paper folded and creased, use your scissors to cut along the diagonal creases, stopping at the center of the paper. This will create four triangles within the larger square.
Next, take one of the triangles and fold it in half, creating a smaller triangle. Then, fold the top corner of the triangle down to the bottom edge, creating a smaller triangle with a straight edge.
Repeat this process with the other three triangles, creating four smaller triangles with straight edges.
Step 3: Folding the Shuriken
Take one of the smaller triangles and fold it in half, making a crease. Then, unfold the triangle and fold the top corner down to the crease, creating a smaller triangle with a pointed edge.
Repeat this process with the other three triangles, creating four smaller triangles with pointed edges.
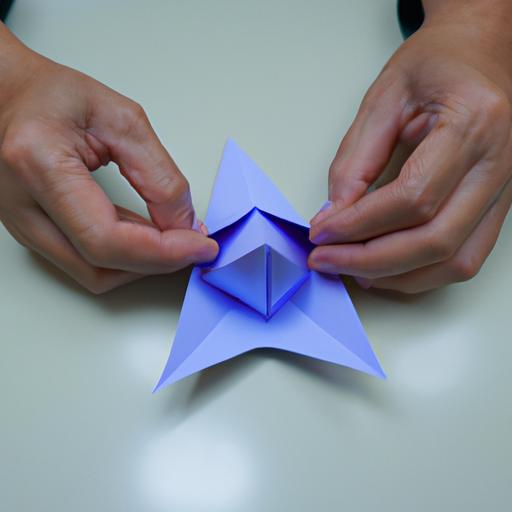
Take two of the smaller triangles and slot them together, forming an X shape. Repeat this process with the other two triangles, creating a second X shape.
Finally, slot the two X shapes together, interlocking the pointed edges of the smaller triangles. This will create your paper shuriken!
Conclusion
Congratulations, you’ve successfully made your very own paper shuriken! With a little bit of practice, you’ll be able to make them quickly and easily. Paper shuriken can be a fun and creative way to express your love for ninja culture, and they make great decorations for your room or office.
Now that you know how to make paper shuriken, why not try experimenting with different colors and sizes? The possibilities are endless!
Step 5: Fold the Paper
Take the bottom left corner of the paper and fold it up to the top right corner, creating a diagonal fold. Make sure the edges are aligned and crease the paper firmly.
Next, take the bottom right corner of the paper and fold it up to the top left corner, creating another diagonal fold. Again, make sure the edges are aligned and crease the paper firmly.
Step 6: Create the Blades
Fold the paper in half vertically, creasing it down the middle. Unfold the paper and you will see a crease in the center.
Take the top layer of the left side of the paper and fold it towards the center crease, creating a small triangle. Repeat this process with the right side of the paper.
Next, take the top layer of the bottom left corner and fold it up to the top crease, creating another triangle. Repeat this process with the bottom right corner of the paper.
Now, fold the entire piece of paper in half along the center crease, bringing the two triangles together to create a diamond shape.
Finally, fold the top layer of the left side of the diamond down towards the bottom tip, creating a blade. Repeat this process with the right side of the diamond to create the second blade.
Congratulations, you have successfully created your very own paper shuriken! Practice throwing it and impress your friends with your ninja skills.
Conclusion
In conclusion, making a paper shuriken is a fun and easy craft activity that can be enjoyed by people of all ages. With just a few simple materials and some patience, you can create a stylish and authentic-looking paper shuriken that is sure to impress.
So, grab some paper and follow our step-by-step guide to create your very own paper shuriken. Who knows, you might just discover your inner ninja!