
How to Make the Perfect Paper Airplane
Table of Contents
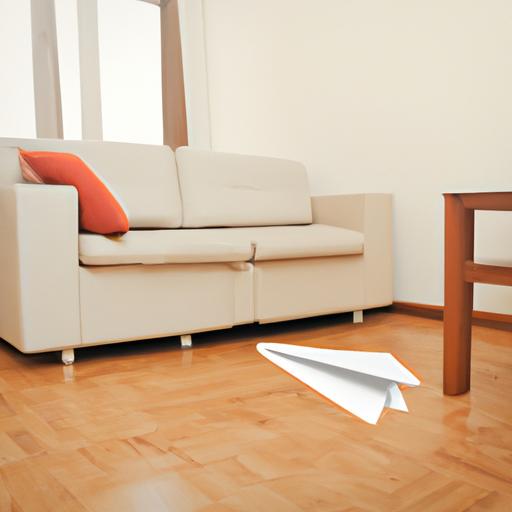
Introduction

Paper airplanes are a classic toy that has been enjoyed by children and adults for generations. Creating the perfect paper airplane can be an exciting and rewarding experience that can be shared with others. In this article, we will guide you through the process of making the perfect paper airplane.
The Importance of Making the Perfect Paper Airplane
Making the perfect paper airplane is not just about having fun, but it can also help to develop problem-solving and critical thinking skills. The process of folding and testing different designs requires concentration, patience, and creativity. Moreover, making paper airplanes can help to relieve stress and improve mood, making it an excellent activity for people of all ages.
Materials Needed
To create the perfect paper airplane, you will need the right materials. Here are some tips on what you will need and what to look for:
Types of Paper to Use
When it comes to paper, it is essential to choose the right type to ensure the best results. The best paper for making paper airplanes is light, thin, and has a smooth texture. You can use plain printer paper, but origami paper is a great choice for intricate designs. Additionally, you can experiment with different colored paper to add a personal touch to your airplane.
Other Materials Needed
Besides paper, you will also need other materials to create the perfect paper airplane. A ruler can help you make precise folds, and a pair of scissors can be handy when trimming the paper. However, be careful when using sharp tools and seek adult supervision if necessary.
Folding Techniques
Folding techniques are essential in creating the perfect paper airplane. Here are two types of folding techniques that you can use:
Basic Folds for Beginners
If you are new to making paper airplanes, start with the basic folds. The basic folds include the valley fold, mountain fold, and diagonal fold. These folds are easy to master and can be used to create simple designs. Once you have mastered the basic folds, you can move on to more complicated designs.
Advanced Folds for More Complex Designs
Advanced folds require more skill and patience but can result in more complex and impressive designs. These folds include the petal fold, squash fold, and reverse fold. These folds are used to create intricate details such as wings, flaps, and tail fins. Experiment with different folds to create unique designs that stand out.
Troubleshooting Tips
Even the most experienced paper airplane makers encounter problems. Here are some troubleshooting tips to help you avoid common mistakes and improve your airplane’s flight:
Common Mistakes and How to Avoid Them
Some of the most common mistakes when making paper airplanes include using the wrong type of paper, inaccurate folds, and asymmetrical design. To avoid these mistakes, use lightweight paper and ensure that each fold is precise and symmetrical. Additionally, try to use a ruler to ensure accurate measurements.
Adjusting the Airplane for Better Flight
If your paper airplane is not flying correctly, try adjusting it to improve its flight. Here are some adjustments you can make:
- Adjust the wing flaps: Bending the flaps up or down can affect the airplane’s lift and stability.
- Adjust the nose: Folding the nose up or down can change the airplane’s center of gravity, affecting its flight pattern.
- Add weight: Adding a small amount of weight to the airplane’s nose can help to improve its flight stability.
By following these troubleshooting tips, you can improve the flight of your paper airplane and create the perfect design.
Testing and Adjusting
Once you have completed your paper airplane, it’s time to test the flight. Here are some tips on how to test and adjust your airplane:
Testing the Airplane’s Flight
Find an open space with plenty of room to fly your paper airplane. Hold the airplane by the bottom and give it a gentle toss. Observe how your airplane flies and note any issues you may encounter. If your airplane flies straight and far, congratulations! You have made the perfect paper airplane. However, if your airplane veers off course or doesn’t fly far enough, here are some tips on how to adjust it.
Adjusting the Airplane for Better Flight
If your airplane does not fly straight, try adjusting the wing flaps. Bending the wing flaps up or down can help to adjust the airplane’s trajectory. Additionally, if your airplane is not flying far enough, adjust the nose of the airplane by bending it up or down. Finally, make sure that the airplane’s weight is evenly distributed to ensure a smooth flight.
Conclusion
In conclusion, making the perfect paper airplane is an enjoyable and rewarding activity that can be shared with others. Follow the steps outlined in this article to create your own perfect paper airplane. Remember to choose the right materials, practice the proper folding techniques, troubleshoot any issues, and adjust for a better flight. With time and practice, you can create a fleet of perfect paper airplanes that will impress your friends and family. So, grab some paper, start folding, and have fun!