
How to Make Paper: A Comprehensive Guide
Table of Contents
Papermaking is an ancient craft that dates back to China’s Han dynasty in the second century BCE. Since then, paper has become an indispensable part of our daily lives, used for writing, printing, packaging, and many other purposes. Making paper can be an enjoyable and rewarding activity that allows you to create your own unique sheets of paper. In this article, we will provide you with a step-by-step guide on how to make paper from scratch.
Materials Needed
Before you start making paper, it’s essential to gather all the necessary materials. Here’s a list of materials you’ll need to make paper:
- Paper scraps or plant fibers (such as cotton, abaca, or hemp)
- Water
- A blender or food processor
- A large plastic container or basin
- A wooden frame with a screen (also known as a mold and deckle)
- A sponge or cloth
- A rolling pin or brayer
- Optional: dye, flower petals, glitter, or other decorative items
Most of these materials can be found at your local craft store or online. However, you can also use recycled paper scraps or plant fibers from your garden or nearby forest.
The first step in making paper is to prepare the pulp, which is a mixture of water and fibers. There are several methods to prepare pulp, including the following:
Blender Method
The blender method is the easiest and quickest way to make pulp. Here’s how to do it:
- Cut your paper scraps or plant fibers into small pieces.
- Fill your blender or food processor with water until it’s about halfway full.
- Add your paper scraps or plant fibers to the blender.
- Blend the mixture on high for 1-2 minutes, or until you have a slurry with a smooth consistency.
- Pour the pulp into the plastic container or basin.
The blender method is ideal for small batches of paper and can be done in minutes. However, it may not produce the same quality of pulp as other methods.
Preparing the Pulp
Aside from the blender method, there are other ways to prepare pulp, each with its unique advantages and disadvantages. Here are some other methods that you can try:
Hand Beating Method
The hand beating method is a traditional papermaking technique that involves manually breaking down fibers using a wooden mallet or pestle. Here’s how to do it:
- Cut your paper scraps or plant fibers into small pieces.
- Soak the fibers in water for several hours or overnight.
- Drain the water and place the fibers in a large container.
- Add clean water to the container until the fibers are fully submerged.
- Use a wooden mallet or pestle to beat the fibers until they become soft and pulpy. This process can take several hours and requires a lot of elbow grease.
- Pour the pulp into the plastic container or basin.
The hand beating method produces high-quality paper with a unique texture and character. However, it is time-consuming and requires a lot of physical effort.
Hollander Beater Method
The Hollander Beater method is a modern technique that uses a mechanical device to break down fibers. This method is commonly used in commercial paper production but can also be used for handmade paper. Here’s how to do it:
- Cut your paper scraps or plant fibers into small pieces.
- Soak the fibers in water for several hours or overnight.
- Drain the water and place the fibers in a Hollander Beater machine.
- Add clean water to the machine until the fibers are fully submerged.
- Turn on the machine and let it run for several hours, or until the fibers become soft and pulpy.
- Pour the pulp into the plastic container or basin.
The Hollander Beater method produces high-quality paper with a consistent texture and thickness. However, it is expensive and requires a specialized machine.
When choosing the right method for your project, consider the amount of time, effort, and resources you have available. If you’re making paper for a small project, the blender or hand beating method may be suitable. However, if you’re making paper for commercial purposes, the Hollander Beater method may be more appropriate.
Making the Paper
Now that you have prepared your pulp, it’s time to make the paper. Here’s a step-by-step guide on how to make paper:
- Fill the plastic container or basin with enough water to cover the surface of the frame.
- Dip the frame into the water at a 45-degree angle until it’s fully submerged.
- Lift the frame out of the water and let the excess water drain off.
- Pour the pulp onto the frame, spreading it evenly with your hands or a spoon.
- Use a rolling pin or brayer to press the pulp into the screen, removing any excess water.
- Place a cloth or sponge on top of the pulp and press down to absorb more water.
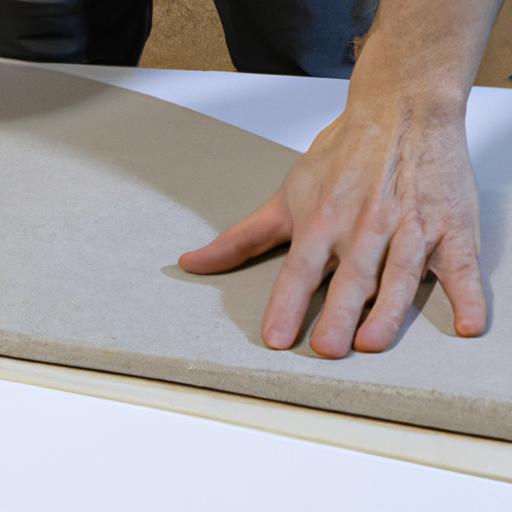
- Gently lift the frame off the cloth or sponge, leaving the paper on the screen.
- Allow the paper to dry for several hours or overnight.
- Once the paper is dry, gently peel it off the screen.
To achieve the desired texture and thickness of your paper, experiment with different fibers, additives, and techniques. You can add flower petals, glitter, or dye to your pulp to create unique designs. You can also use a thicker or thinner screen to adjust the paper’s thickness. With practice and experimentation, you can create beautiful and functional handmade paper.
Drying and Finishing
After you have made your paper, the next step is to dry and finish it. Here are some tips on how to dry paper:
- Remove the excess water from the paper by pressing it with a sponge or cloth.
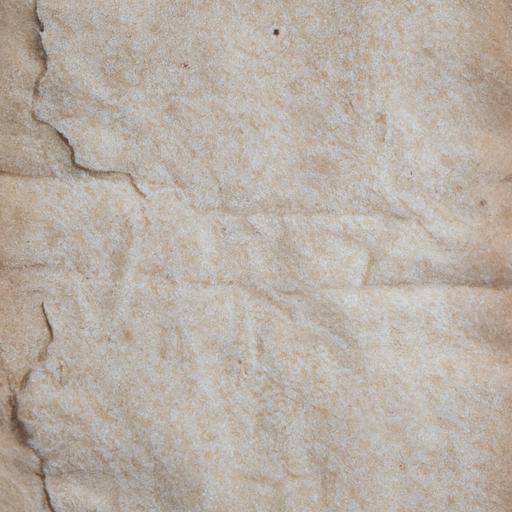
- Carefully peel the paper off the mold and deckle, and place it on a flat surface.
- Allow the paper to air dry naturally, or speed up the process by using a hairdryer or placing it in an oven on a low setting.
- Once the paper is dry, you can remove any wrinkles or imperfections by ironing it on a low heat setting.
Finishing techniques can give your paper a unique and professional look. Here are some finishing techniques you can try:
- Embossing: Use a design or stamp to create a raised pattern on your paper.
- Deckling: Tear the edges of your paper to give it a rustic, handmade look.
- Watermarking: Use a special stamp or design to create a subtle image on your paper.
- Painting: Use watercolors or acrylics to add color to your paper.
- Printing: Use a printer or letterpress to add text or images to your paper.
Conclusion
Making paper is a fun and rewarding activity that anyone can try at home. Whether you’re a seasoned crafter or a beginner, papermaking is a great way to unleash your creativity and make something unique. With this comprehensive guide, you now have all the information you need to start making your own paper from scratch. So why not give it a try and see what you can create? Happy papermaking!