
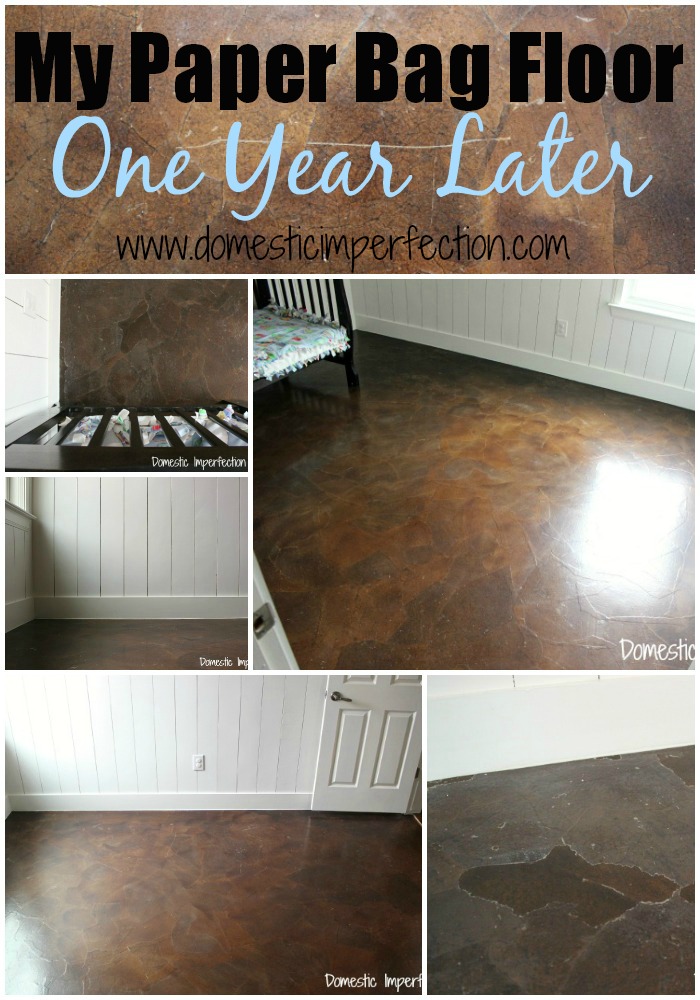
Paper Bag Floor Diy
Well here it is, the post everyone has been waiting for me to write. I installed a floor made of brown paper and polyurethane in my boy’s room last year, and since then I have gotten a ton of questions about it. My original tutorial currently has 800 comments, most of them questions that I have done my best to answer and keep up with. I’ve gotten nearly the same amount of emails as well. So basically, y’all want to know more about my paper bag floors. Well, your wish is my command.
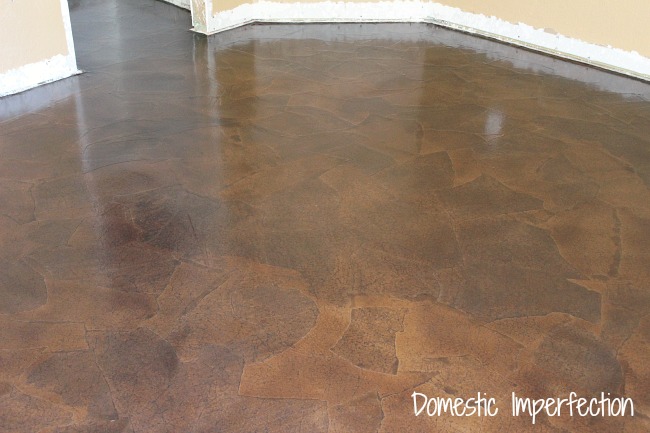
Just as a refresher, here is the floor the day I finished it…
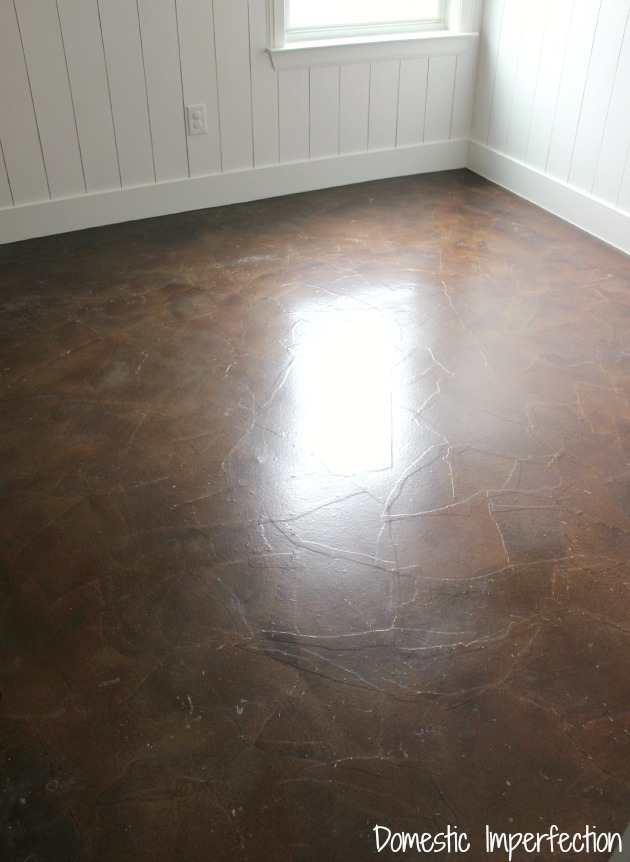
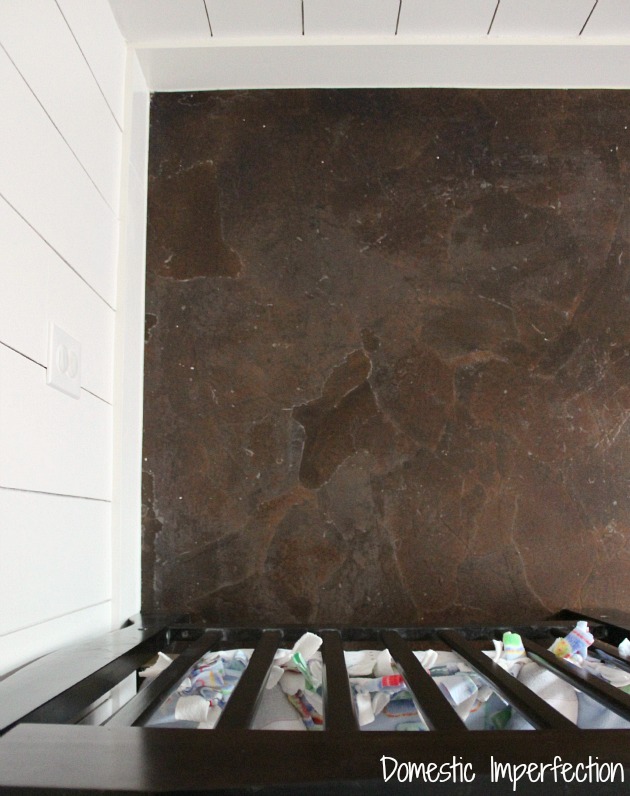
And here it is today.
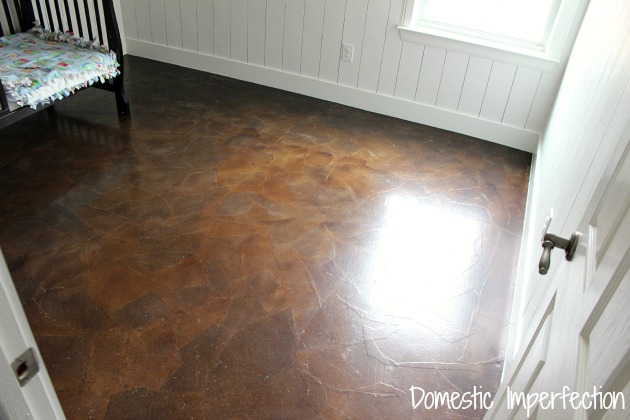
(I promise it hasn’t been empty the whole time, we removed everything to get better pictures and traded out the cribs for a big bed.)
Let me just start by saying this…we are not easy on this floor. It gets abused, big time. It gets pelted with matchbox cars, wooden trains, and plastic dinosaurs on a daily basis. It gets jumped on, wrestled on, and slid across. My kids drag their cribs around to make forts and caves. It gets liquids spilled on it… sippy cups, potty training related incidents, once it even had an entire humidifier spill that I didn’t find immediately. Suffice it to say that it doesn’t look perfect, but I’m impressed with it anyway.
I’ll be papering my guest room soon (already ripped out the carpet) if that tells you anything.
Alright, now that you’ve seen the overall floor, let’s get a little closer. Here is the biggest scratch we have (it’s about 6 inches) and you can also see all the little dents and scratches around it.
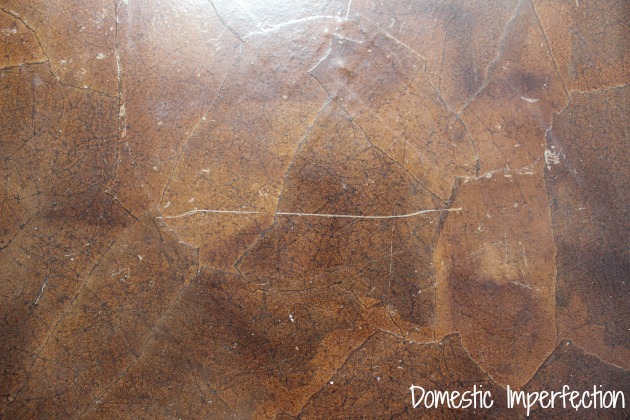
I have no idea how it got there, but that answers one of the main questions I get…” does it scratch?” Yes, it does. The good news is that even though it scratches, it is fixable with another layer of sealer. This scratch is a doozy, but it is just in the sealer…the paper below is in perfect condition. All the paper on the floor is in perfect condition actually, nothing has gotten past the poly.
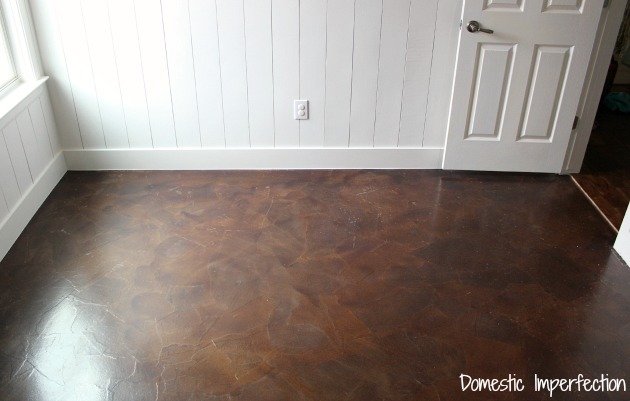
Here is another example of wear…
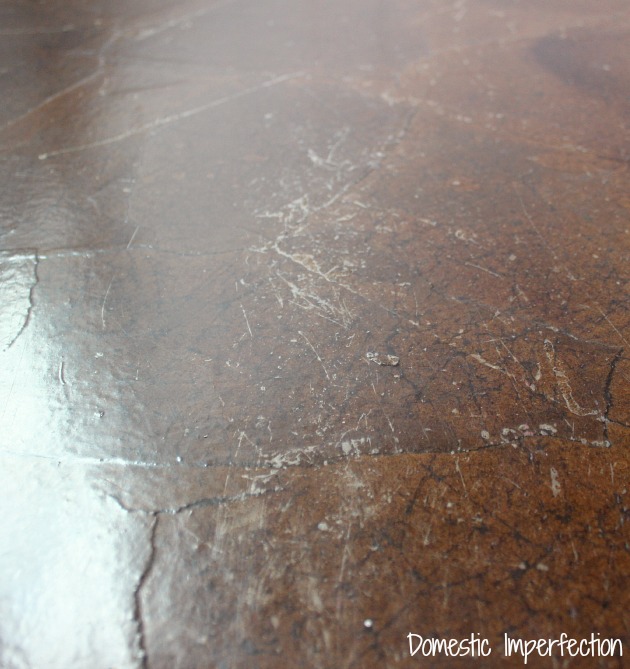
My youngest son sleeps in a mini crib, and it has wheels. The plastic kind, like a cheap office chair. My boys are constantly moving it around..mostly back and forth, repeatedly, for hours (pretending to be vicious caged animals when they should be sleeping). So this is what happens when plastic wheels roll over paper bag floors 10,000 times.
This post isn’t all good news though. I have one area that looks terrible.
Last month my husband and I were finishing up planking the boys wall, and the last step was to caulk between the floor and the new baseboards. To do this I put painters tape on the floor, caulked, and pulled up the tape for a perfect caulk line. I was working my way around the room, and things were going great. I was almost done with the floors and walls in the boy’s room! YIPEE!
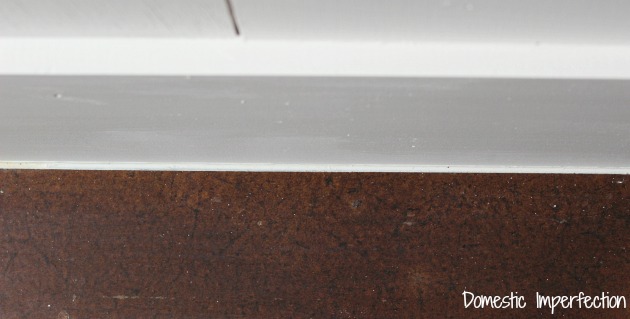
I got to the part of the wall behind Elijah’s bed and did my thing, but when I pulled up the tape, this happened…
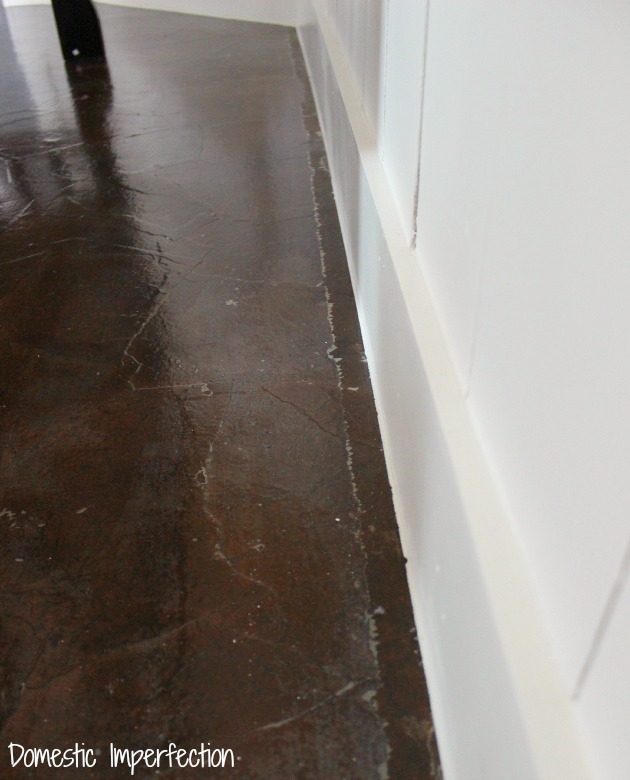
All the poly came up. ALL OF IT. (insert expletive here).
Then I looked around and noticed that the poly in that area looked a little off…a little cloudy. So I started going after it with my fingernail, and this is what happened…
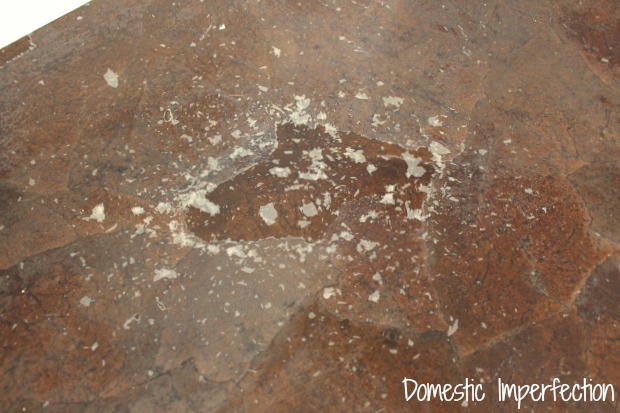
(I have to admit, it was oddly therapeutic to scratch off despite how horrified I was.)
So here is my problem corner – all the missing poly was done by me, none of it came up on its own.
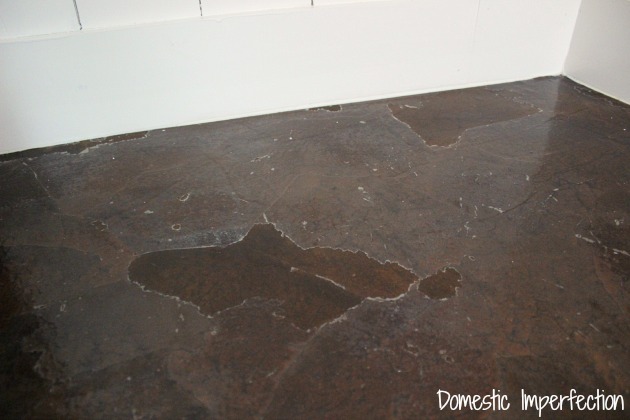
I have NO IDEA why the sealer in this corner of the room is acting so strange, I can’t flake up the poly in the other areas of the room. This area should be in the best condition too…the way the room is set up we have both the cribs against the wall, near the corner, sitting at a 90-degree angle. This creates a little square of wasted space in the corner, a floor lamp sits there but otherwise, it is unused. It should be in the best condition of the whole room, but instead, it’s the worst. Maybe there has been some secret toddler mischievousness going on back there that caused the sealer to act funny? I honestly don’t know…but when in doubt, blaming the boys is a pretty safe bet.
Due to the sheer amount of questions I get about this project, I decided to experiment with different kinds of paper, stains, sealers, and surfaces, in order to be able to answer y’alls questions and discover what works and what doesn’t. After all, if I’m going to be giving advice I should know what the heck I’m talking about. I’m about halfway done, here is what I have so far…
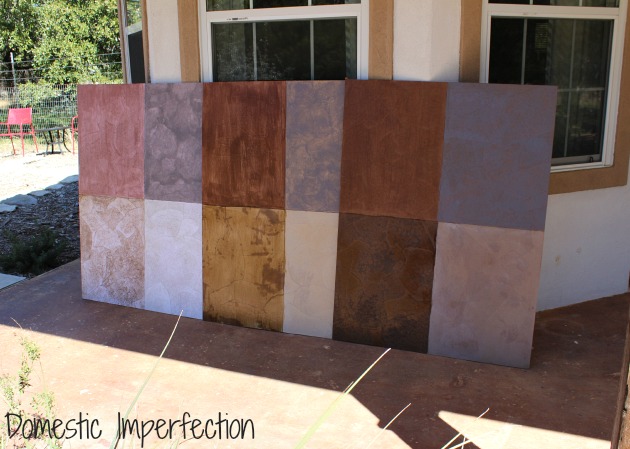
The results have been interesting, so make sure and follow along if a paper floor is something you are thinking of tackling!
UPDATE – It is finished. Somebody get me a drink.
Click the links below to learn more than you ever wanted to know about paper bag flooring.
- Original tutorial
- My paper floor, one year later
- Paper flooring experiment part I – paper options
- Paper flooring experiment part II – stain options
- Paper flooring experiment part III – sealer options
- Paper flooring experiment part IV – misfit questions
- Guest room paper flooring (and why I’m disappointed with it)