
How to Create a Funky DIY Pumpkin Head with Paper Mache
Table of Contents
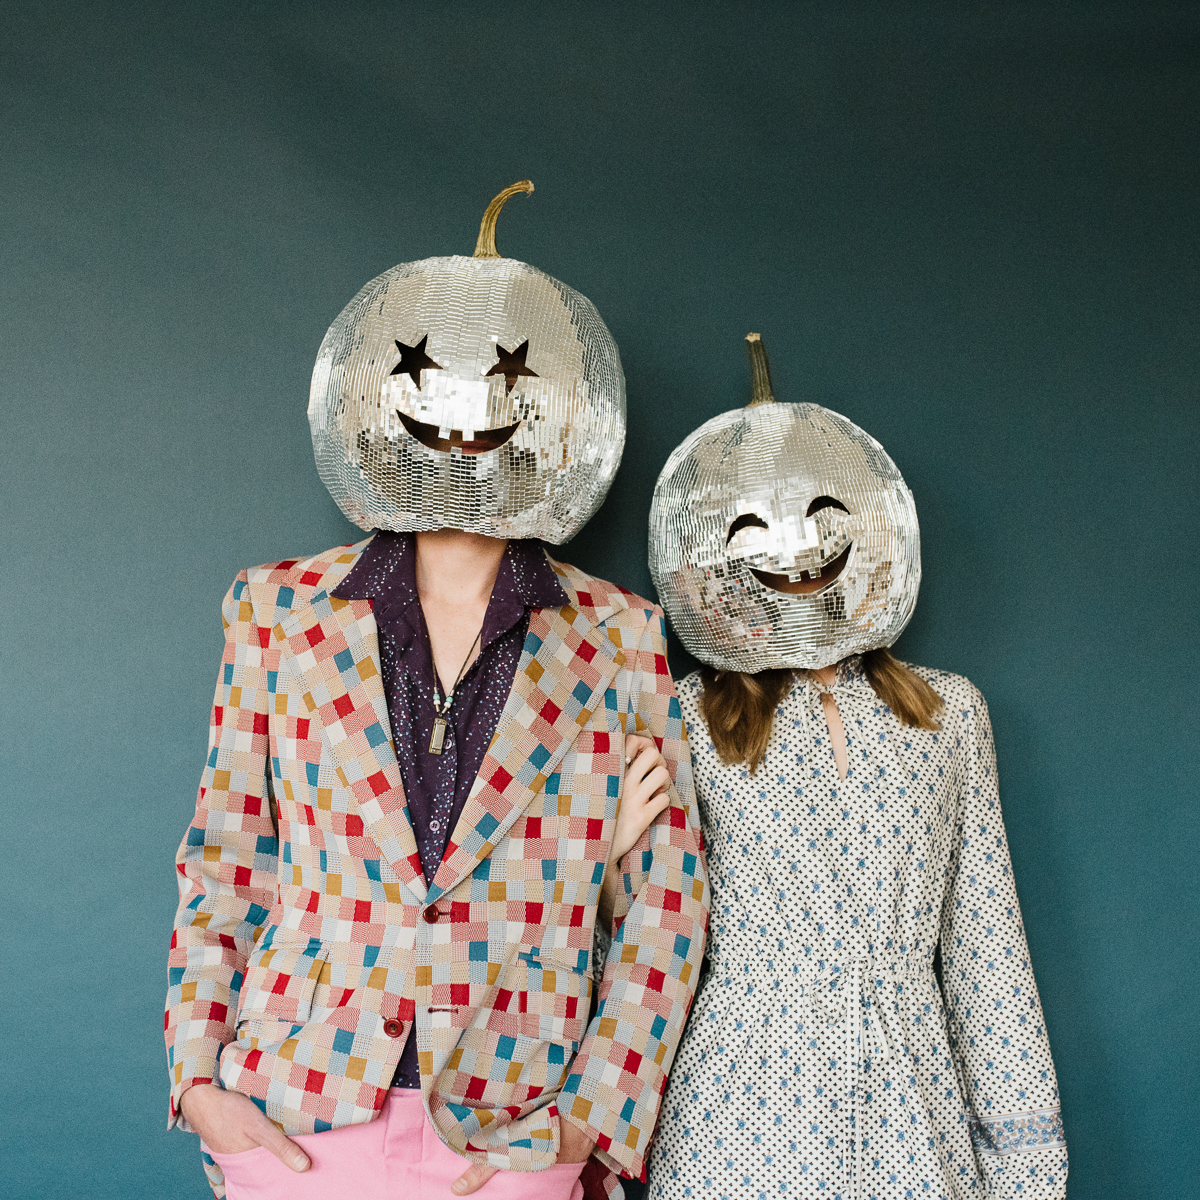
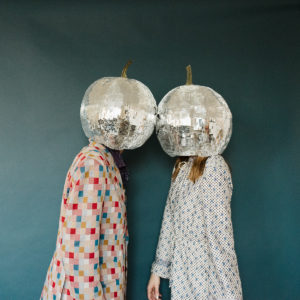
This awesome Halloween project was inspired by a captivating photo shoot that I stumbled upon on Pinterest. My husband, Nate, and I were brainstorming costume ideas when we came across this incredibly fun concept. Luckily, Nate had a groovy ’70s themed outfit, and I had a vintage ’70s dress ready to go. The only issue was that we didn’t want to wear actual pumpkins as they aren’t exactly comfortable for extended periods. So, we put our heads together and devised a plan to construct a wearable pumpkin base. That’s when I stumbled across a tutorial for making paper mache pumpkins using a beach ball. And voilà, our disco pumpkin heads were born!
The Basic Process
Here is a step-by-step guide on creating a single disco pumpkin head. Keep in mind that this project can take up to five days due to the drying time required for the paper mache. So, if you’re short on time, using a real pumpkin might be a better option.
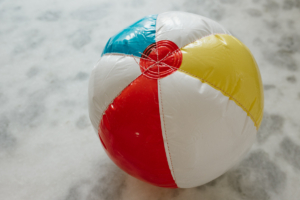
- Inflate a 13-14 inch beach ball and secure it with string.
- Apply 3-4 layers of paper mache to the beach ball, allowing each layer to dry for 24 hours.
- Remove the beach ball.
- Carve a hole at the bottom for your head and create a face on the front.
- Decorate the pumpkin with disco stickers.
- Attach a dried pumpkin stem to the top using hot glue.
For more detailed instructions, keep reading!

What You’ll Need
To get started, gather the following materials:
- A 13 or 14 inch beach ball (remember to consider its inflated size)
- String
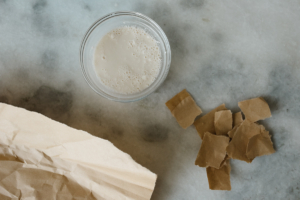
- Paper mache paste (made with flour, water, and salt)
- Newspaper or packaging paper, torn into 1- or 2-inch strips
- A pocket knife or other small knife
- Mini square glass mirror stickers (also known as disco stickers)
- A pumpkin stem ripped off of a real pumpkin

Step-by-Step Instructions
Prepare Your Beach Ball
- Inflate the beach ball until it’s almost full and tie a string around it to create “ridges.” It’s helpful to follow the ball’s seams when placing the string. Ensure that the string is tightly secured.
Gather Your Paper Mache Supplies
- Prepare the paper mache paste by mixing 1 part flour with 2 parts water. The consistency should be relatively runny. Add a pinch of salt to prevent molding. Tear newspaper or packing paper into 1- or 2-inch strips. Tear the paper instead of cutting it for better blending.

Paper Mache the Beach Ball
-
Before starting, make sure the nozzle of the beach ball is facing down. Dip the paper strips into the paste, squeeze off the excess, and lay them flat on the ball’s surface. Remember to overlap the strips slightly each time.
-
As you reach the bottom of the beach ball, turn it upside-down to cover most of it. Leave a hole, but ensure it’s not big enough for your head to fit through. You can trim the hole later; for now, it needs to maintain structural integrity.
-
After completing the first layer, place it somewhere to dry for a full 24 hours. A clothes drying rack works well for this purpose.
-
Repeat the process with the second and third layers. Adding a fourth layer can enhance the structure, but three layers are sufficient.

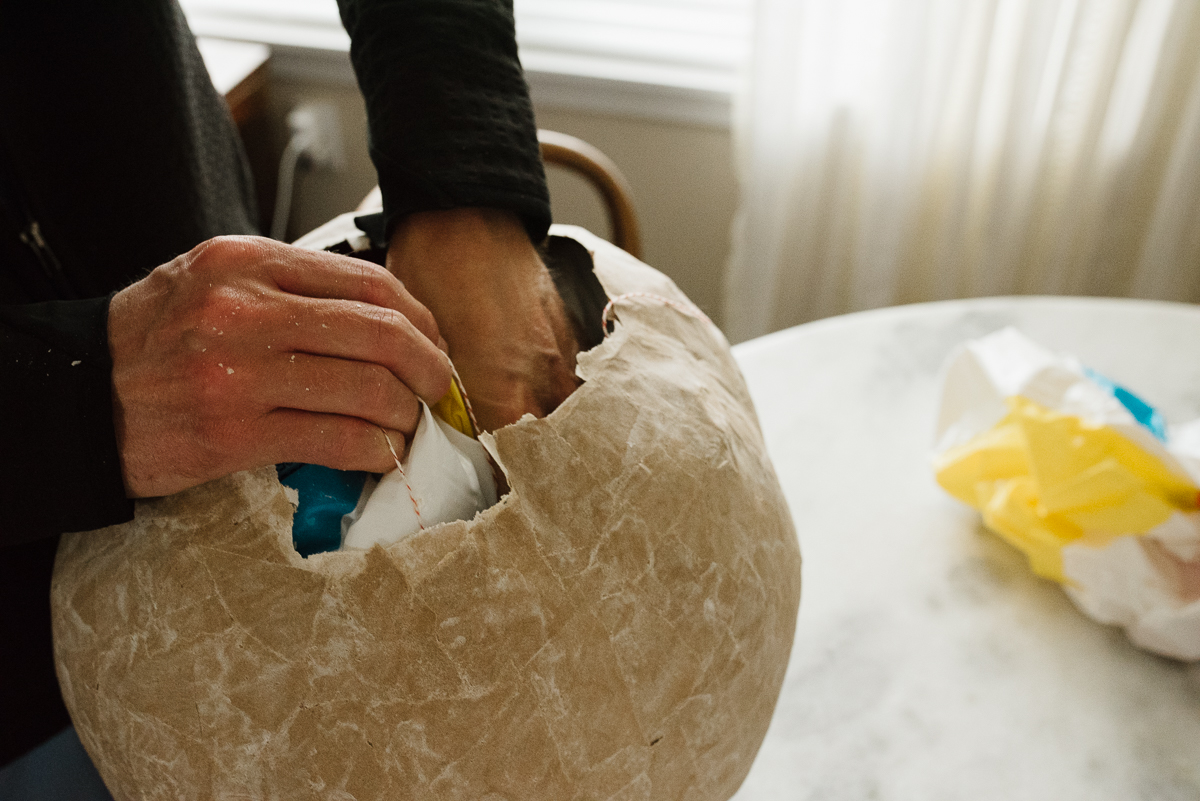
Remove the Beach Ball
- Open the nozzle of the beach ball and squeeze out the air until you can easily remove it. The paper mache pumpkin should easily separate from the ball.
Carve Your Pumpkin
-
Begin by cutting a hole at the bottom of the pumpkin large enough for your head to fit through. Gradually trim the hole until it’s the right size.
-
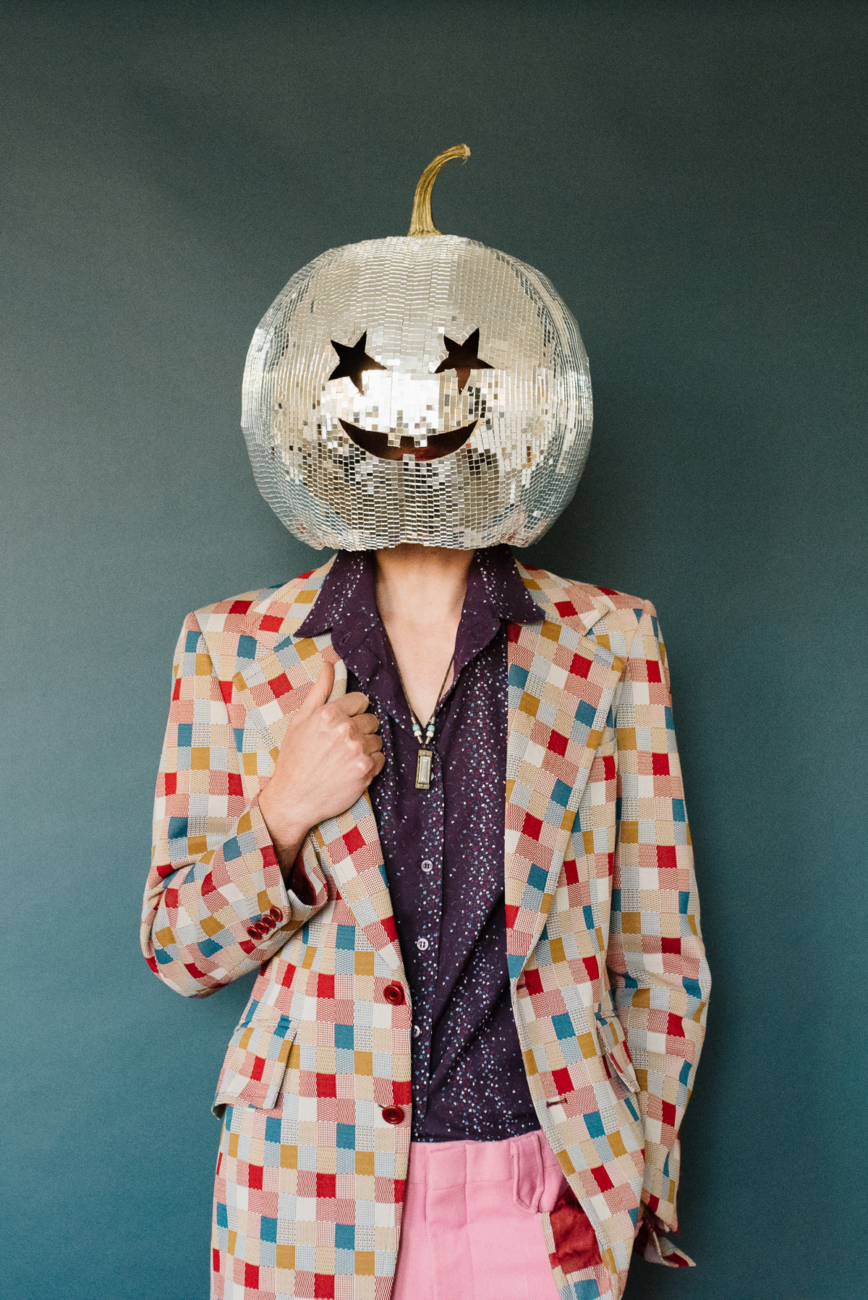
Now, it’s time to create the face! Let your creativity flow and design the face however you’d like. Inspired by the photo shoot, I replicated the facial expressions. Nate helped by drawing the designs on paper, cutting them out, and tracing them onto our pumpkins.
-
Pro-tip: Place the face design in the center, regardless of the position of the eyes. This way, you’ll be looking out of the mouth, and the design will appear nicely centered. Our attempt to align the eyes with our own eyes resulted in a lower-than-intended face position.
-
Use a small pocket knife or a smooth-edge paring knife to carefully carve out the face. Take your time and exercise caution.


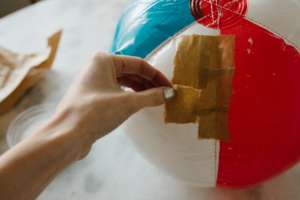
Apply Disco Stickers All Over
- Don’t fret! Although the stickers are tiny, you don’t have to apply them individually. After decorating two pumpkins, I have some tips for you:
- Determine the tearing direction of the stickers. They tear cleanly in only one direction (refer to my picture below).
- Start at the ridges and apply entire strands down the length of your pumpkin. I recommend placing strips on both sides of each ridge to create multiple “prime meridians.”
- Use strips that are 3-4 squares across for most of the pumpkin. Wider strips won’t adhere smoothly, but this width allows for faster progress.
- Embrace imperfections. Remember, you’re applying square stickers to a round object, so perfection isn’t achievable. Once the pumpkin is fully covered, any small bald spots or overlapping stickers will blend in seamlessly.
- The face might be a bit challenging, but persevere. This is where you’ll tear smaller strips and create more intricate designs. For example, I tore 1 square wide strips and applied them one by one to create smooth curves at the bottom of the mouth. Star shapes require extra attention, and you may end up with some bald spots and overlapping stickers. Focus on achieving the best result with the least amount of mess. You’ve got this!
- As two areas come together, taper the strips. Remember the ridges? By applying strips between them, the two areas will eventually meet. Tapering the strips as the areas converge produces the neatest outcome. Take a look at my pictures for reference.

Dry Your Pumpkin Stem and Hot-Glue It On
-
Rip a stem off a pumpkin and remove any residue. (I used a pie pumpkin and later made delicious puree from it!) Bake the stem in the oven at 200°F for 3 to 4 hours until it becomes noticeably lighter.
-
Use hot glue to attach the dried pumpkin stem securely to the top of your creation. Be generous with the hot glue to ensure everything stays in place.
And there you have it! Your labor of love is complete. I guarantee that you’ll be the star of any Halloween costume contest with your fabulous disco pumpkin head.
One last tip? If your pumpkin head doesn’t sit comfortably on your shoulders, improvise by placing a baseball cap inside and wearing it that way. That’s what Nate and I did, and it worked like a charm!
Remember, for more creative ideas and inspiration, visit Quill And Fox. Happy crafting!