
The Art of Making Paper Airplanes: From Beginner to Expert
Remember the skills your father passed down to you? Riding a bike, skipping stones, and, of course, making paper airplanes. But don’t settle for a disappointing nosedive. Instead, let’s explore three tried-and-true paper airplane designs that will soar through the air and capture the imagination of children and adults alike.
Beginner Level: The Bulldog Dart
This paper airplane is the ideal warm-up. Simple and easy to fold, it flies well and serves as a great introduction to paper aircraft construction.
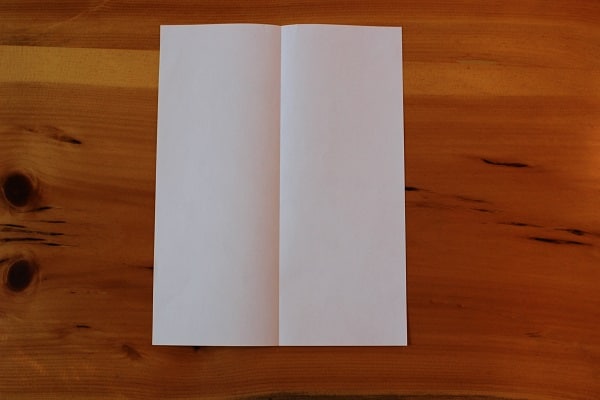
- Start by folding the paper in half lengthwise and then unfolding it. This initial crease will guide your next folds.

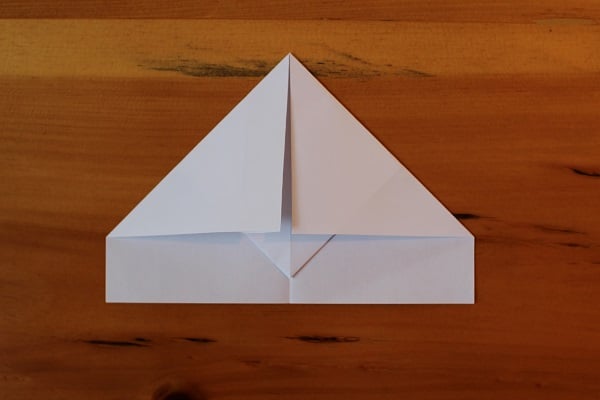
- Fold the top two corners down to meet the center crease. This classic technique is probably the first one you learned as a kid.

- Flip the plane over and fold the corners in again to the center crease. Ensure that the diagonal line coming off the top of the plane is aligned with the middle on both sides.
- Fold the top point down to meet the bottom of the previous folds’ convergence.
- Fold the entire plane in half. This creates the snub nose that gives the Bulldog Dart its name.
- Fold the wings down to form a straight line across from the top of the snub nose. Repeat on the other side.
Intermediate Level: The Harrier
The Harrier is a slightly more advanced paper airplane that offers improved flight performance. With a few additional folds, it strikes the perfect balance between simplicity and complexity.
- Fold the paper in half lengthwise and then unfold it. As with the Bulldog Dart, this crease serves as a guide for future folds.
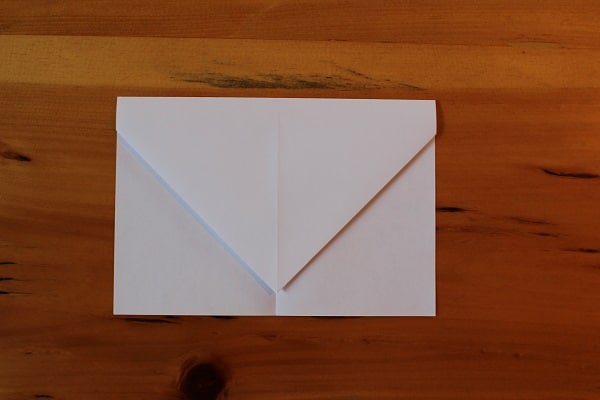
- Fold the top corners in to meet at the center crease.

- Fold the entire top down to resemble an envelope. Leave a small space at the bottom to prevent the top point from meeting the edge evenly.
- Fold the top corners in to meet at the center. A small triangular tail should be formed beneath these folds.
- Fold the small triangle up to secure the previous folds in place.
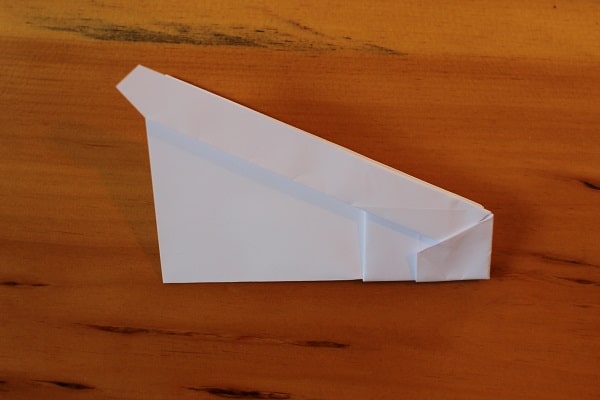
- Fold the plane in half, but fold it outwards. The previous triangular fold should be visible on the bottom edge.
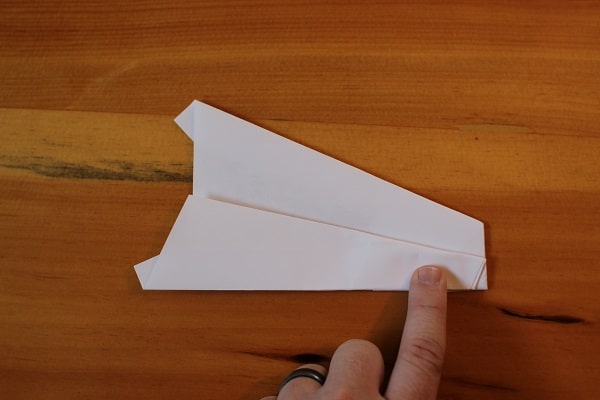
- Fold the wings down so that their edges align with the bottom edge of the airplane. Repeat on the other side.
The finished Harrier retains cool pointed wings and excellent stability thanks to the triangle on the bottom.
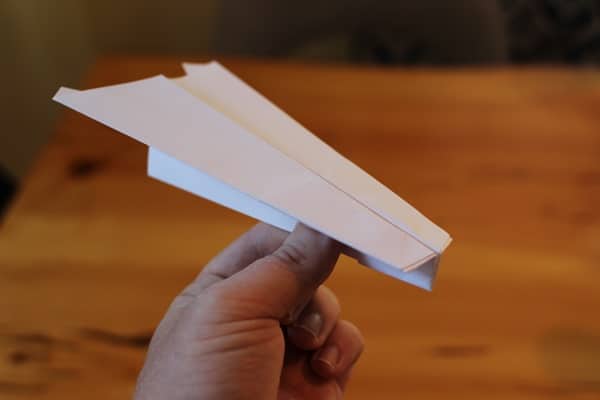
Expert Level: The Hammer
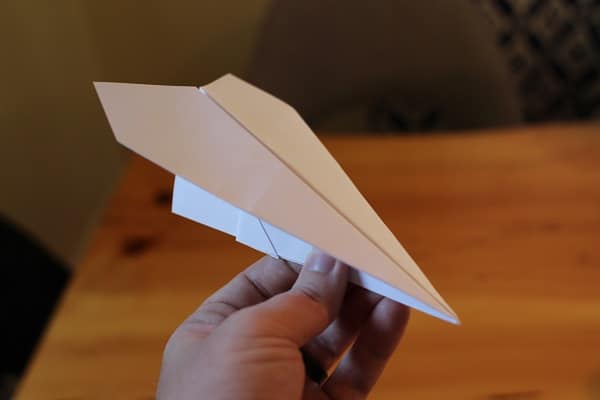
The Hammer is the perfect balance between complexity and accessibility. Although more intricate than the previous models, it guarantees the best flight performance and distance. Pay close attention to each step, as the final result will be worth the effort.
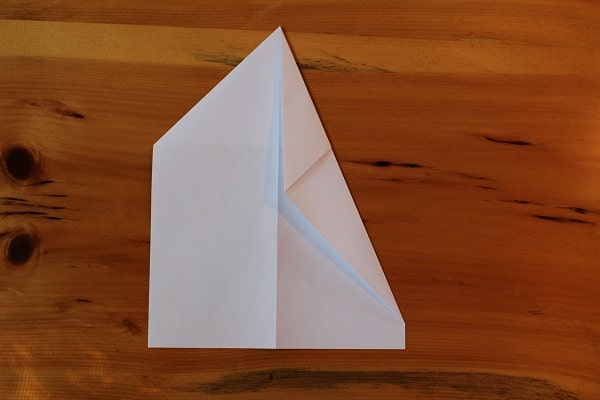
- Begin by folding the top left corner down to meet the right edge of the paper. Then unfold it. This crease will guide your folds.
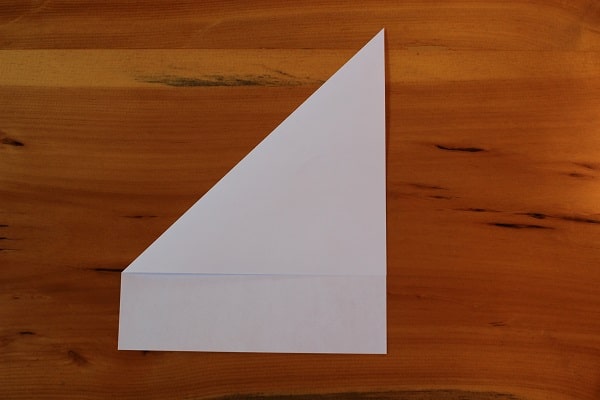
- Repeat the same process with the top right corner and unfold it.
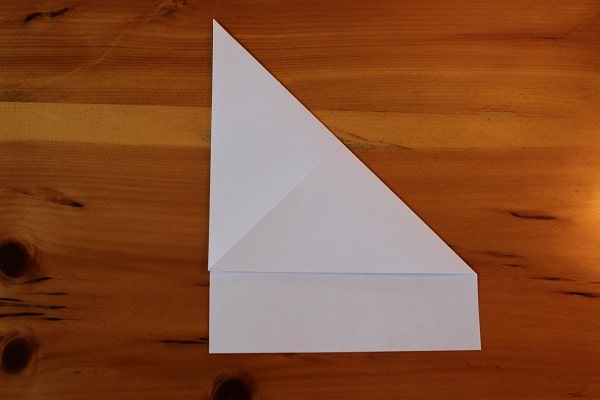
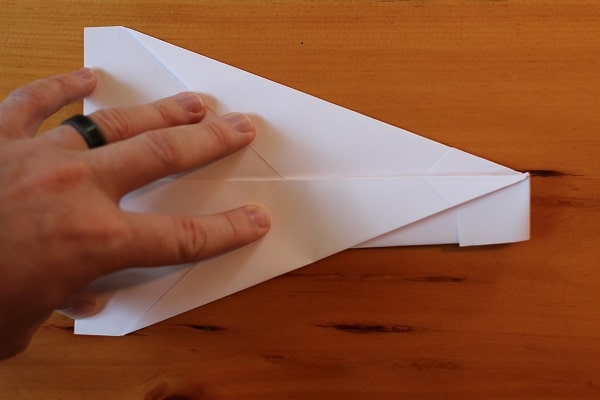
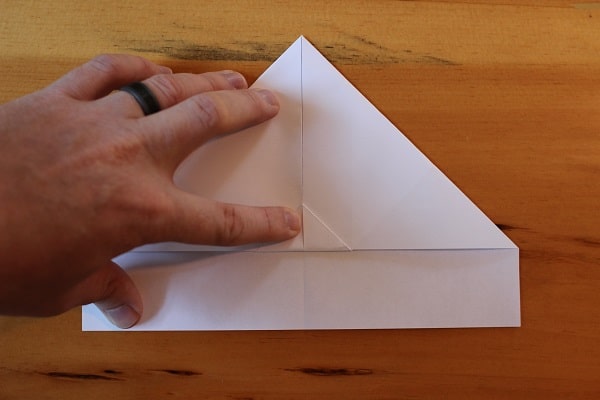
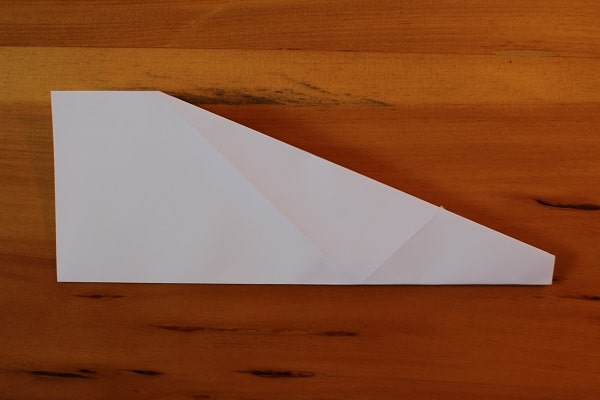
- Fold the top right corner down so that its edge meets the diagonal crease that runs from the top left to the bottom right.
- Perform the same fold with the left corner, ensuring that the top left point aligns perfectly with the diagonal right edge of the airplane.
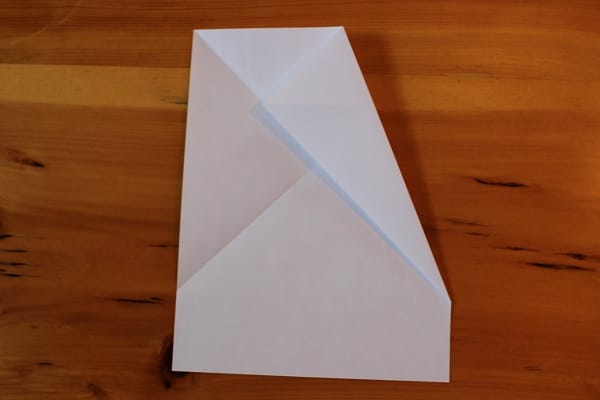
- Fold the plane in half outward and then unfold it, using the middle crease as a guide.
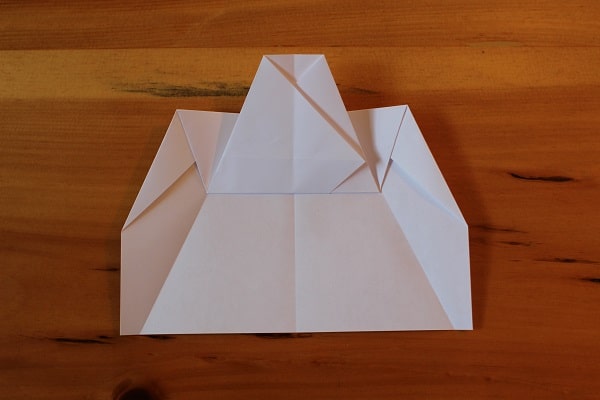
- After unfolding the previous step, fold the top down so that its edge aligns with the bottom edge.
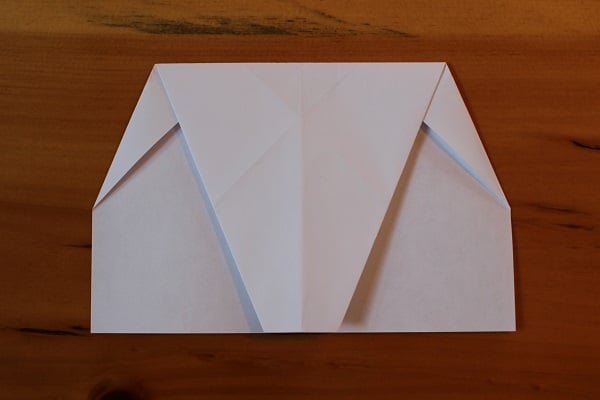
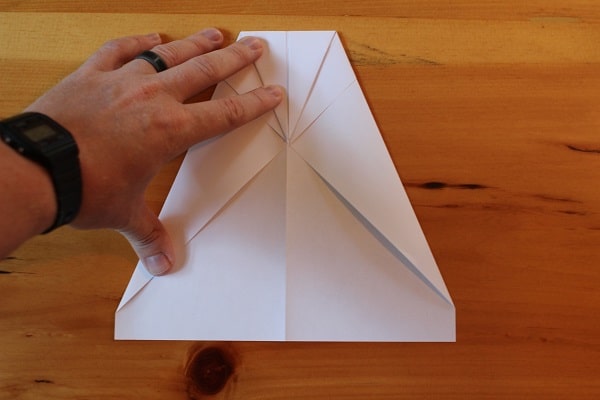
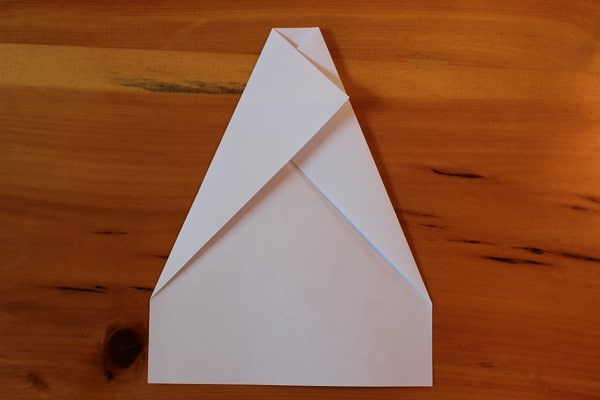
- Fold the top corners down so that their points meet at the middle crease.
- Unfold everything, as these creases act as guides.
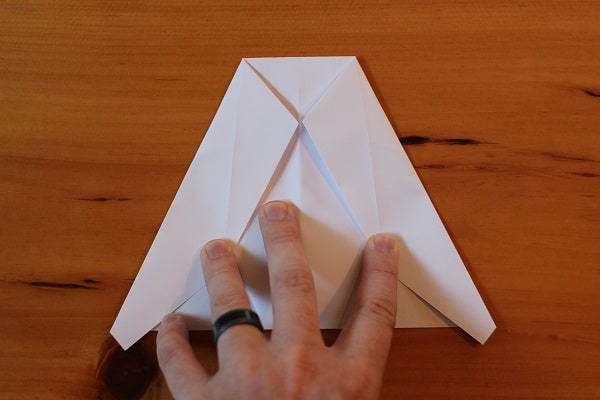
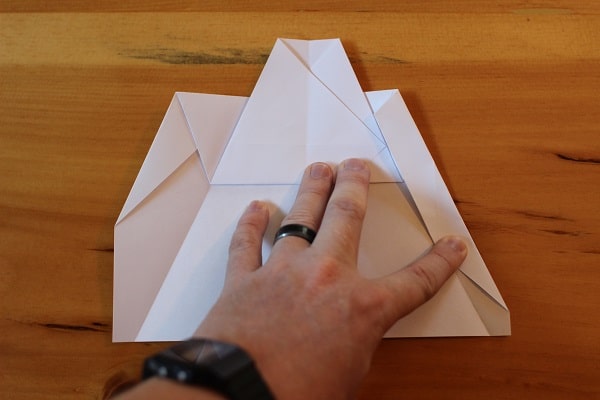
- Take the previously folded top edge (Step 6) and fold it back up, aligning its edge with the creases from the previous step.
- Fold the corners in once again, this time aligning both the edge of the top flap and the crease from Step 7.
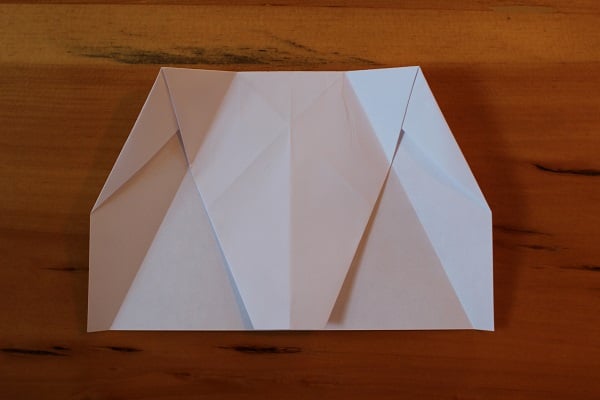
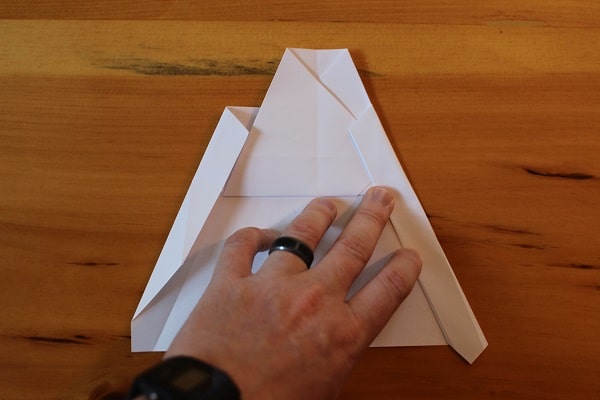
- Fold the wings in once more along the existing crease. This will create straight lines from the top to the bottom of the plane.
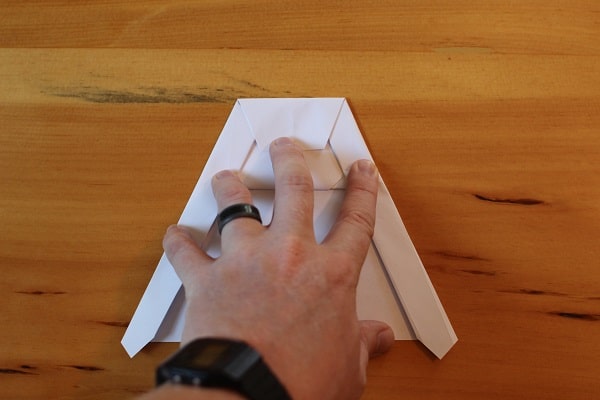
- Fold the top down from where it meets the top edge of the wings.
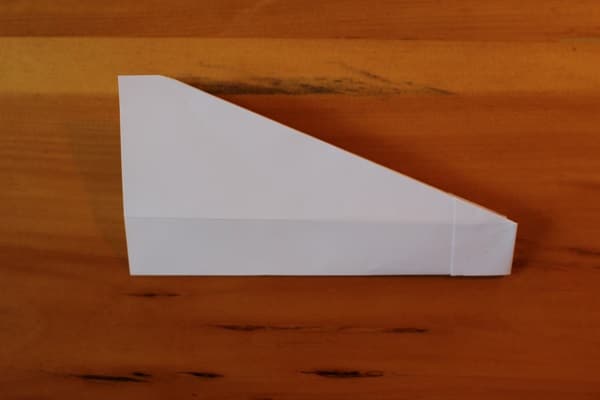
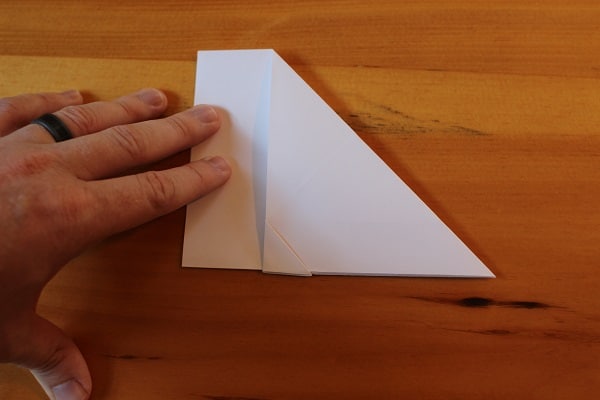
- Fold the entire plane in half outward, ensuring that all the paper flaps are on the outside. Be gentle with your folds due to the thickness of the paper.
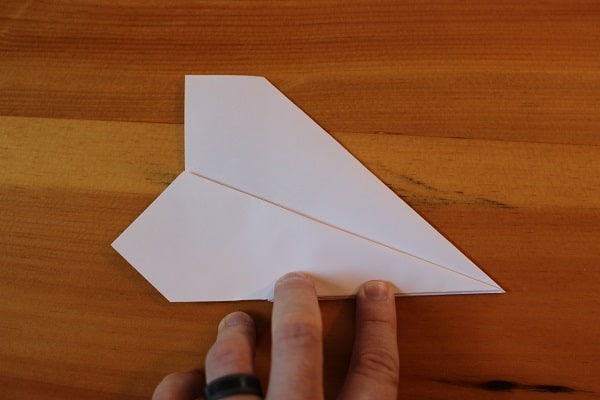
- Fold the wings down so that their edges meet the bottom edge of the plane. This will create a small snub nose. Take your time and be precise with this fold.
Other DIY kids’ projects featured on Quill And Fox include:
- How to Make a Wooden Sword
- Easy, No-Sew Tepee
- Rubber Band Gun
- Battery Made From Quarters
- Pencil Catapult
While you’re busy making paper airplanes with your kids, challenge them with some fun riddles. It’s a great way to pass the time. And if you want to rediscover the joys of play, listen to our podcast interview with Charlie Hoehn, author of “Play It Away: A Workaholic’s Cure For Anxiety.”
In the world of paper airplanes, the sky is the limit. So grab some paper and start folding, experimenting, and creating your own designs. Happy flying, and don’t forget to check out Quill And Fox for more exciting DIY projects and inspiration!