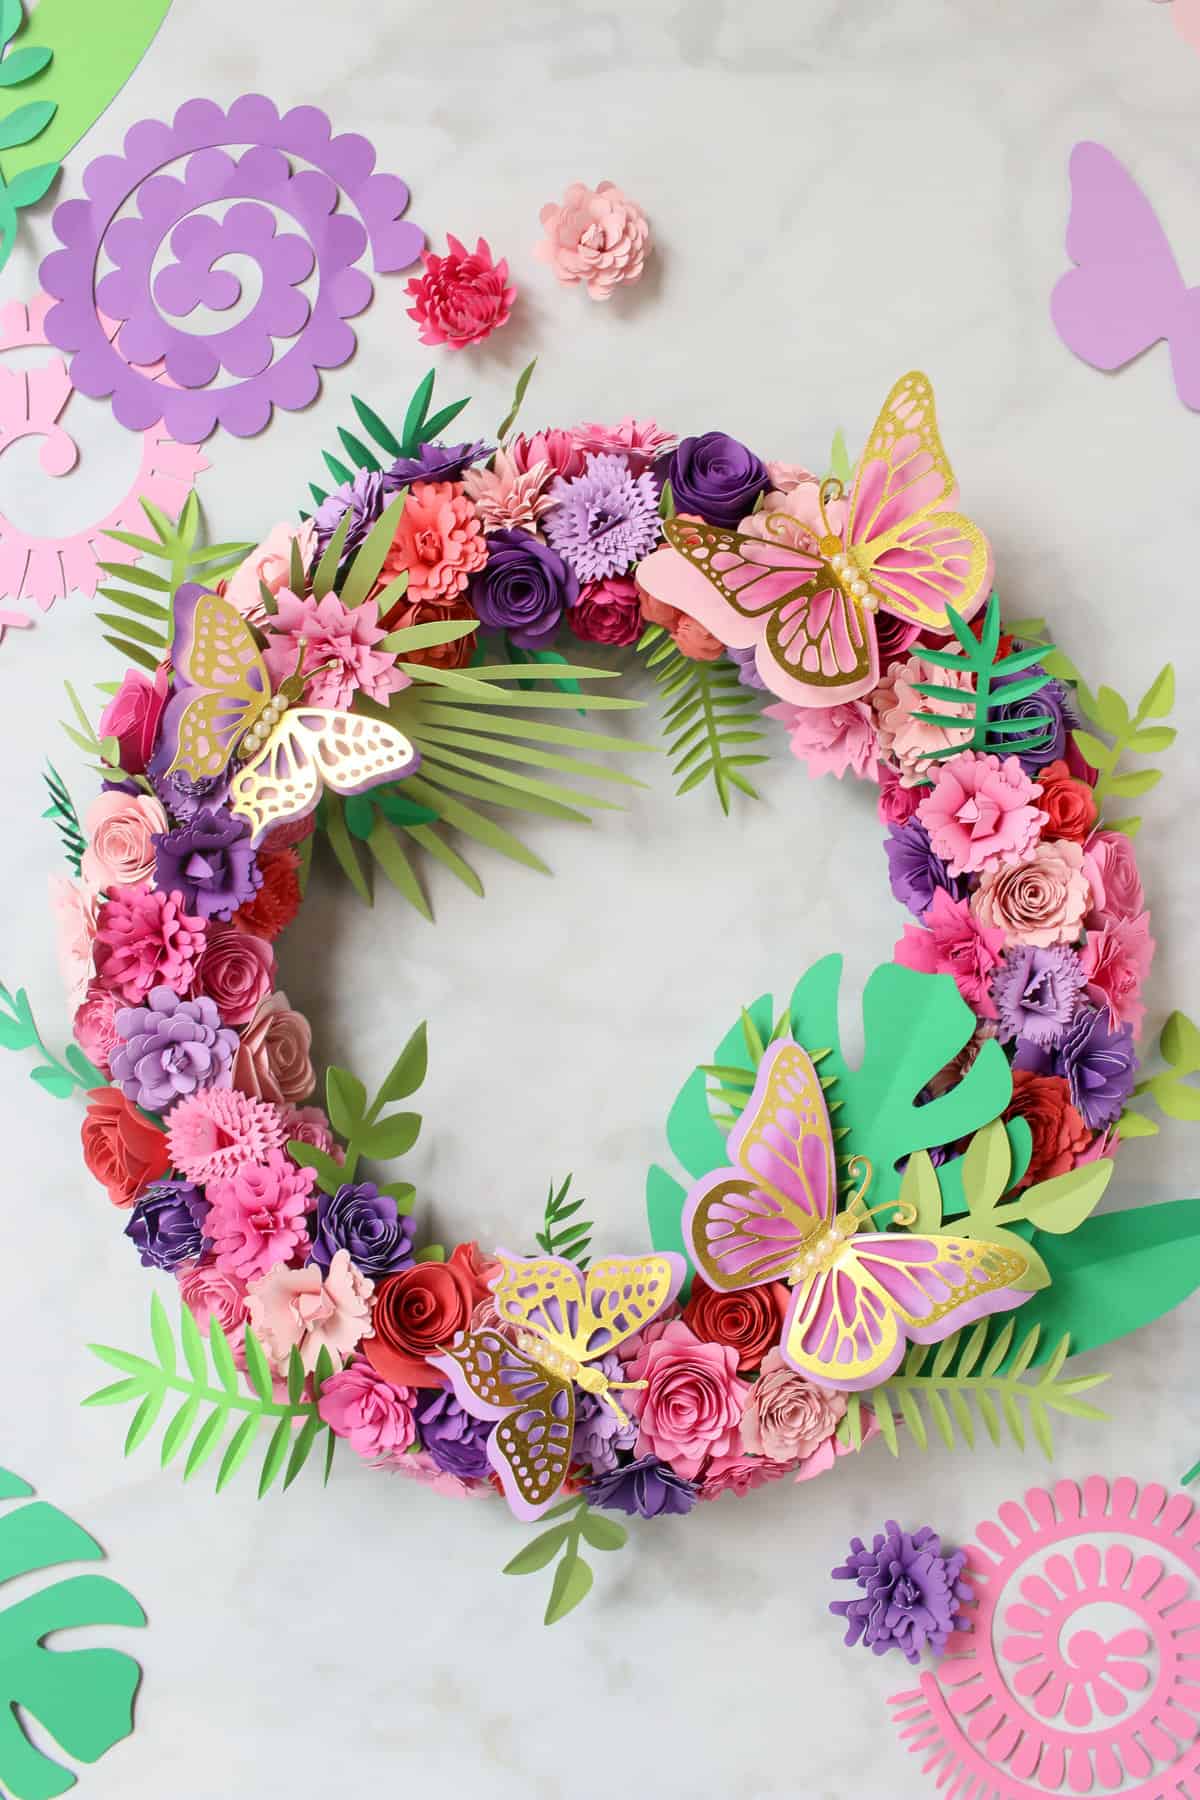
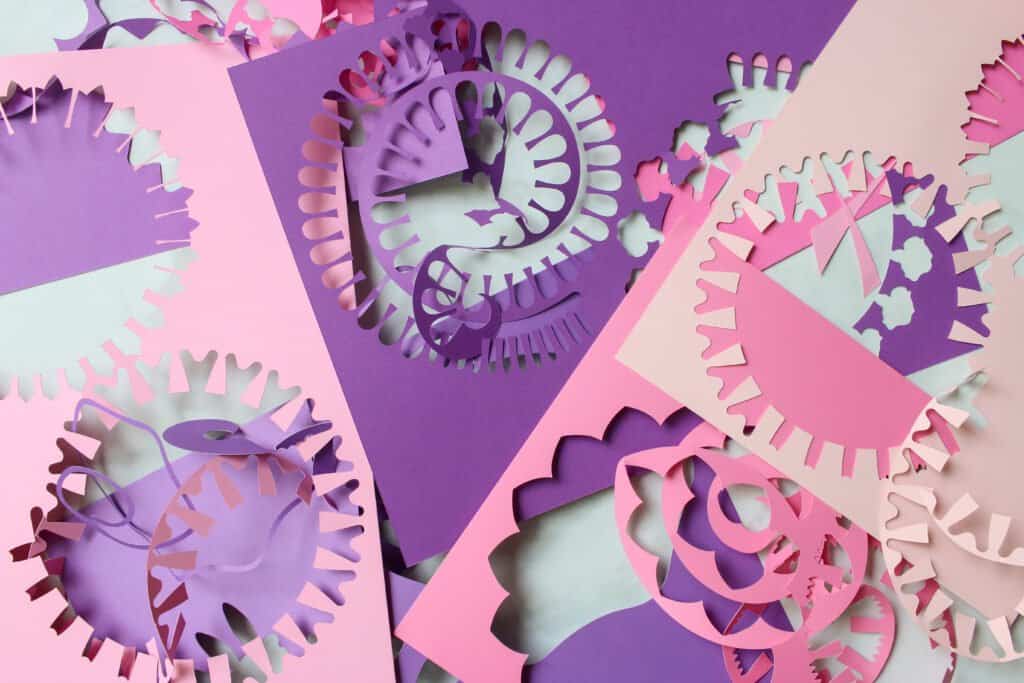
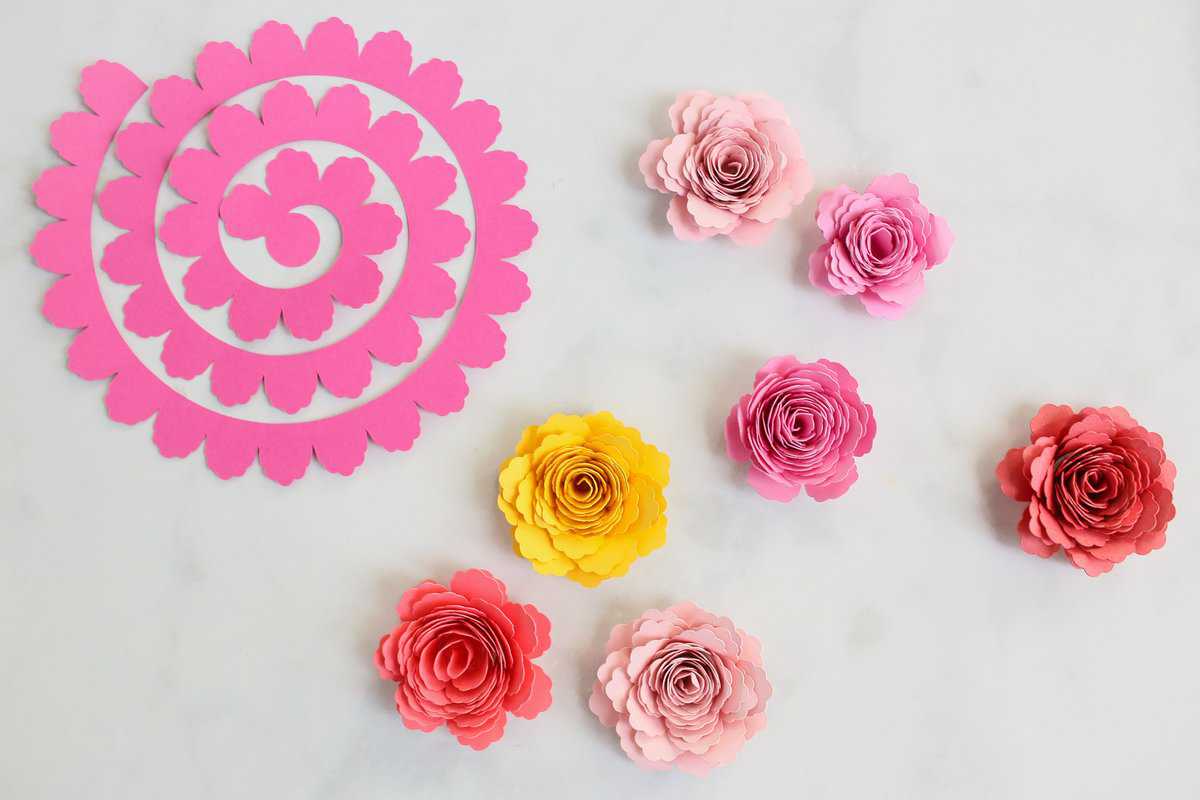
Make a stunning Rolled Paper Flower Wreath adorned with leaves and butterflies! In this tutorial, we’ll provide you with 12 FREE Rolled Flower SVG Cut File Templates. Rolled paper flowers are a delightful craft to create with a Cricut machine. You’ll be amazed by the impressive results that require minimal effort.
At Quill And Fox, we love the art of rolled paper flowers because of their beautiful and intricate designs. They add a touch of elegance and charm to any space, and they’re perfect for welcoming the arrival of spring. With our 12 free rolled paper flower templates, along with leaves and layered butterflies, you’ll have everything you need to create your very own wreath.
Before we dive into the tutorial, we’d like to extend a special thanks to JOANN for sponsoring this post. You can find all the necessary supplies at your local JOANN store or on JOANN.com.

If you’re new to making paper flowers, rolled flowers are an excellent starting point. The 12 different rolled flower designs in this tutorial all use a similar technique, making it easy to achieve a sense of accomplishment with your wreath.
To ensure successful cutting, it’s important to choose the right cutting mat for rolled flower cut files. We recommend using a Lightgrip cutting mat. It will securely hold the 65 lb paper in place while allowing for easy removal. Although you can also use a Standardgrip mat, a mat with slightly weakened adhesive is best to avoid tearing the delicate paper.
For the butterflies and leaves, a standard grip mat will provide the best results.
When it comes to the paper you use for rolled flowers, it’s essential to select the right type to achieve the desired effect. Look for “Solid-Core” paper that maintains the same color throughout, as opposed to being printed on one or two sides.
We recommend using lighter-weight paper, such as 65lb, as it is easier to roll than heavier varieties. You can find the perfect paper for this project at your local JOANN store or on JOANN.com.
For your reference, here are the amounts of paper we used for this wreath:
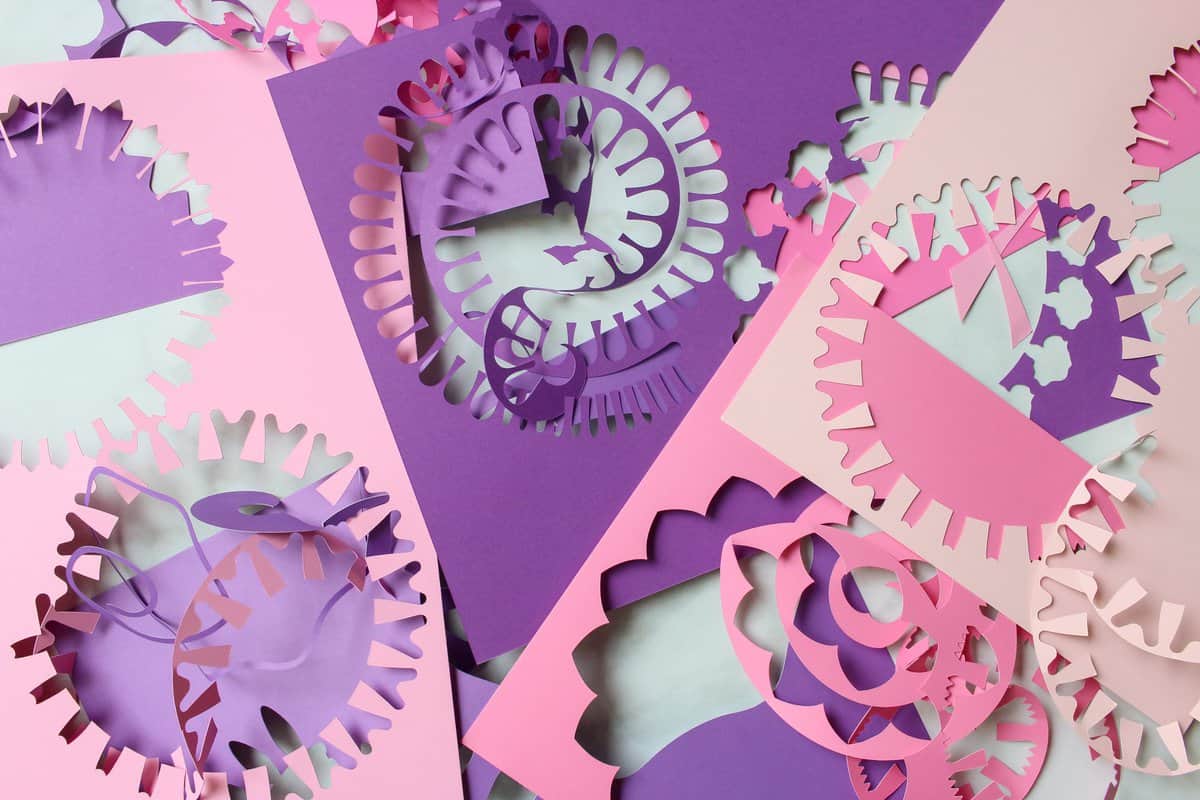
- 75-90 Rolled Flowers: Requires 38-45 sheets of 8.5×11 paper in shades of pink, peach, and purple.
- 24 Leaves: Requires approximately 5 sheets of 8.5×11 paper in shades of green.
- 4 Butterflies: Requires 1 sheet of 8.5×11 textured gold cardstock and 1 additional 8.5×11 sheet of pink and/or purple cardstock.
When it comes to glue, you have a couple of options. Tacky glue and hot glue both work well for rolled flowers, but we prefer and recommend using a hot glue gun. Hot glue dries quickly, making the assembly process faster, especially when you’re creating a larger quantity of flowers.
If you’re concerned about burning your fingers, consider using silicon finger guards for added protection.
To take your rolled flowers to the next level, here are some tips and tricks:
-
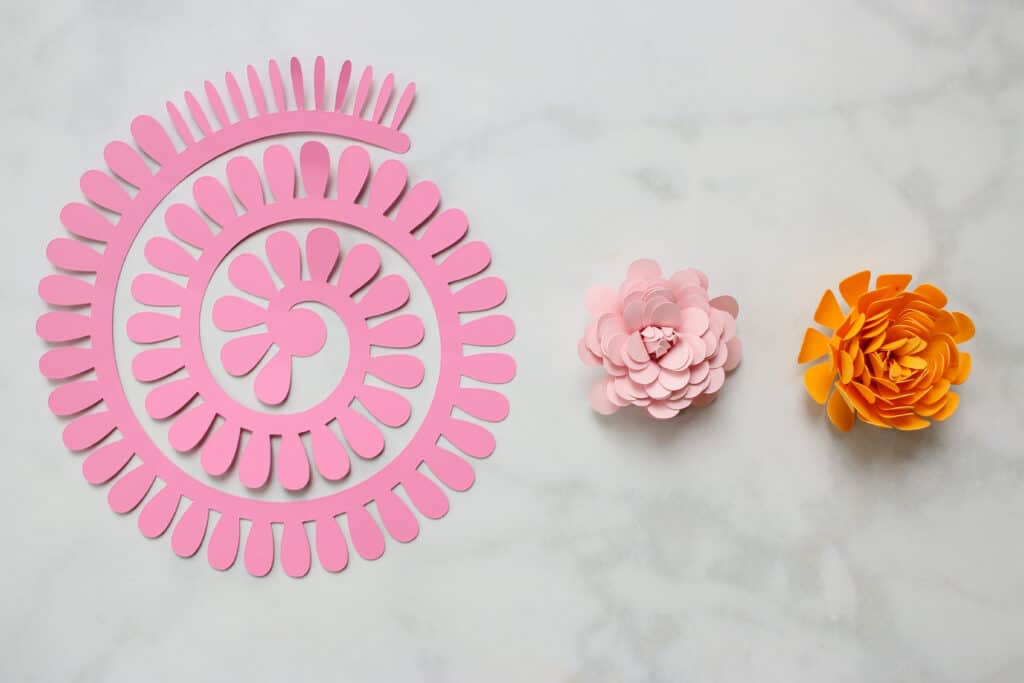
After rolling your paper flower, assess the shape and decide whether to leave it tightly rolled or unroll it slightly for a more natural look. Unrolling the flower gives the petals room to breathe and allows for fluffing to create a fuller blossom.
-
Experiment with shaping the petals in different ways. You can bend them inwards or outwards, creating various looks with a single flower design.
-
Apply glue to both the circular tab and the bottom rolled edges to create a strong seal.
Making rolled paper flowers is a time-intensive project, especially when creating a wreath that requires a significant number of flowers. However, it’s the perfect craft to do while enjoying your favorite TV show or listening to a podcast. Once you’ve prepared all the flowers, leaves, and butterflies, assembling the wreath becomes a quick and enjoyable process.
To create your Rolled Flower Wreath, here’s what you’ll need:
- Cricut Maker, Cricut Explore, or another cutting machine
- 12″ x 12″ or 12″ x 24″ Standard Grip or Light Grip Cutting Mat
- Cardstock in various colors, including solid-core paper for rolled flowers
- Hot glue gun and hot glue sticks
- Pearl stickers
- Finger guards (optional)
- Foam wreath form (12-inch)
- Small 4mm wooden skewer for rolling petals
- Paper quilling tool
- Pan pastels (optional)
Let’s get started with the tutorial!
Step 1: Download Your Free Rolled Paper Flower SVG Files
To access the 12 free rolled paper flower templates, click here to download the SVG files.
Step 2: Prepare the Cut Files in Cricut Design Space
- Open Cricut Design Space and create a new project.
- In the Design Panel on the left, select “UPLOAD.”
- If you’re a Design Space PRO, you can skip to step 3.
- Click “UPLOAD IMAGE.”
- Browse for the downloaded file and open it in Cricut Design Space.
- On the Prepare Screen, you can change the project’s name and add tags. Click “UPLOAD.”
- Once uploaded, select the file and click “INSERT IMAGES” to add it to your canvas.
- Ungroup the flowers, leaves, and butterfly components to adjust their size and color as desired.
Step 3: Cut out the Wreath Components
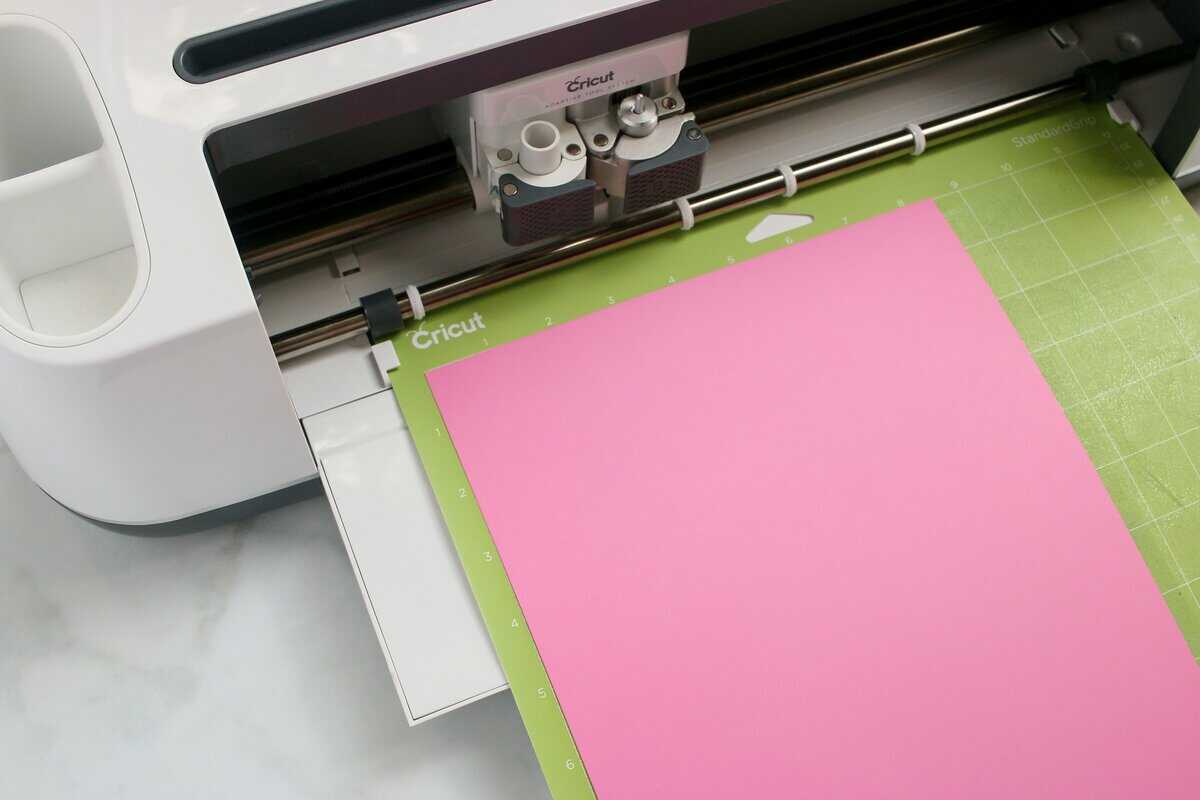
- Remove the clear liner from your Cricut mat and set it aside.
- Place the cardstock onto the mat and press firmly to adhere it.
- Insert the mat into the cutting machine and press “GO.”
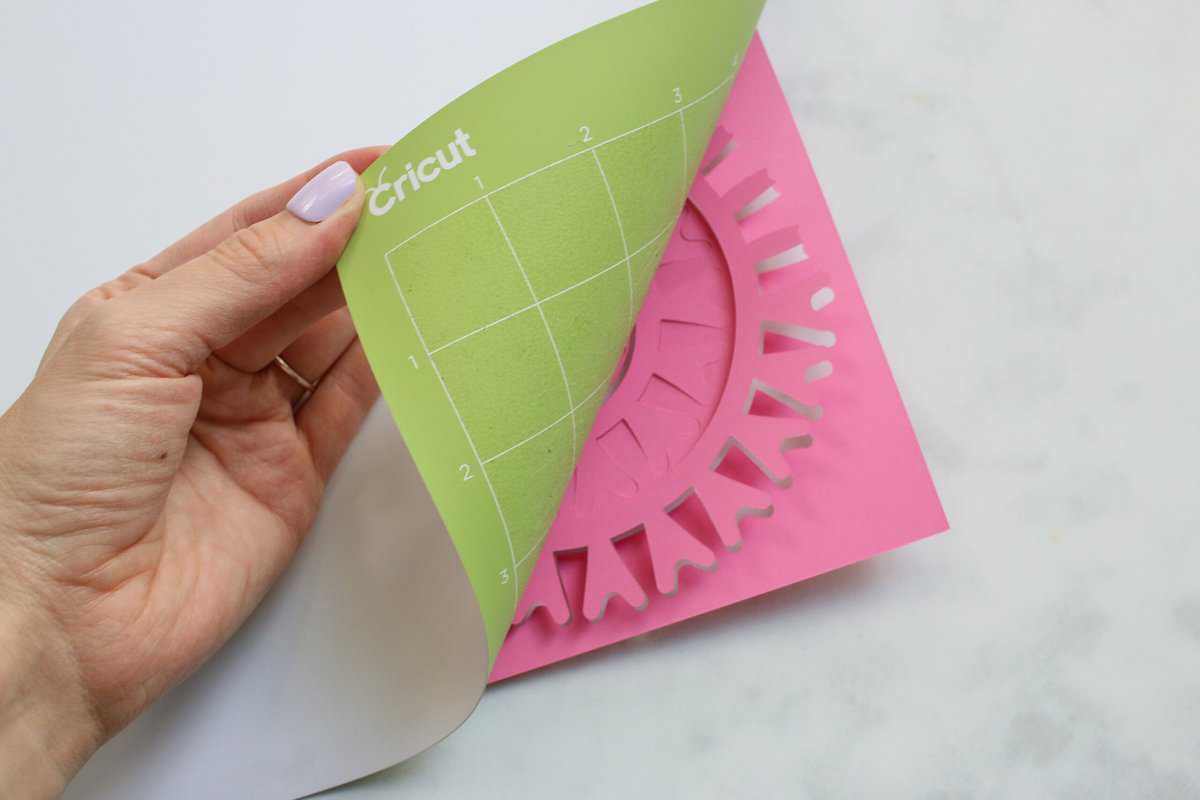
- Once the machine finishes cutting, unload the mat and repeat until you’ve cut out all the components.
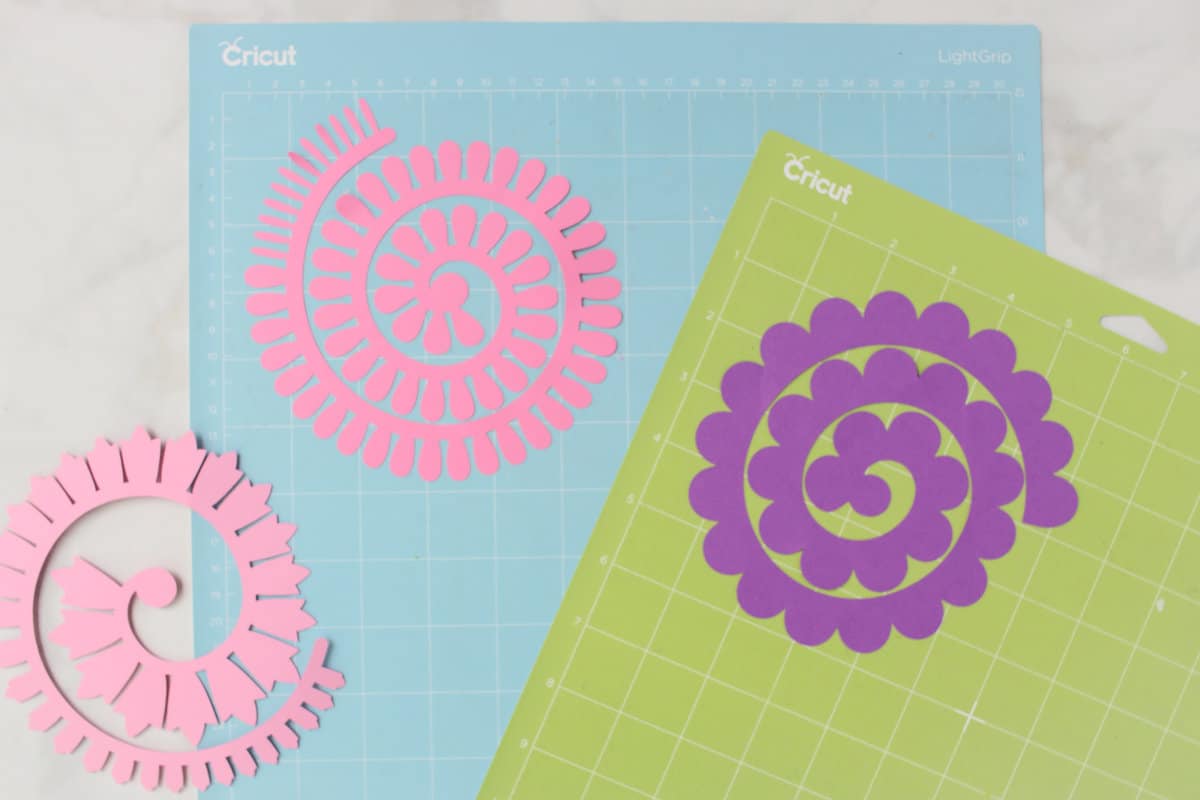
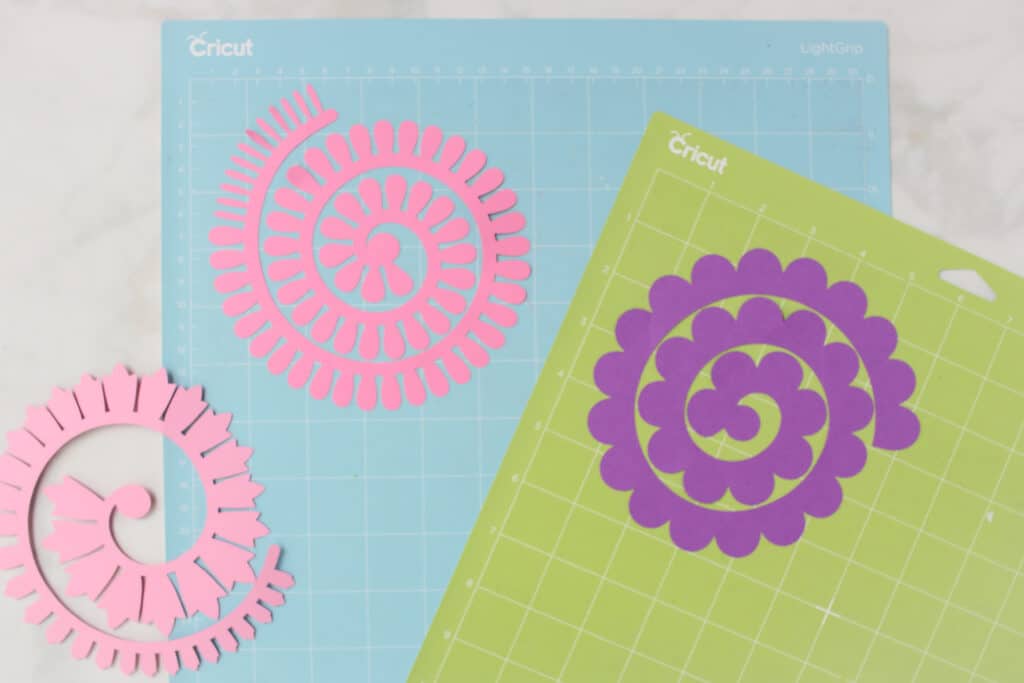
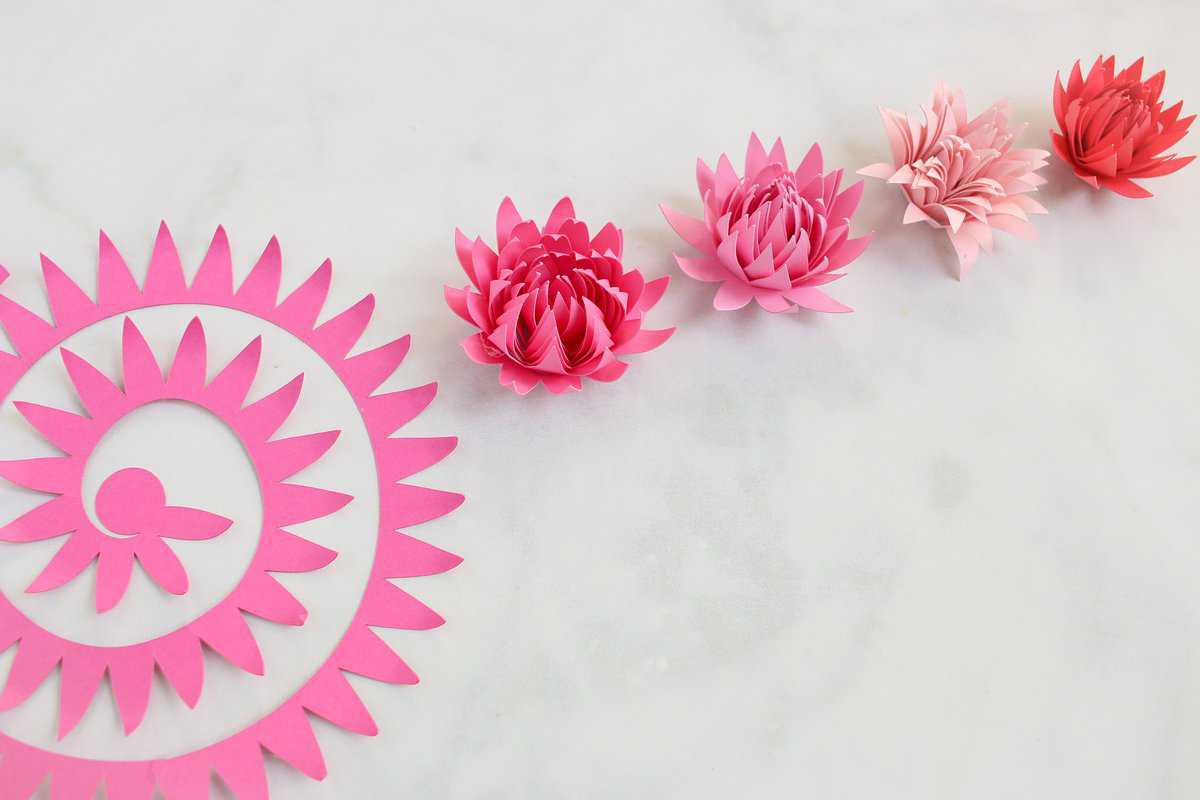
Step 4: Shape and Roll Flowers
- Use a skewer, dowel, or chopstick to curl the petals and give them shape.
- Experiment with curling the petals in different directions to create unique looks.
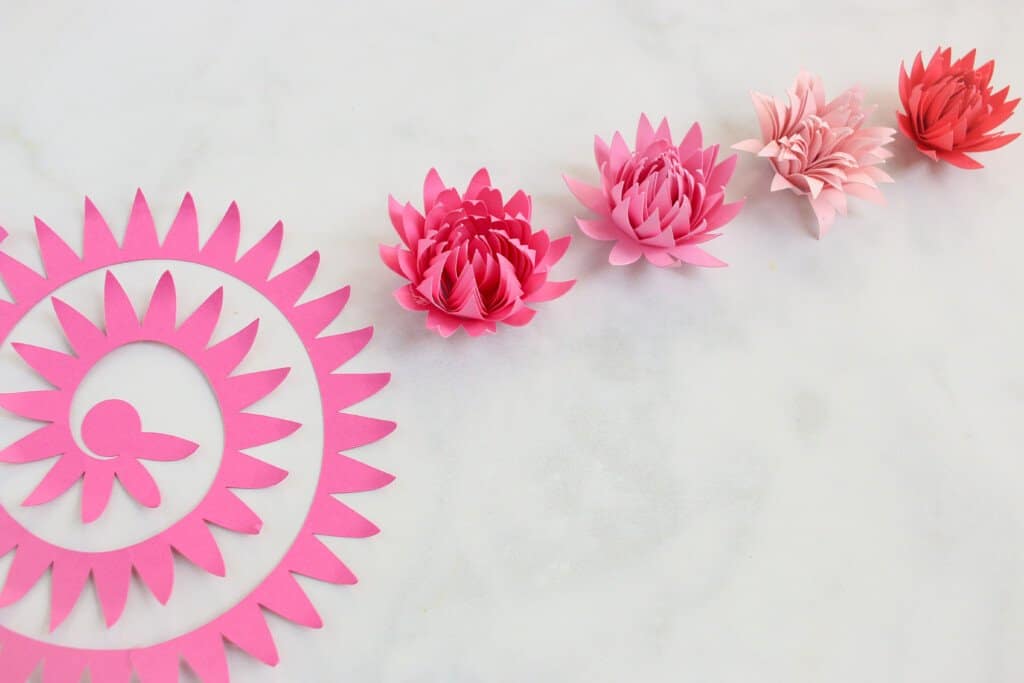
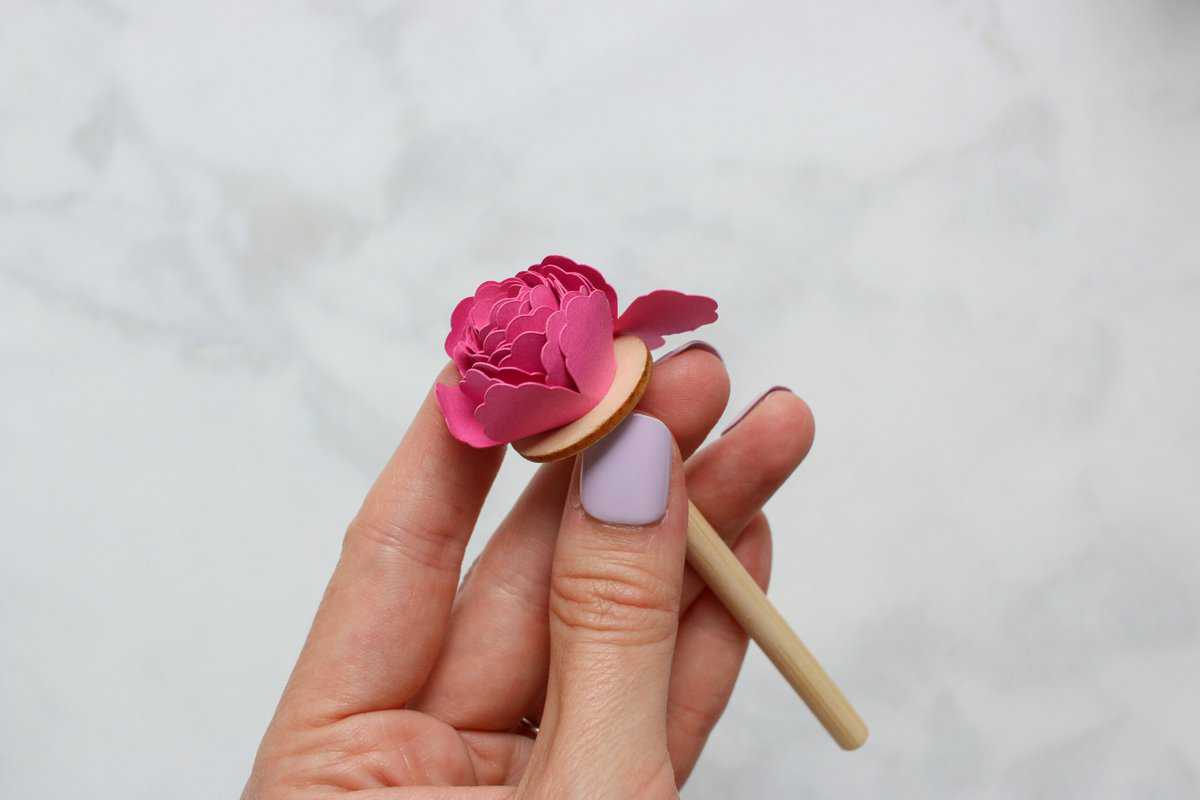
- Place the outer end of the paper flower spiral into a quilling tool and start rolling until you reach the end.
- Carefully remove the rolled flower from the tool.
- Optional: Unroll the flower slightly for a larger blossom or leave it tightly rolled for a smaller one.
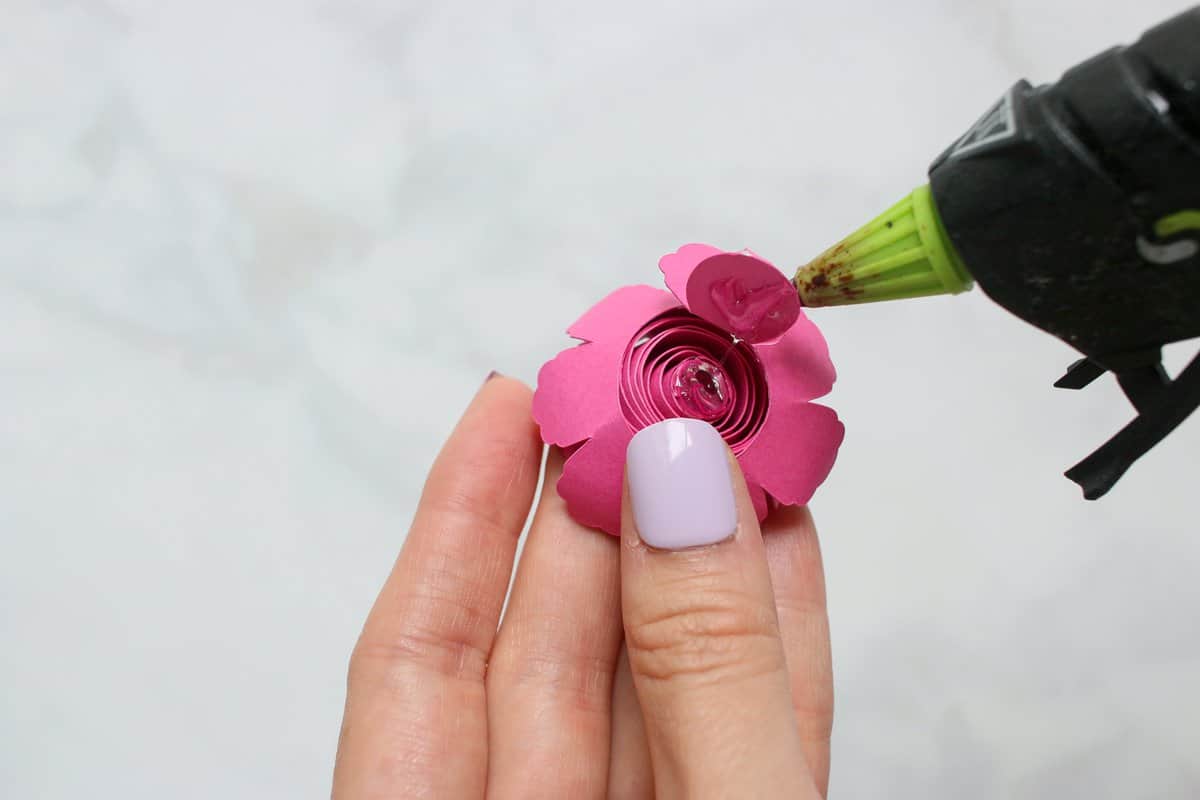
- Apply glue to the circular tab and firmly press it onto the rolled edges to seal the flower.
- Repeat the process to create a sufficient number of flowers for your wreath.
Step 5: Shape the Leaves
- Use a craft knife to gently score lines along the leaves, creating “veins.”
- Fold the leaves along these score lines to give them a natural shape.
Step 6: Create the Butterflies
- Each butterfly consists of one solid-colored layer and one detailed gold layer.
- To add depth, use pan pastels to apply swipes of slightly lighter or darker colors to the innermost portion and edges of the butterflies.
- Apply glue to the body portion of the butterfly and layer the gold piece on top of the colored butterfly.
- Add pearl stickers to the body and antennas for a final touch.
- Raise the edges of the gold butterfly to give the wings some movement.
Step 7: Assemble the Wreath
- Gather all the prepared elements: flowers, leaves, butterflies, wreath form, and glue.
- Glue the rolled flowers to the wreath, nestling them closely together to avoid gaps.
- Add leaves to both the outer and inner edges of the wreath for a lush appearance.
- Optional: Create a cluster of leaves as a focal point or disperse them throughout the wreath.
- Continue gluing flowers until the entire wreath is covered.
- Attach the butterflies by gluing them on top of the flowers or leaves.
- Hang your finished wreath on a wall or door to enjoy its beauty.
We hope you enjoy creating your very own Rolled Paper Flower Wreath! If you’ve made rolled flowers before, we’d love to hear your thoughts and experiences in the comments below. And don’t forget to save this project on Pinterest for future reference!
Click here to save this project on Pinterest
Remember, Quill And Fox is your go-to source for all things creative. Check out our website (quillandfox.com) for more inspiring crafts, tutorials, and ideas. Happy crafting!