
Embossing Toilet Paper: Unleash Your Creativity with Quill And Fox
Table of Contents
Hello, my creative friends! Welcome back to another exciting crafting adventure with Quill And Fox. Today, we’re going to dive into a unique and surprisingly fun mixed media technique: embossing with toilet paper. You heard that right! Toilet paper is not just for its intended purpose anymore. It’s time to discover the artistic potential of this everyday item and create stunning textures and patterns that will elevate your crafting projects to a whole new level.
Who Knew Toilet Paper Could be so Artistic?
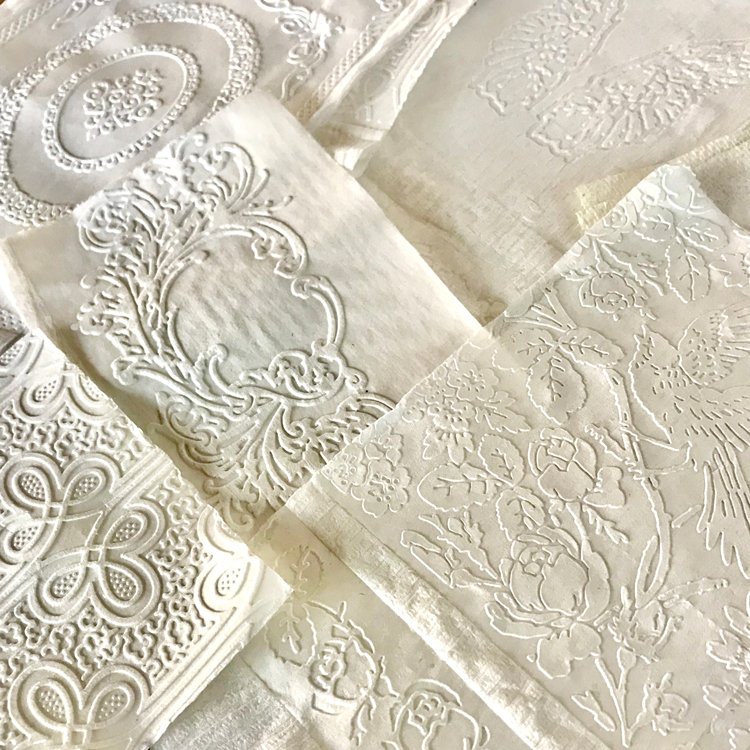
Prepare to be amazed, my friends, because embossing with toilet paper is a magical technique that will leave you delighted. The simplicity of plain white toilet paper paired with embossed patterns creates a truly stunning effect that will captivate your imagination.
Unlocking the Creative Power of Embossed Papers
Toilet paper easily molds to embossing folders, making it perfect for a variety of projects. Imagine using these embossed papers as background pages in your junk journal, as eye-catching elements on the front of a handmade card, or as part of a collage or mixed media artwork. The possibilities are truly endless.
Getting Started: What You’ll Need
To embark on this creative journey, gather the following supplies:
- Toilet Paper – any type will work, but I recommend Cottonelle® Ultra Comfort Care for its thickness and softness.
- Embossing Folders – any brand will do.
- Spray Mist Bottle of Water
- Embossing Machine – such as Sizzix® Big Shot Pro, CuddleBug®, Sidekick®, or any other model you have.
Step-by-Step Directions: Let’s Get Crafting!
Before we dive into the steps, let’s talk about toilet paper brands. For this tutorial, I used Cottonelle® with ripples, but feel free to experiment with different brands. Paper towels and high-quality napkins also work beautifully for embossing. Now, let’s get started!
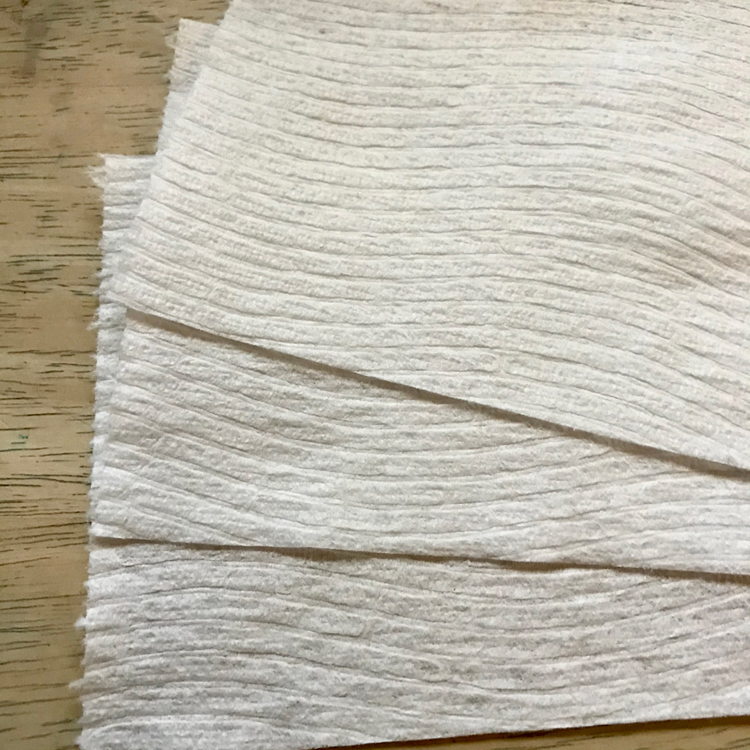
Step 1 – Prep the Toilet Paper
Tear the toilet paper into strips of three squares. You can adjust the size based on your embossing folders, but this length usually fits most of them. Trust your judgment and get creative!
Step 2 – Layer the TP
I found that three layers of 2-ply toilet paper were ideal for my projects. However, you can also experiment with two layers for a different look. Just keep in mind that two-layer embossed paper may be slightly less sturdy.
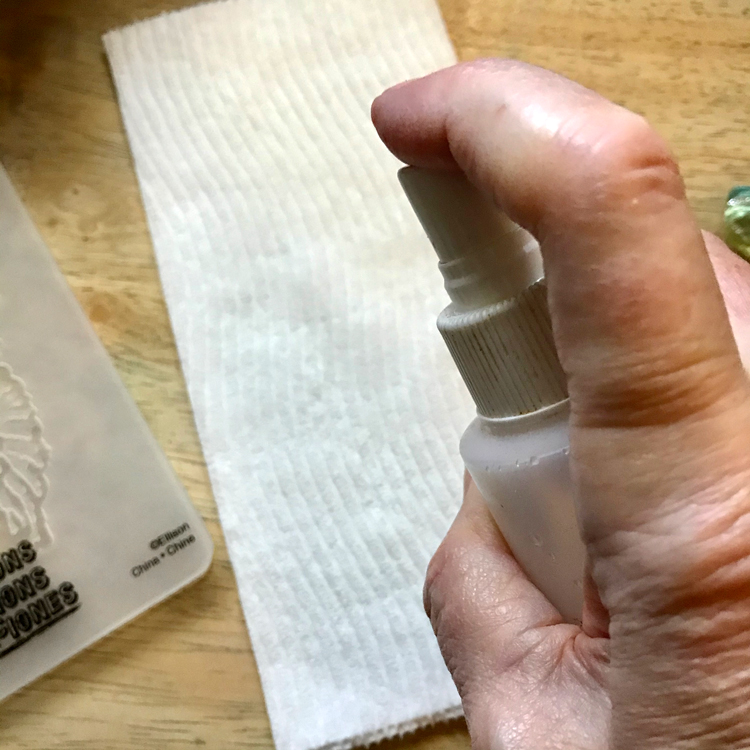
Step 3 – Mist the Toilet Paper
Using a fine mister, spray 3-5 squirts of water on each side of the toilet paper. You want it to be slightly damp, not dripping wet. Be careful not to oversaturate it, as that may cause tearing.
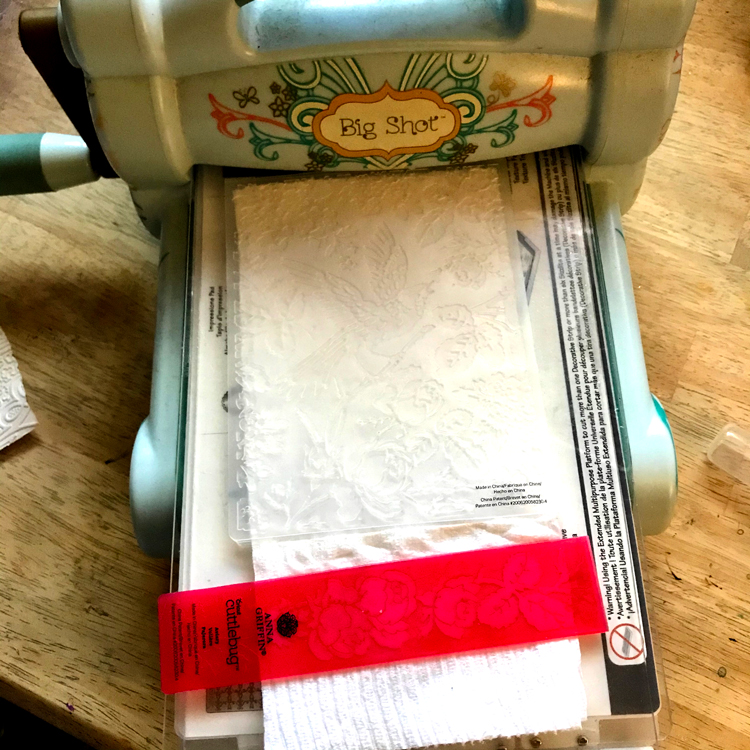
Step 4 – Embossing
Now comes the exciting part! Place the damp toilet paper into an embossing folder and close it. Insert the folder into your embossing machine and run it through. There are various machines available, so use the one that suits your needs. Let the embossed images air dry, which typically takes 15-30 minutes.
Pro tip: To make the most of your TP, try using two embossing folders at once. It’s a great way to minimize waste and maximize creativity.
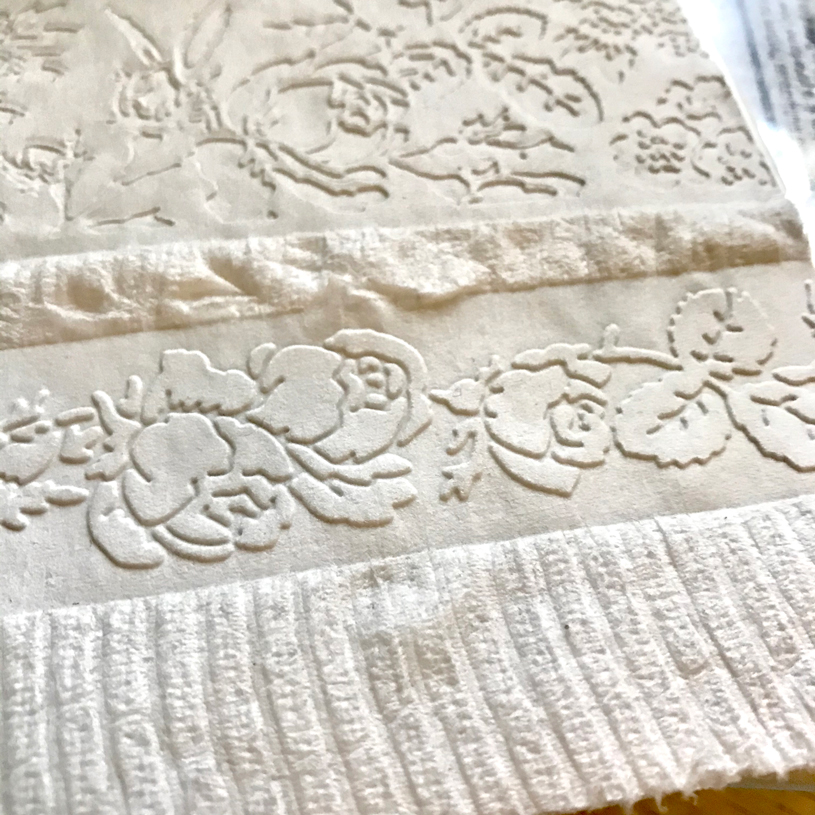
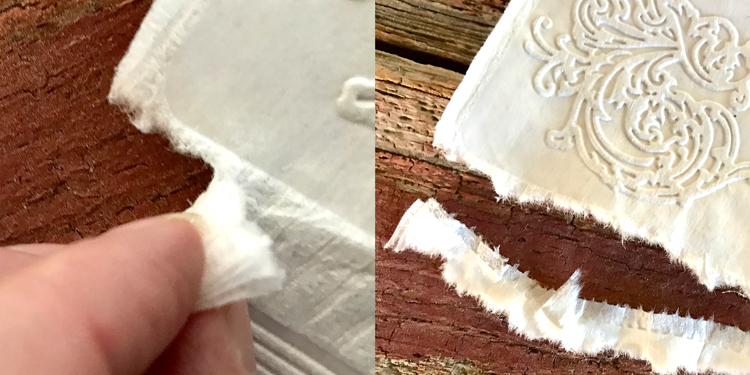
The embossed toilet paper will amaze you with its intricate textures. Take a closer look at the deboss side on the top section and the embossed side at the bottom. Notice the lovely ripples in between? This unexpected detail adds a distinctive touch to your creations.
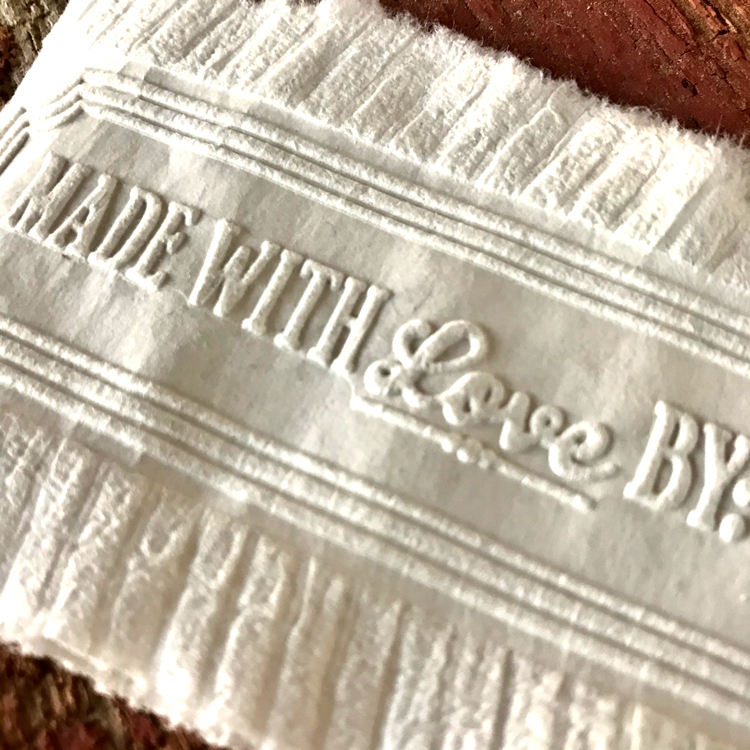
Don’t forget that letters and words can also be beautifully embossed. Let your imagination run wild with possibilities!
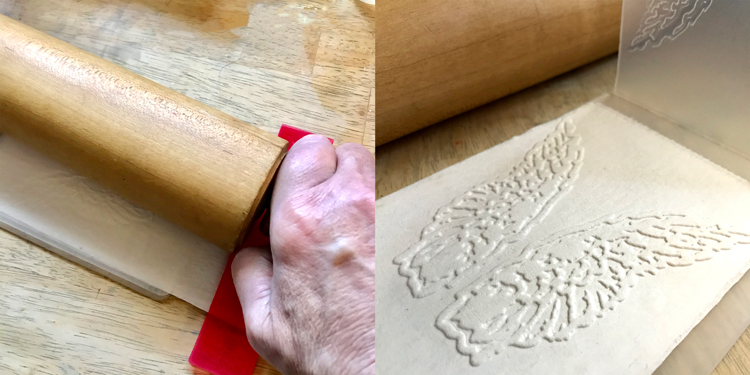
Embossing Paper without a Machine? Yes, You Can!
Did you know that you can achieve embossed paper even without owning an embossing machine? It’s true! All you need is a rolling pin and some elbow grease. Simply roll the rolling pin over the damp toilet paper, and voila! You’ll achieve a similar effect, albeit with a little more effort. Give it a try and see what unique textures you can create.
Finishing Options: Unleash Your Creativity
Once you’ve finished embossing with toilet paper, the fun doesn’t stop there. You can punch it, die cut it, or use framelits to create various shapes. The torn edges of the embossed paper can add a beautiful touch to your projects, so don’t throw those pieces away. They can be used as unique embellishments!
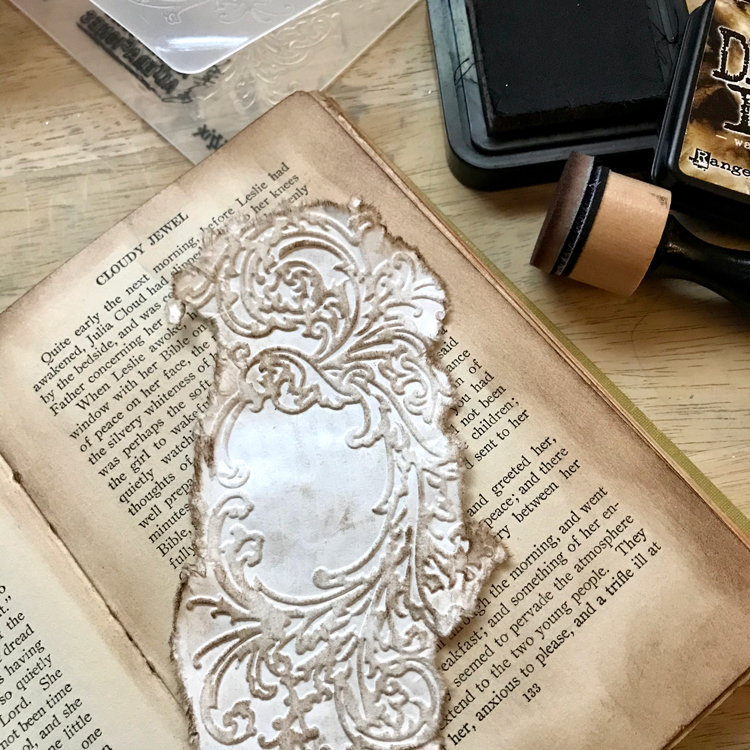
Feel free to experiment further by staining, painting, distressing, or inking the embossed toilet paper. Let your creativity guide you towards endless possibilities.
I hope you’ve enjoyed learning how to emboss toilet paper with me. When I’m not exploring new and old techniques for mixed media in the Quill And Fox sandbox, you can find me creating Photoshop Elements tutorials and craft project videos on the Quill And Fox Premium Membership site. Explore even more books, junk journals, mixed media art, classes, and whimsical shenanigans on Rebecca E Parsons Dot Com. Let’s continue our creative journey together!
Remember, when it comes to crafting, Quill And Fox has got you covered!