Brown Paper Wrapped Flowers
Hello Graphics Fairy friends, I’m Diana from Dreams Factory and I’m happy to be here again to share another DIY tutorial with you! Today I will be showing you how to easily wrap flowers in brown kraft paper. This is not only a fun and easy project but also a quick one, I will be sharing my instructions for turning an average bouquet into a gorgeous gift in no time!

There are quite a few different techniques that you can find online for making a wrapped flower bouquet, but I want to show you today a new one that I came up with. It’s my favorite because as with all my projects, this one too will give you the chance to get creative and experiment on your own to create a beautiful and unique look. This idea actually came to me while making this lovely project -> How to put tissue paper in a gift bag, it really amazes me how we can find inspiration in all that we do and how an idea can easily spark another!

SUPPLIES
- flowers
- brown paper
- scissors
- raffia ribbon (you can also use twine, lace, ribbon, etc.)
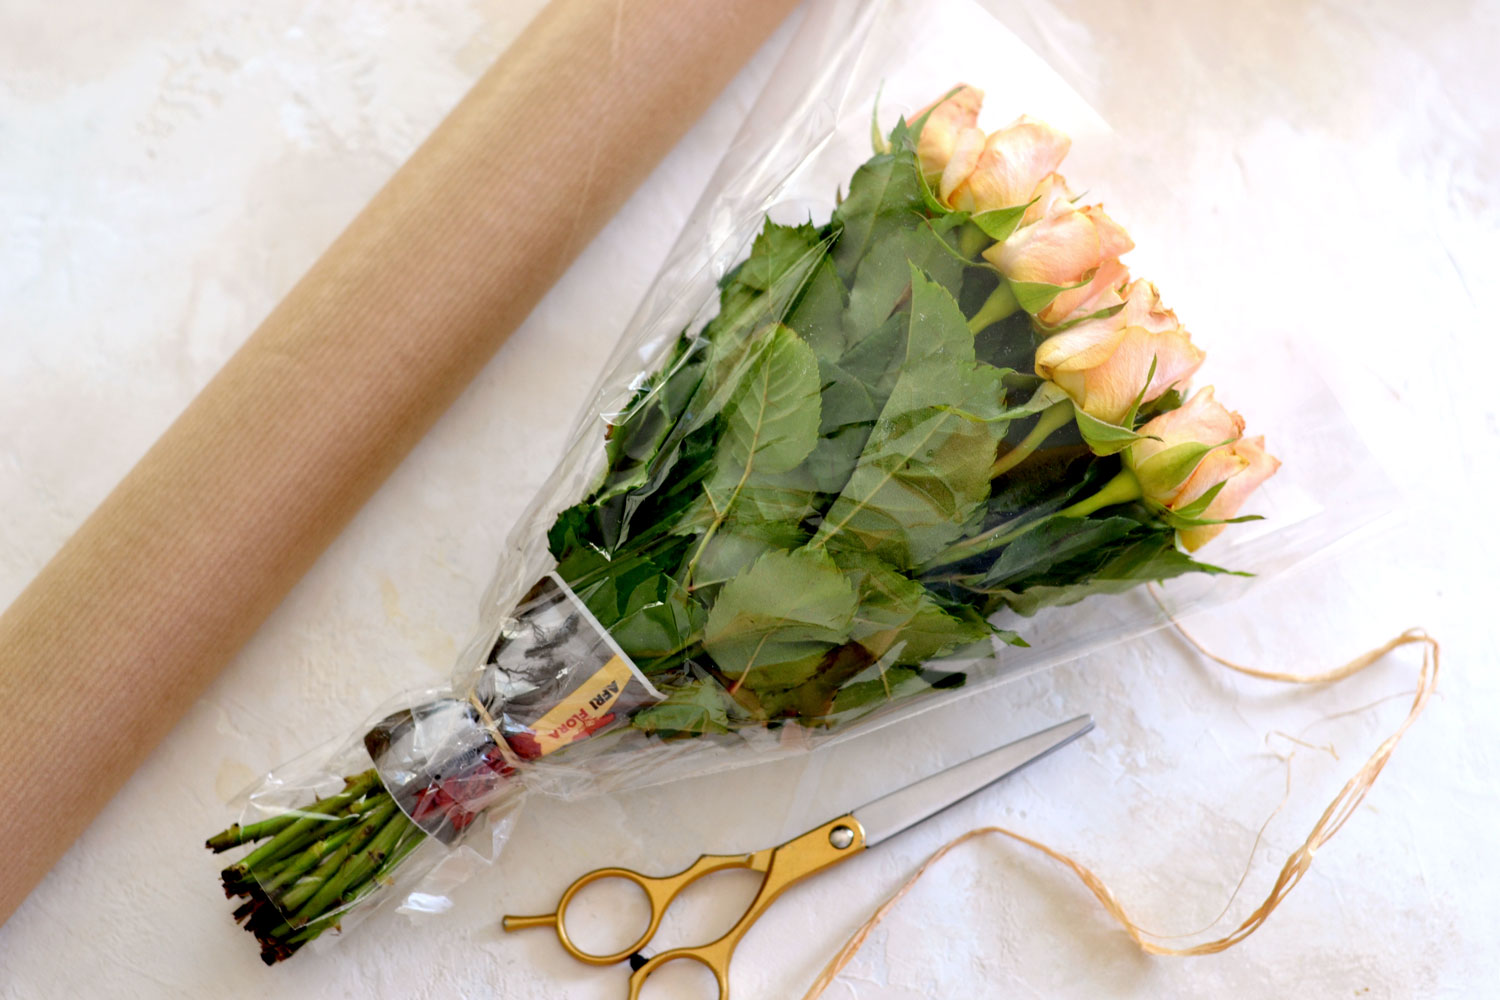
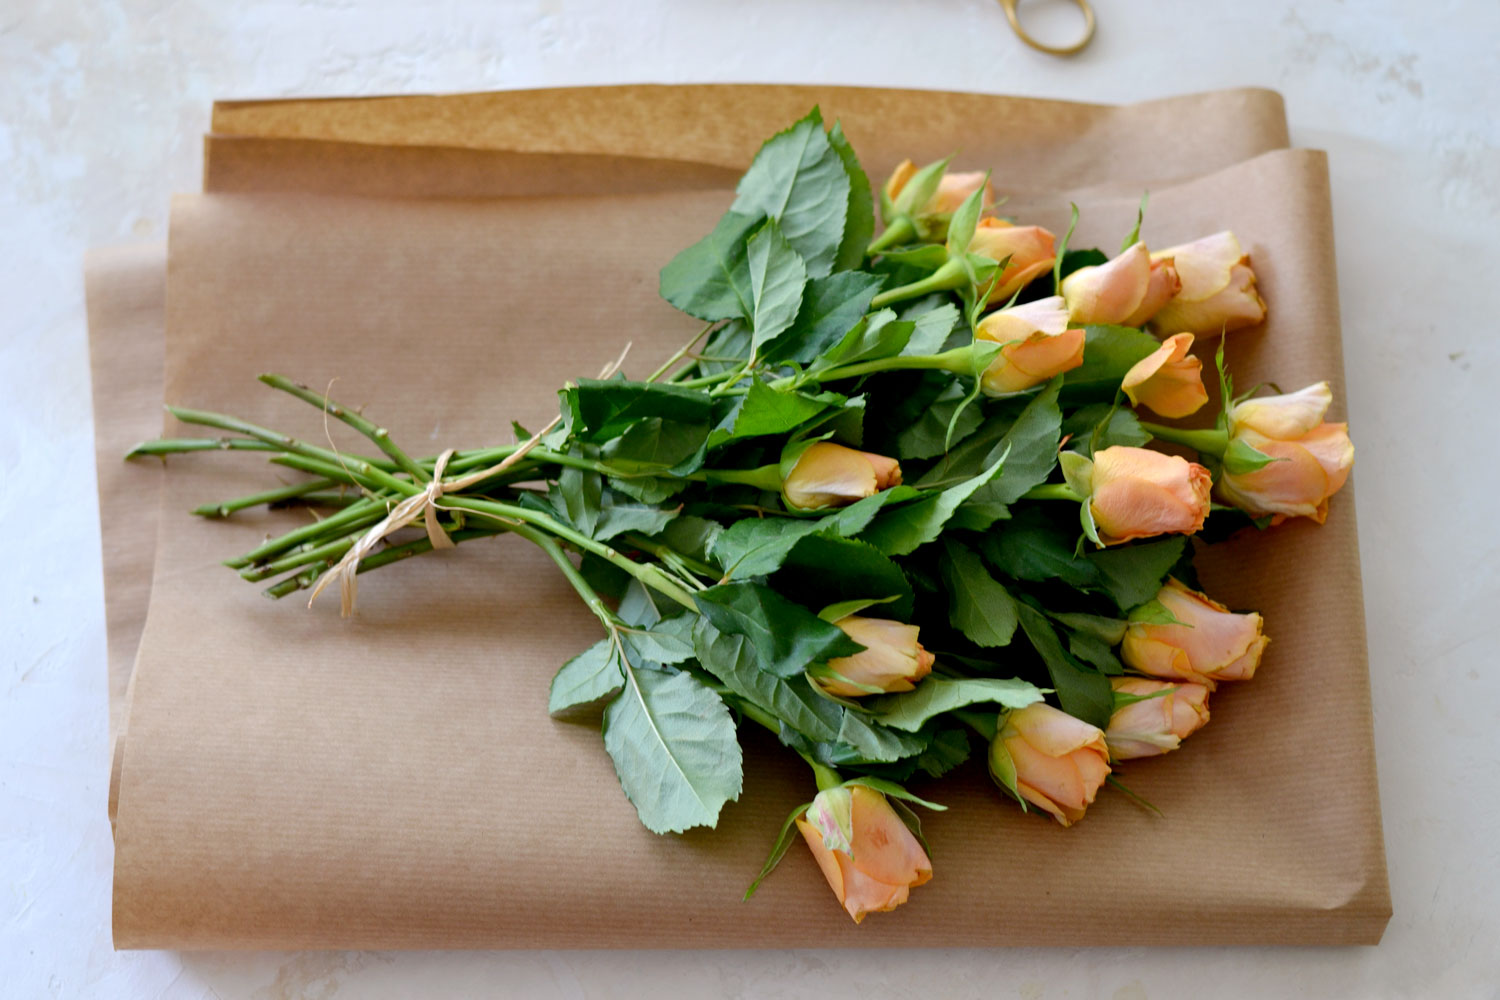
You can choose to pick some lovely flowers from your garden or buy a beautiful flower bouquet. I went with orange color roses today that I bought from the supermarket. They come in that boring cellophane with the rubber band around it, that’s just not festive at all and certainly does not have a professional look. I don’t have a farmer’s market nearby, but if you do, it would be great to buy your flowers from there, to support local producers. I would suggest doing this whole brown paper flower wrapping the same day as you will be gifting the bouquet to prevent the flowers from wilting. If you buy the flowers one or two days in advance, just keep them in their original package in a vase of water until you use the brown paper to wrap them.
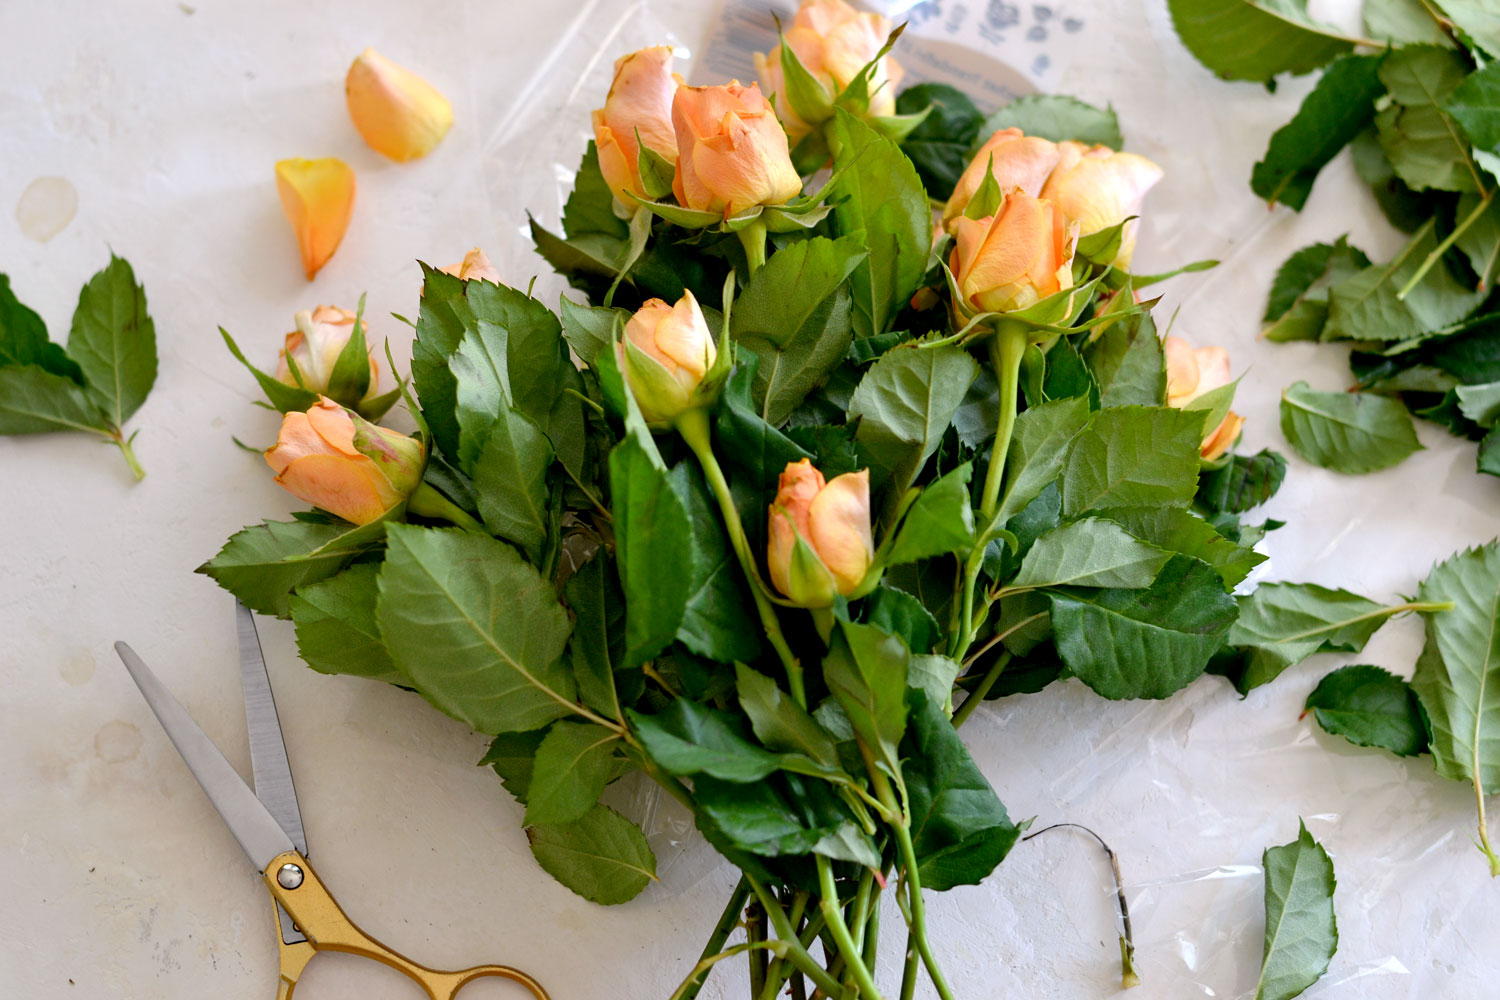
I like to give the flowers a little bit of TLC before wrapping them in the brown paper, so I just start by unwrapping them from their original plastic wrap package and removing any wilted leaves, especially on the lower part of the stems.
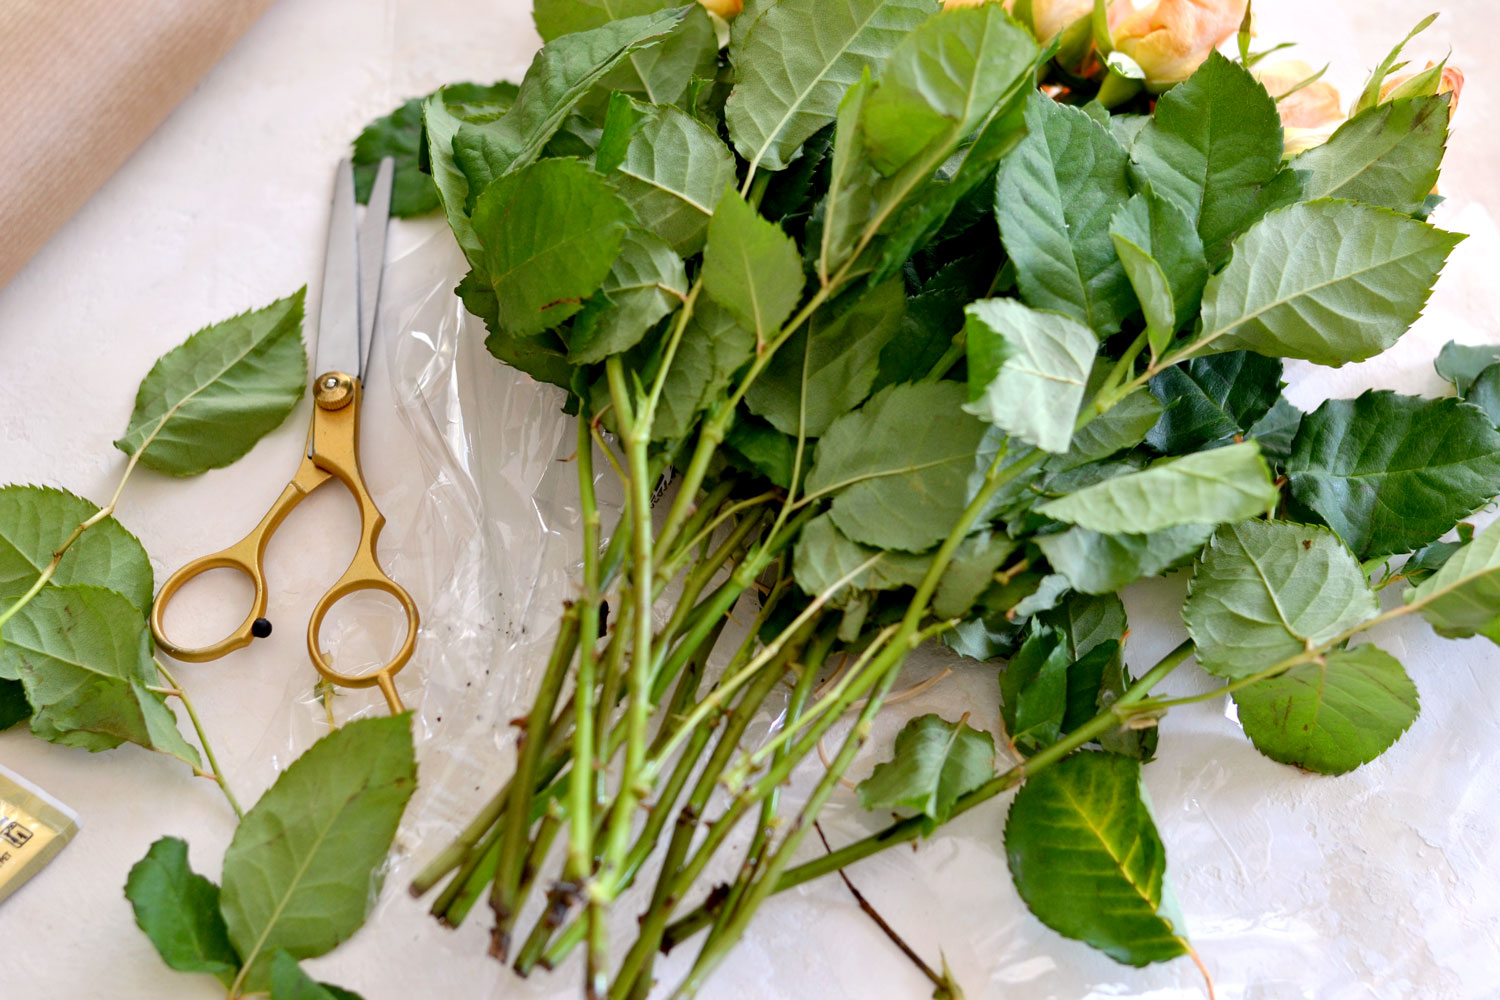
To give your bouquet a little bit of volume, you can keep a few roses at their initial height, then gradually place the others a little bit lower in front of them and on the sides.
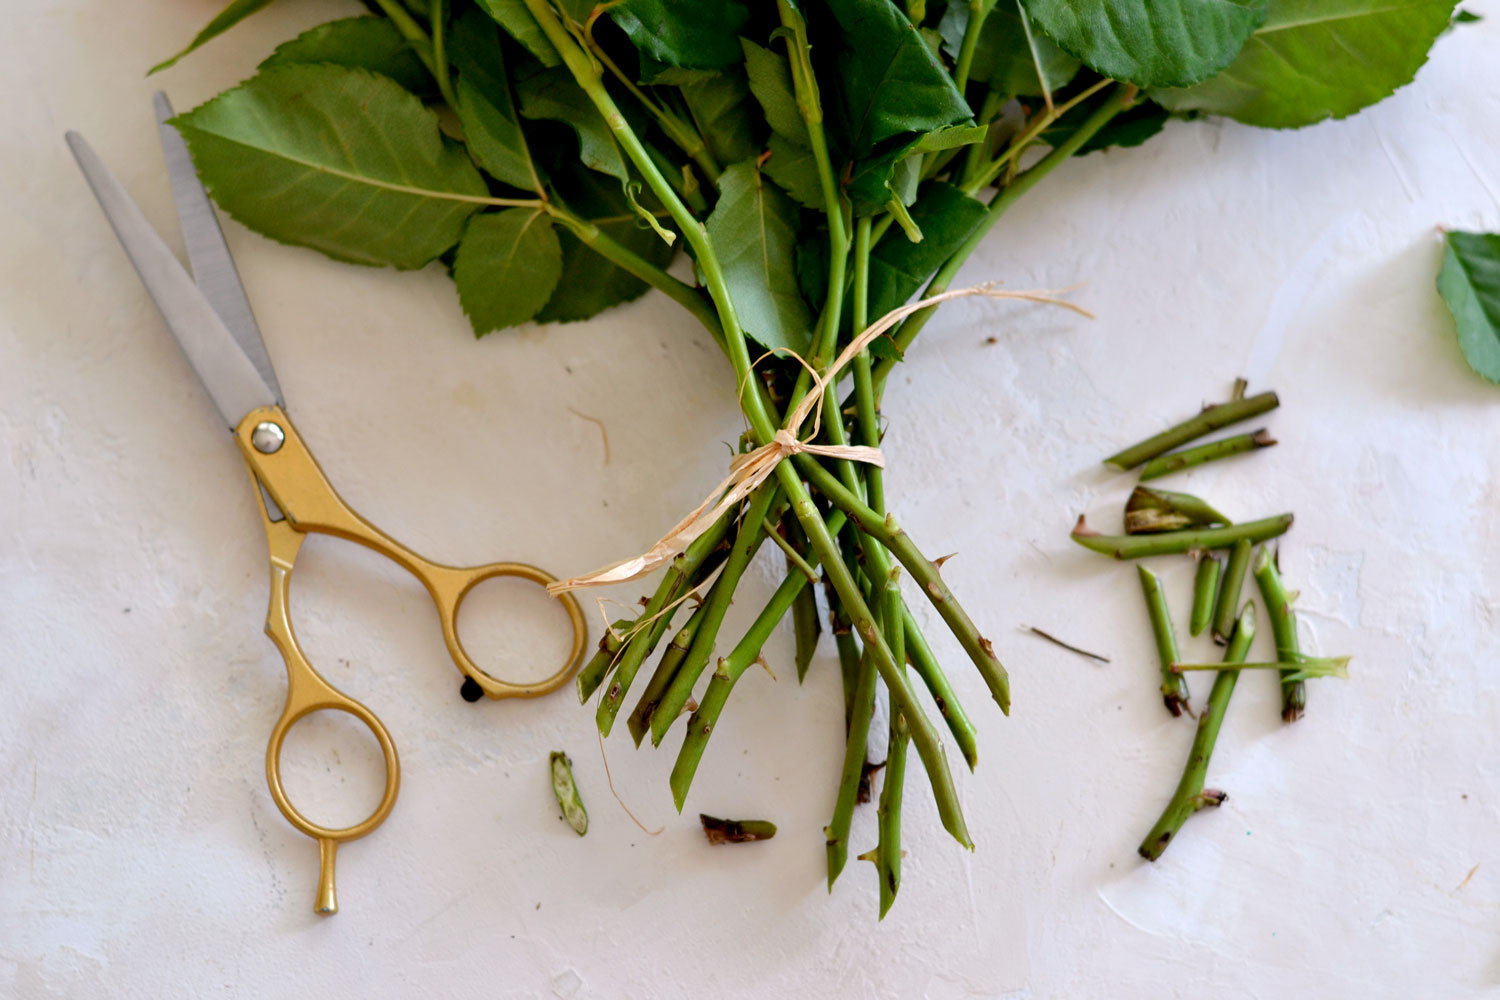
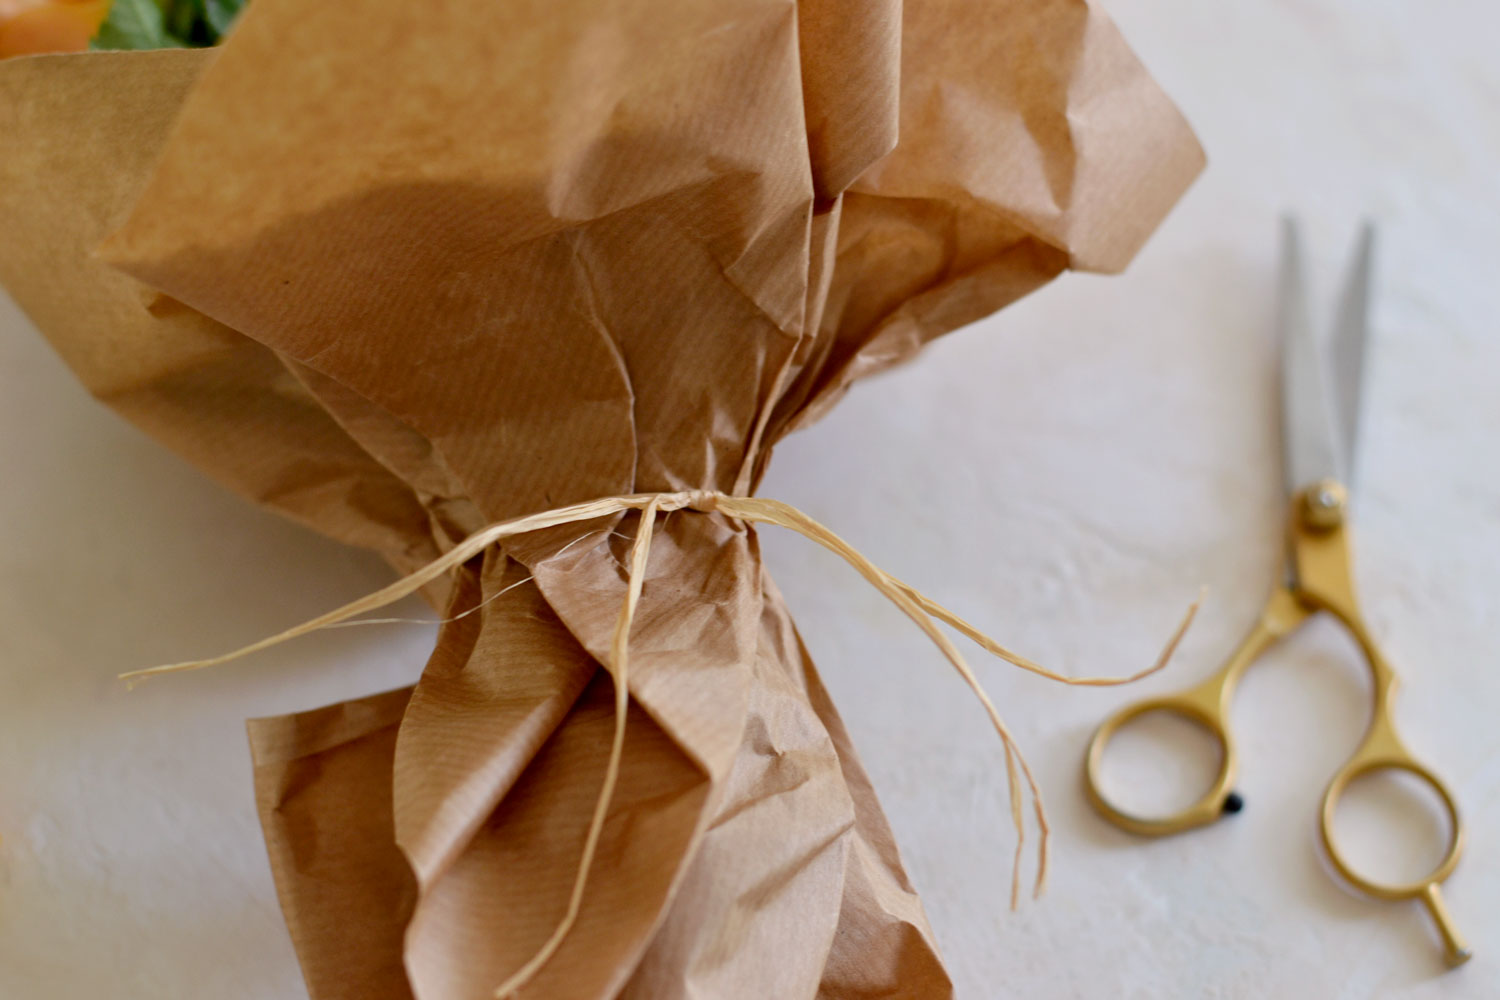
Use some of the raffia ribbons to tie a knot around the flower stems, then use your scissors to cut the end of the stems of your bouquet at an angle. Cutting the ends at an angle might prolong the flowers’ life when placed in water afterward because they will have a larger surface that will be exposed to the water.
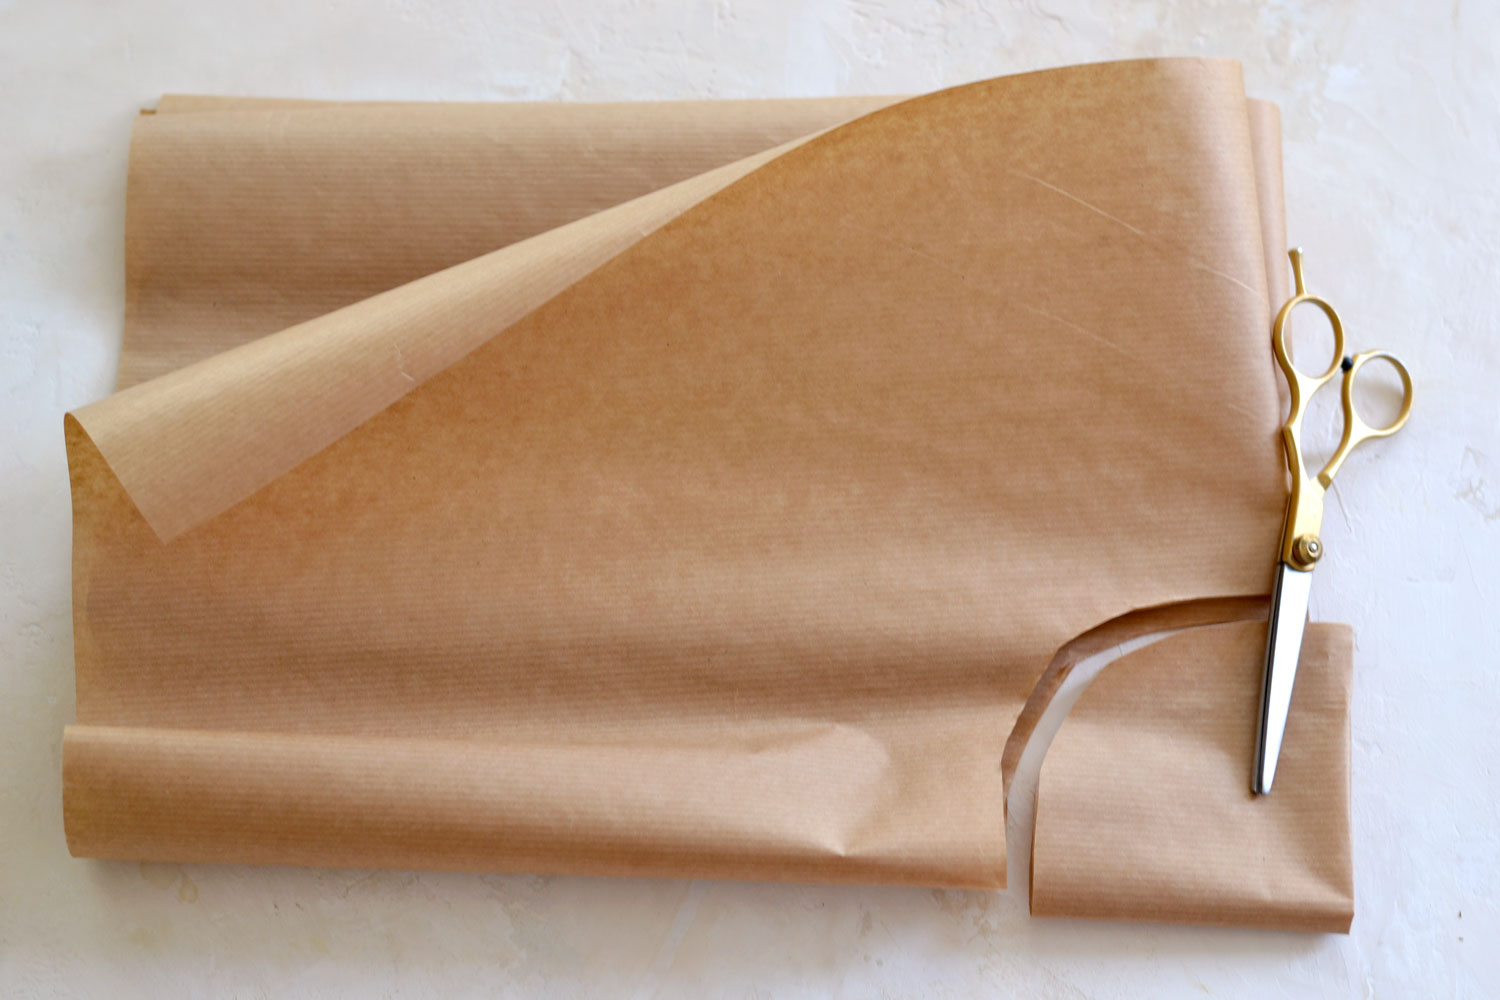
When it comes to the brown paper and deciding which would be the right length for your flowers, here is a cool trick to determine the perfect size. Gently fold a large piece of brown paper in half twice – to create four sections – then place your flower bouquet on top. The size of the paper after folding should be about the same size or a little bit larger than your bouquet, you will need to cut the excess paper off. It would be best not to score your brown paper while folding it, to avoid unaesthetic creases or lines, we only need to determine the size.
While the brown paper is still folded, use your scissors to cut the folded corner as you can see in the image below. This will basically create a hole in the middle of our paper, once we unfold it. Don’t worry if the cut is uneven, you won’t be able to see the small imperfections afterward.
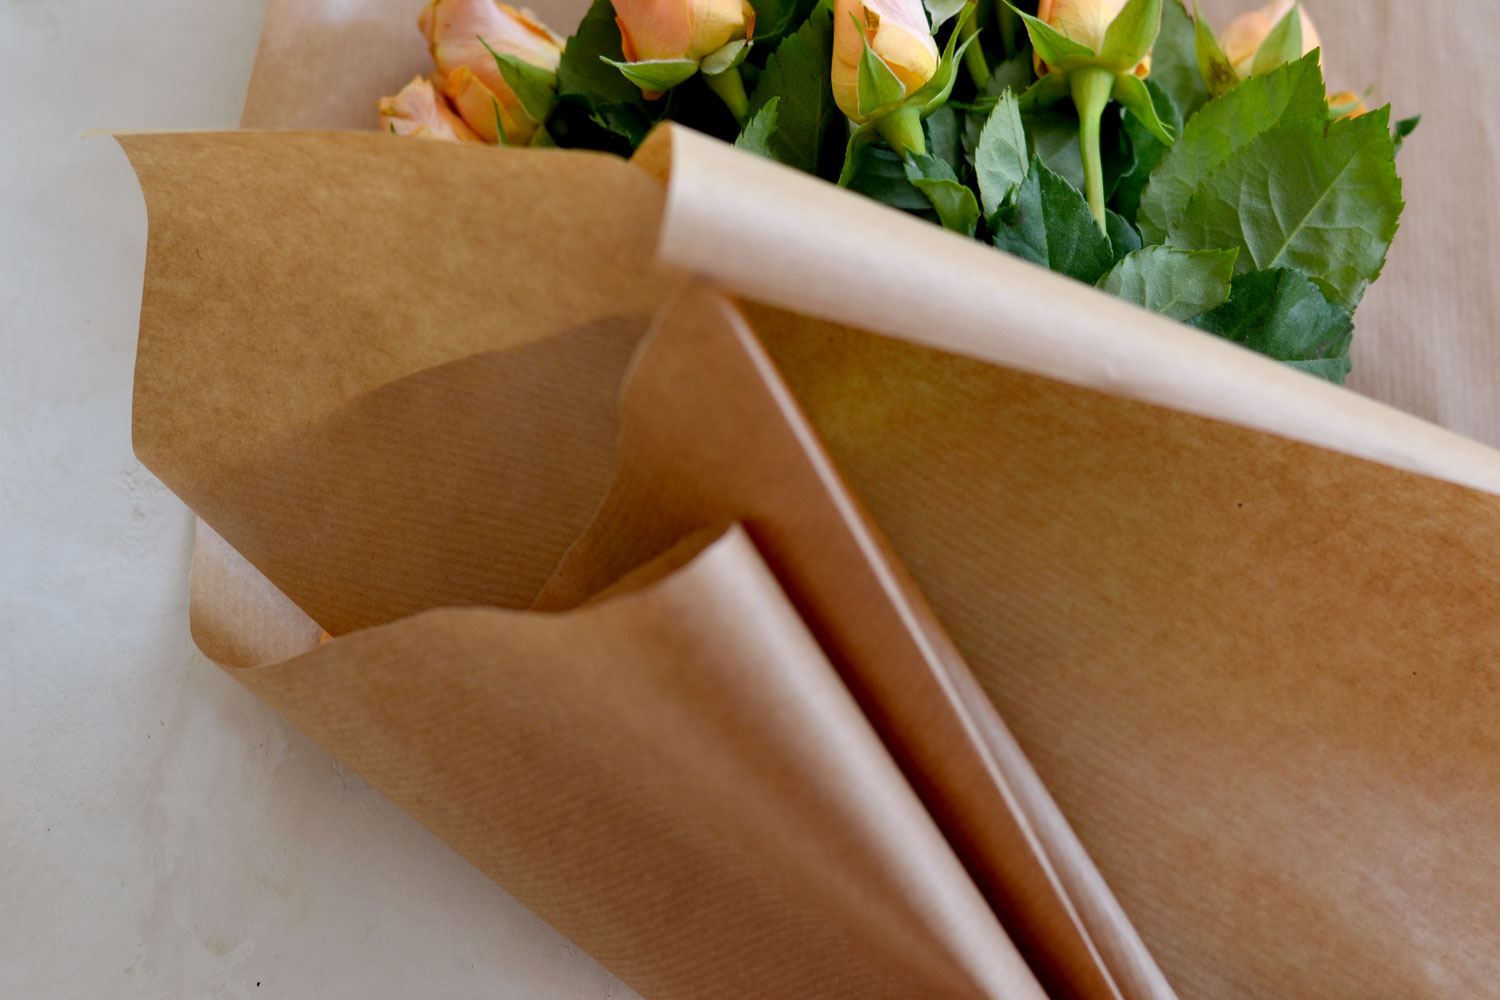
Now unfold your brown paper on your table and place the flower bouquet on the diagonal on one of the corners, leaving a little bit of space on top. As you can see, the end of the stems will automatically ‘land’ in the middle of the paper, where we cut the hole.
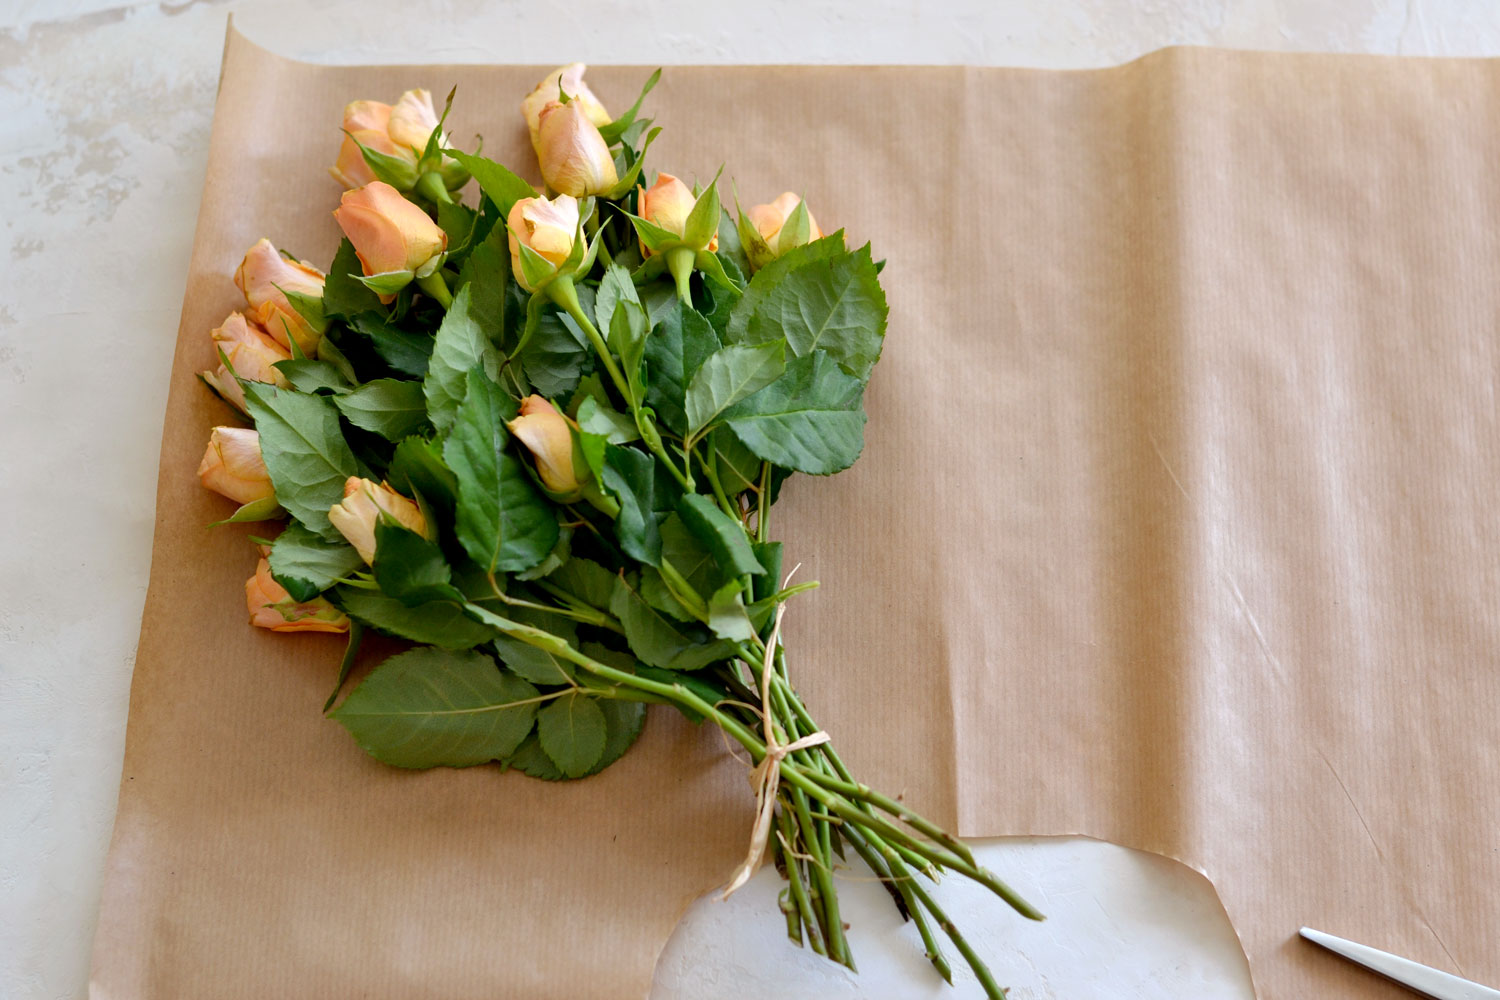
Take the opposite corner and place it on top of the flowers. Don’t cover them completely, drag the corner a little bit lower.
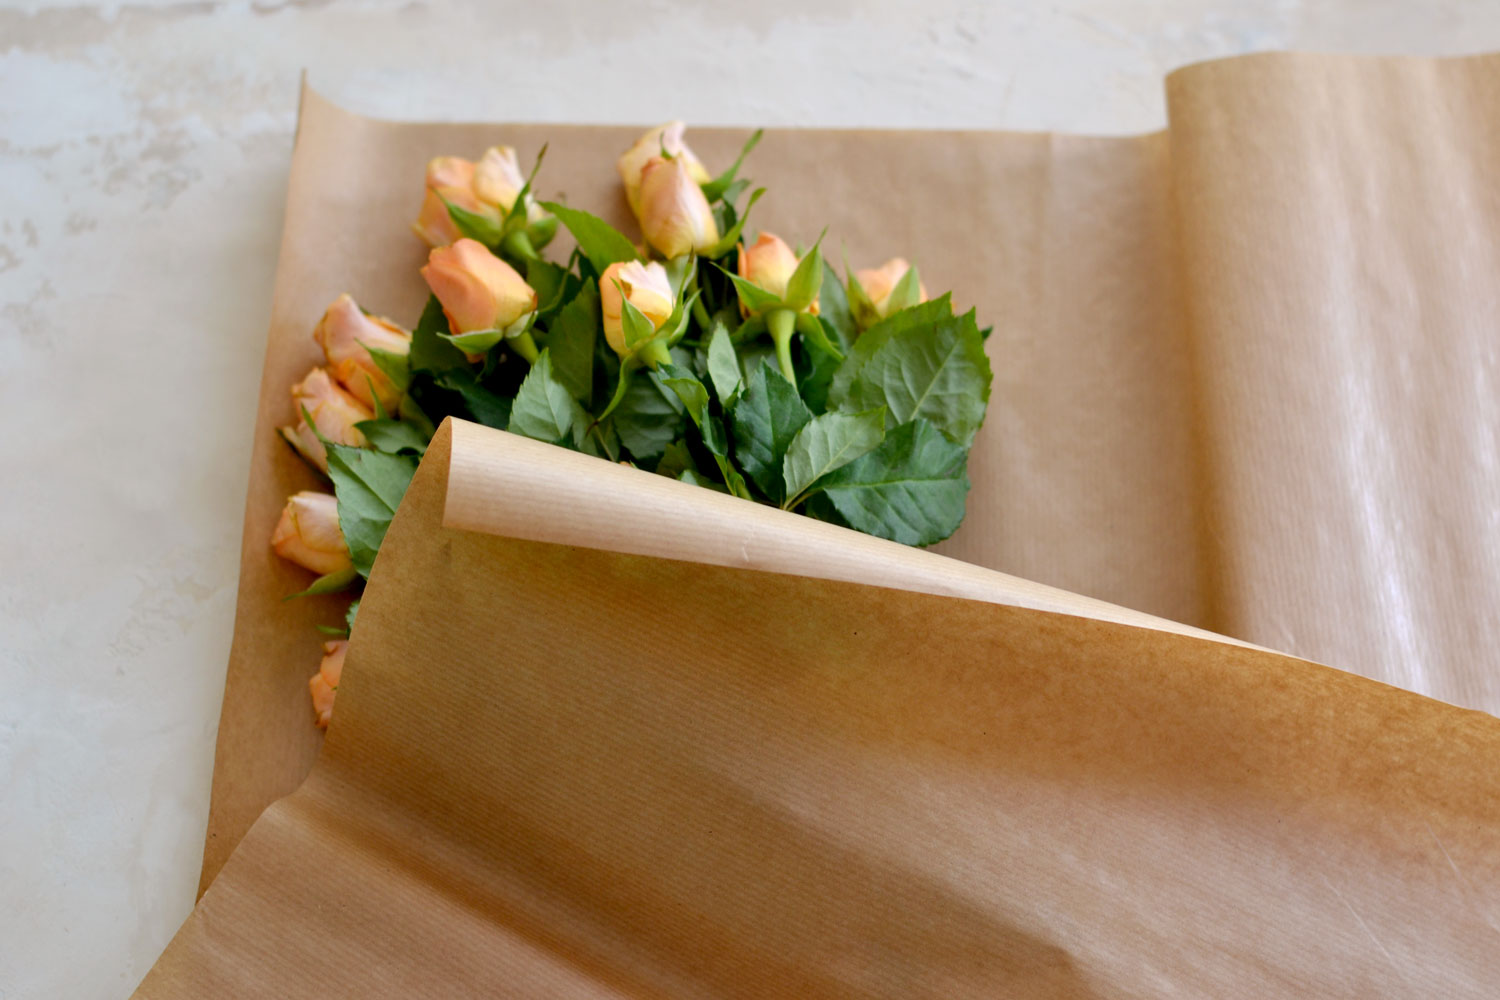
Now, this is the part when you will be able to get creative! Fold the left and right sides accordion style and decide what to do with them! You can drag one side in front, and one in the back. You can place the corner that is in front of the bouquet on the side and partially fold it – just experiment and play around until you are happy with the results. It would be best to only fold the bottom of the paper, without actually making any creases on top so you can fluff the paper as you want and move things around until you achieve something that you love.
You can take the flower bouquet in your hand at this stage, it would be easier to arrange the paper this way.
P.S. Mr. Dreamy was my assistant today, he helped me photograph these lovely action shots.

When you are happy with how things are looking, use ribbon (I used Raffia but string wrap would work too) to secure the stems of the flowers in place with a knot or bow.
And you are done, you have a gorgeous brown craft paper flower bouquet that is ready to be gifted! I think it gives it a nice dressier look.

Video Tutorial:
You might also enjoy this video version of a similar tutorial, that Lisa created for our YouTube channel with white paper.
I wanted to keep things simple today, but if you want, you can further embellish the brown paper flower bouquet to your own liking. You can add buttons, small broaches, paper die cuts, lace, ribbons, even some tissue paper would look great (before the brown paper), to create more volume. And of course, you can add some lovely paper tags or birthday cards, depending on the occasion. Here are a few ideas from my DIY projects that you can try, this way you’ll give that handmade authentic feel to your gift and turn it into something truly unique.DIY Botanical Labels or Tags | Torn Paper Edge Hydrangea and Lavender Tags | DIY Gold Foil French Rose Tags
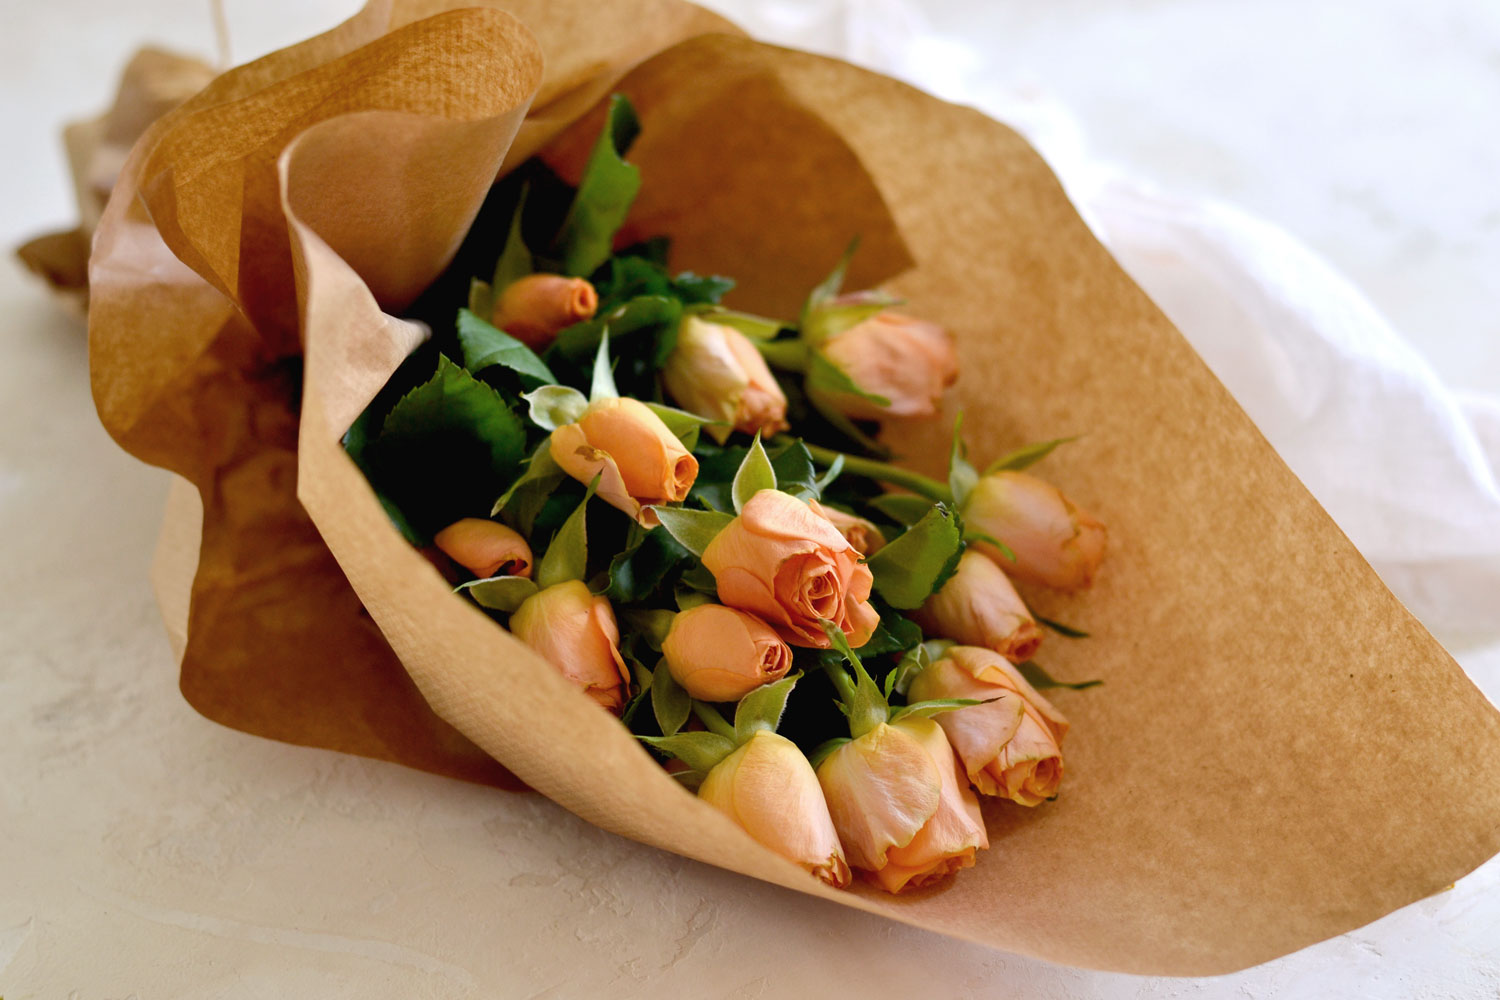
This type of paper can be a great inexpensive addition to any flower bouquet that will create such amazing results! The best part is that if trying my wrapping technique you can quickly determine the size that you need according to your own flower bouquet size and have this ready in no time!
I love how this paper is almost universal and can be easily adapted to any color scheme. You can successfully use it for one-color flower bouquets as I did here today with my orange roses, but you can also use it for more colorful bouquets with various colors and different types of flowers. Of course you could substitute other types of paper that you have on hand like wrapping paper, newsprint, more delicate paper etc.
 I hope you enjoyed learning how to wrap flowers in brown paper. Give this project a try, we need quick and easy techniques like this one that can perfectly fit our busy lives!
Happy craftingDiana / Dreams Factory