
How Do You Make a Paper Airplane? A Comprehensive Guide
Table of Contents
Are you looking to make a paper airplane but don’t know where to start? Look no further! In this guide, we’ll take you through everything you need to know about making a paper airplane. From the materials you need to the folding techniques and even tips for flying, we’ve got you covered. So let’s get started!
Materials Needed
To get started making a paper airplane, you’ll need a few materials. First, you’ll need a sheet of paper. While you can use any paper you have on hand, we recommend using standard printer paper as it’s easy to fold and usually the perfect size. You’ll also need a flat surface to work on, like a table or desk.
Once you have your paper and flat surface, it’s time to gather some optional materials that can help make your paper airplane fly better. These include scissors, tape, and even a ruler. While you don’t necessarily need these items, they can come in handy if you want to make advanced paper airplanes or improve the flying capabilities of your designs.
Now that you have your materials, let’s move on to the basic paper airplane folding technique.
Basic Paper Airplane Folding Technique
The basic paper airplane folding technique is easy to learn and perfect for beginners. To start, lay your sheet of paper on a flat surface with the longest side facing you. Next, fold the paper in half lengthwise, making sure the edges line up.
Once you’ve created a crease down the center of the paper, open it back up and fold the top corners down towards the center crease. Make sure the corners meet at the center of the paper and create a point at the top.
Now that you’ve made the top point, fold the paper in half along the center crease you made earlier. The top point should now be on the outside of the fold.
Finally, fold the wings down on either side of the airplane. Start by folding the wing down along the bottom of the airplane, creating a straight edge. Then, fold the wing down again at a slight angle to create the wing shape. Repeat on the other side, and voila! You’ve made a basic paper airplane.
In the next section, we’ll explore some advanced paper airplane folding techniques.
Advanced Paper Airplane Folding Techniques
Once you’ve mastered the basic paper airplane folding technique, it’s time to move on to some advanced designs. There are countless different types of paper airplanes you can create, each with its unique folding technique. Here are a few examples:
The Dart
The dart is a classic paper airplane design that is fast and aerodynamic. To make a dart, start by folding your paper in half lengthwise. Next, fold down the top corners to the center crease, creating a triangle shape at the top. Then, fold the top point down to the bottom edge of the paper, creating a sharp point. Finally, fold the wings down along the bottom edge of the paper, creating a straight edge. Give it a throw, and watch it soar!
The Glider
The glider is a paper airplane design that is designed to fly as far as possible. To make a glider, start with a rectangular piece of paper. Fold it in half lengthwise, then unfold it. Next, fold the top corners down to the center crease, creating a point at the top. Then, fold the top point down to the bottom edge of the paper, creating a sharp point. Fold the wings down along the bottom edge of the paper, but instead of creating a straight edge, angle the wings slightly upwards. This will create lift and allow your glider to fly farther than other designs.
Tips and Tricks
When making advanced paper airplanes, it’s important to keep a few tips and tricks in mind. First, make sure your folds are crisp and clean. Any creases or bumps can affect the aerodynamics of your airplane. Additionally, try experimenting with different paper sizes and weights to see how they affect your airplane’s flight. Finally, adding a small amount of weight to the nose of your airplane, like a paperclip, can help it fly straighter and farther.
Tips for Flying the Paper Airplane
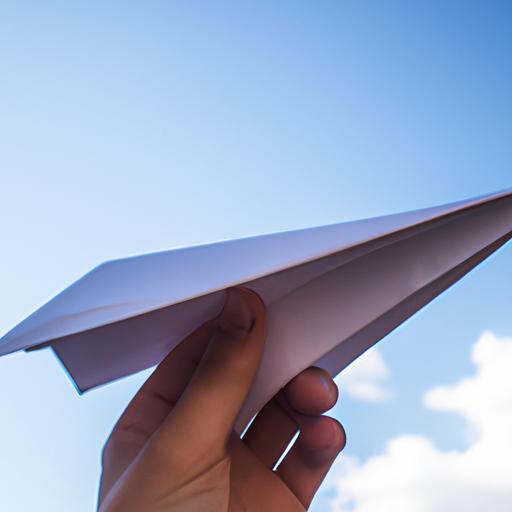
Now that you’ve made your paper airplane, it’s time to take it for a spin! Here are a few tips to keep in mind when flying your paper airplane:
Find the Right Location
To get the most out of your paper airplane’s flight, you’ll want to find the right location to fly it. Look for an open space with plenty of room to run and throw your airplane. Avoid flying your airplane indoors or in tight spaces, as this can cause damage to the airplane or hurt someone.
Adjust for Wind
Wind can greatly affect the flight of your paper airplane. If it’s a windy day, try adjusting the angle of your wings to compensate for the wind. Additionally, try throwing your airplane into the wind to give it an extra boost.
Practice Makes Perfect
Like any skill, flying a paper airplane takes practice. Try experimenting with different throwing techniques and angles to see what works best for your airplane. Don’t be afraid to make adjustments and try again if your airplane doesn’t fly quite right.
With these tips in mind, you’re ready to take your paper airplane for a spin!
Tips for Flying the Paper Airplane
Now that you’ve made your paper airplane, it’s time to take it for a test flight! Here are some tips for flying your paper airplane for best results:
-
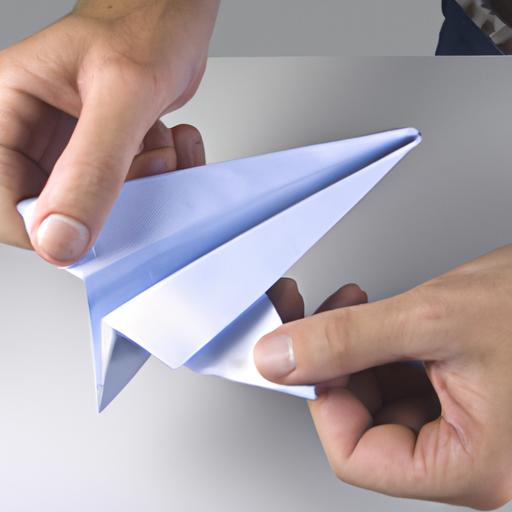
Hold the airplane at the bottom of the fuselage, or body, of the airplane. This will give you the most control over the airplane’s flight.
-
Aim for a gentle throw. You don’t want to throw the airplane too hard, as it may cause it to crash. Instead, give it a gentle toss and let it glide through the air.
-
Pay attention to the wind. If it’s a particularly windy day, you may want to wait until the wind dies down before flying your paper airplane. Wind can cause the airplane to veer off course or even crash.
-
Experiment with different designs. Not every paper airplane will fly the same way, so don’t be afraid to try different designs and techniques. You may be surprised at how much a small change can affect the way your paper airplane flies.
-
Have fun! The most important tip of all is to enjoy the process of making and flying your paper airplane. Whether you’re making them on your own or with friends and family, paper airplanes are a fun and easy way to pass the time.
Conclusion
Making a paper airplane is a fun and simple activity that anyone can enjoy. By following the basic folding technique and experimenting with different designs, you can create paper airplanes that fly farther and faster than you ever thought possible. Remember to always be safe and have fun when flying your paper airplanes, and who knows? You may just discover a new hobby or even a passion for aviation. So grab some paper and start folding – the sky’s the limit!