
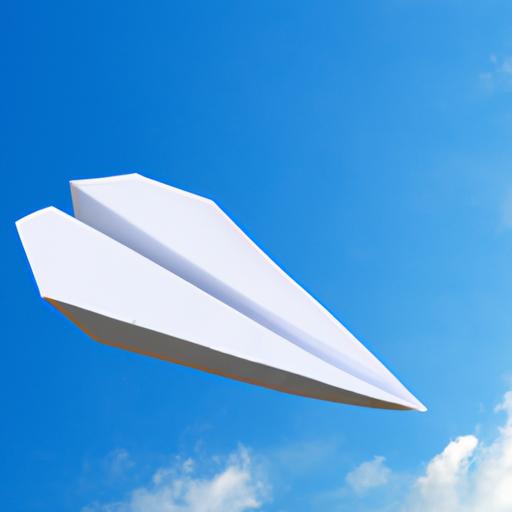
How to Make the Farthest Flying Paper Airplane
Table of Contents
Do you remember the joy of making paper airplanes as a child? There’s something magical about watching a piece of paper soar through the air. But what if you could take it to the next level and make a paper airplane that flies farther than any you’ve ever made before? In this article, we’ll show you how to make the farthest flying paper airplane using basic aerodynamic principles, specific types of paper, and folding techniques.
Understanding the Physics of Flight

Before we dive into the nitty-gritty of making paper airplanes, let’s take a moment to understand the basic principles of aerodynamics. Lift, weight, thrust, and drag are the four forces that act on an airplane in flight. Lift is the force that keeps the airplane in the air, while weight pulls it down. Thrust is the force that propels the airplane forward, and drag is the force that opposes its motion. When these forces are balanced, the airplane will fly straight and level.
To achieve maximum flight distance, we want to minimize drag and maximize lift. This means creating a streamlined shape for the airplane and generating enough lift to keep it in the air. The shape of the wings, the weight of the airplane, and the speed at which it’s thrown all play a role in how far it will fly. Understanding these basic principles will help us design and adjust our paper airplane for maximum flight distance.
Now that we have a basic understanding of the physics of flight, let’s move on to the next section where we’ll discuss how to choose the right paper for making paper airplanes.
Choosing the Right Paper
Believe it or not, the type of paper you use can greatly affect the flight distance of your paper airplane. The ideal paper for making paper airplanes is lightweight, stiff, and smooth. Lightweight paper will allow the airplane to fly faster, while stiff paper will help it maintain its shape in flight. Smooth paper will reduce drag, allowing the airplane to fly farther.
Some types of paper that are good for making paper airplanes include printer paper, origami paper, and lightweight cardstock. Avoid using heavy or textured paper as it will create more drag and weigh down the airplane.
Another factor to consider when choosing paper is its size. A standard 8.5 x 11-inch paper can be folded into a standard paper airplane, but larger or smaller paper can be used to create different designs. Keep in mind that larger paper will create a larger airplane, which may not be as aerodynamic or easy to throw.
Now that we know what type of paper to use, let’s move on to the next section where we’ll discuss folding techniques for making paper airplanes.
Folding Techniques
Now that we have the right paper, it’s time to start folding our paper airplane. There are countless designs out there, but we’ll focus on two basic folds that can be used to create a simple paper airplane.
Basic Folds and Creases for Making a Paper Airplane
To create a basic paper airplane, start by folding the paper in half vertically. Unfold the paper and fold the top two corners down to the center crease, creating a triangle shape at the top. Then, fold the top edges down to the center crease again, creating a smaller triangle shape at the top. Finally, fold the paper in half along the center crease and create two small wings at the bottom by folding the corners up at a slight angle.
Advanced Folding Techniques to Improve Flight Distance
If you want to take your paper airplane to the next level, there are several advanced folding techniques that can improve flight distance. One technique involves adding winglets to the ends of the wings. Winglets are small flaps that stick up at the ends of the wings and help reduce drag. Another technique involves adding a small flap at the back of the airplane called a tail. The tail can be adjusted up or down to change the airplane’s pitch and stability in flight.
Common Mistakes to Avoid in Folding Paper Airplanes
There are several common mistakes that can make your paper airplane less aerodynamic and reduce its flight distance. One mistake is folding the paper too tightly, which can create creases and increase drag. Another mistake is folding the wings too high or too low, which can affect the airplane’s balance and stability in flight. Make sure to follow the folding instructions carefully and adjust the airplane as needed for optimal flight performance.
Now that we know how to fold our paper airplane, let’s move on to the next section where we’ll discuss how to test and adjust it for maximum flight distance.
Testing and Adjusting the Paper Airplane
Once you’ve folded your paper airplane, it’s time to test its flight distance. Find an open area free of obstacles, such as a park or backyard, and stand on level ground. Hold the airplane by the nose and throw it overhand with a smooth, level motion. Observe its flight path and note any problems, such as diving or stalling.
To adjust the airplane’s flight performance, try making small changes to its design. For example, you could adjust the angle of the wings or add weight to the nose or tail. You could also experiment with different folding techniques or types of paper. Remember to make only one change at a time and test the airplane again to see if the performance improves.
To measure the distance of your paper airplane’s flight, use a measuring tape or ruler. Measure the distance from the point where you threw the airplane to the point where it landed. Record the distance and make note of any adjustments you made to the airplane. This will help you keep track of what works and what doesn’t, so you can improve your design over time.
Tips and Tricks for Farther Flying Paper Airplanes
Now that we’ve covered the basics of making paper airplanes, let’s dive into some tips and tricks for making them fly farther.
First, consider adding weight to your paper airplane to improve its stability and flight distance. You can do this by adding paper clips or tape to the nose or tail. Just be careful not to add too much weight, as this will cause the airplane to fly too slowly.
Second, make sure your paper airplane is balanced. A well-balanced airplane will fly straight and level, while an unbalanced one will wobble or dive. To balance your airplane, adjust the weight distribution by adding or removing weight from the nose or tail.
Finally, launch your paper airplane for maximum distance by throwing it with a smooth, level motion. Aim for a slight upward angle to generate lift, but avoid throwing it too high or too hard, as this will cause it to stall or dive. Practice your throwing technique to find the sweet spot that generates the most distance.
In conclusion, making a paper airplane that flies far is a fun and rewarding activity that anyone can enjoy. By understanding the principles of flight, choosing the right paper, and using the right folding techniques, you can create a paper airplane that soars through the air. With a little experimentation and some tips and tricks, you can take your paper airplanes to the next level and see how far they can fly.