How to Remove Toilet Paper Holder: A Step-by-Step Guide
Table of Contents
Toilet paper holders are a necessary accessory in every bathroom. Over time, these holders may become worn out, damaged, or outdated and may require replacement. However, before installing a new toilet paper holder, it is essential to know how to remove the existing one. In this article, we will provide you with a step-by-step guide on how to remove a toilet paper holder.
Tools Needed to Remove a Toilet Paper Holder

Before starting to remove the toilet paper holder, it is necessary to ensure that you have the right tools. The tools required for removing a toilet paper holder are minimal, and they include:
Screwdriver
A screwdriver is necessary for removing screws that hold the toilet paper holder in place. A flathead or Phillips head screwdriver will work depending on the type of screws on the holder.
Putty Knife
A putty knife is essential for removing wall-mounted toilet paper holders. It helps to pry the holder from the wall without damaging the wall.
Pliers
Pliers come in handy when removing toilet paper holders that use mounting brackets. They help to loosen the brackets from the wall.
Gloves
It is essential to wear gloves to avoid injuring your hands while removing the holder. Gloves also protect your hands from germs and dirt.
Having the right tools will make the removal process easier and quicker. It is also essential to ensure that you follow the necessary precautions to avoid accidents and injuries while removing the toilet paper holder. Now that you have the required tools let’s move on to the next section to discuss the steps involved in removing a toilet paper holder.
Steps to Remove a Toilet Paper Holder
Removing a toilet paper holder is a simple process that can be done in a few minutes. The following are the steps to follow when removing a toilet paper holder:
Step 1: Remove the Toilet Paper
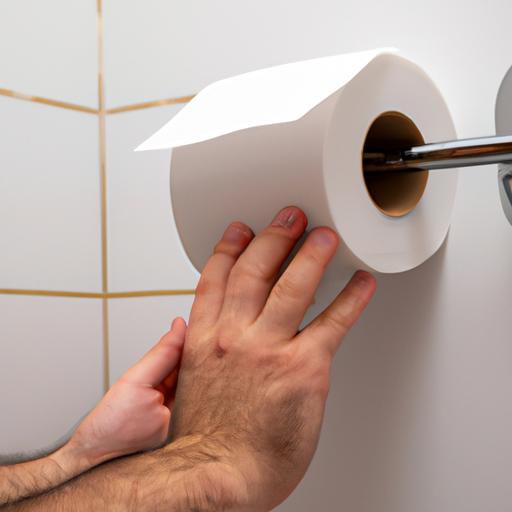
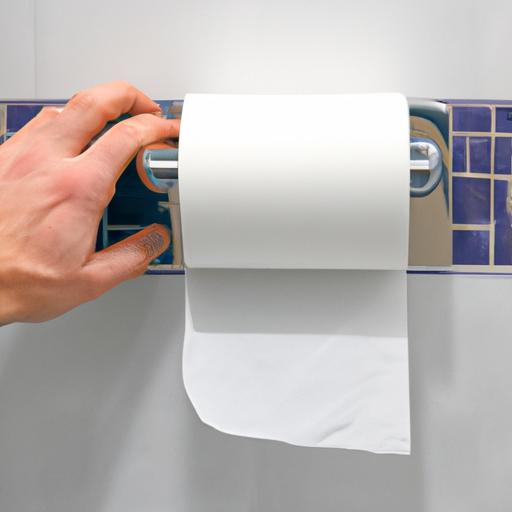
Before removing the holder, ensure that the toilet paper roll is removed from the holder.
Step 2: Remove the Screws
If the toilet paper holder is screwed onto the wall, use a screwdriver to remove the screws that hold the holder in place. Ensure that you keep the screws in a safe place for later use.
Step 3: Remove the Mounting Brackets
If the toilet paper holder uses mounting brackets, use pliers to loosen the brackets from the wall. If the brackets are difficult to remove, use a putty knife to pry them off the wall gently.
Step 4: Clean the Area
Once the holder and mounting brackets are removed, clean the area with a damp cloth to remove any dirt or debris.
By following the above steps, you will remove the toilet paper holder without damaging the wall. The next section will discuss the importance of cleaning and repairing the area after removing the holder.
Cleaning and Repairing After Removing a Toilet Paper Holder
Removing a toilet paper holder may leave holes or marks on the wall. It is essential to repair any damage caused during the removal process to ensure that the wall looks neat and clean.
Importance of Cleaning the Area
After removing the toilet paper holder, it is essential to clean the area thoroughly to ensure that no dirt or debris is left behind. Use a damp cloth to wipe the wall and the surrounding area. This will prevent dirt from accumulating and ensure that the area is ready for the installation of a new toilet paper holder.
How to Repair Any Damage Caused During the Removal Process
If the toilet paper holder was screwed onto the wall, there may be small holes left behind. To repair these holes, fill them with spackle and let them dry. Once the spackle is dry, sand it down until it is smooth. If there are any marks left behind, use touch-up paint to cover them up.
If the toilet paper holder used mounting brackets, there may be larger holes left behind. To repair these holes, use drywall tape and joint compound to patch the holes. Once the joint compound is dry, sand it down until it is smooth. Finally, use touch-up paint to cover up any marks left behind.
Tips on How to Maintain the Area Once the Holder Has Been Removed
To maintain the area clean and free from dirt and debris after removing the holder, ensure that you wipe the area regularly. This will prevent dirt and debris from accumulating, making it easier to install a new toilet paper holder in the future.
By following the above steps, you will remove the toilet paper holder and repair any damage caused during the removal process. The next section will discuss how to install a new toilet paper holder.
Steps to Remove a Toilet Paper Holder
While removing a toilet paper holder is a straightforward process, there are a few things to keep in mind to make the process more manageable. Here are the steps to follow when removing a toilet paper holder:
Step 1: Turn off the Water Supply
If the toilet paper holder is attached to the toilet tank, the first step is to turn off the water supply. This will prevent any water from leaking out when you remove the holder.
Step 2: Use a Screwdriver
If the holder is screwed onto the toilet tank or wall, use a screwdriver to remove the screws that hold the holder in place. Ensure that you keep the screws in a safe place for later use.
Step 3: Use Pliers
If the holder uses mounting brackets, use pliers to loosen the brackets from the wall or toilet tank. If the brackets are difficult to remove, use a putty knife to pry them off gently.
Step 4: Remove the Holder
Once the screws or mounting brackets are removed, gently pull the holder away from the wall or toilet tank. Ensure that you do not damage the wall or toilet tank while removing the holder.
Tips on How to Make the Process Easier
To make the process of removing a toilet paper holder easier, consider the following tips:
- If the holder is stuck, try using a hairdryer to heat the screws or mounting brackets. This will make them easier to remove.
- If you are removing a toilet paper holder from a toilet tank, ensure that you turn off the water supply to prevent any water from leaking out.
- If the holder is old and rusty, use a penetrating oil spray to loosen the screws or mounting brackets.
Common Mistakes to Avoid While Removing a Toilet Paper Holder
While removing a toilet paper holder is a simple process, there are common mistakes that people make that can cause damage. Here are the mistakes to avoid when removing a toilet paper holder:
- Using too much force when removing the holder can cause damage to the wall or toilet tank.
- Not turning off the water supply when removing a holder from a toilet tank can cause water to leak out.
- Not using the correct tools can cause damage to the holder, wall or toilet tank.
Cleaning and Repairing After Removing a Toilet Paper Holder
After removing a toilet paper holder, it is essential to clean and repair any damage caused during the removal process. Here’s what you need to know:
Importance of Cleaning the Area
It is crucial to clean the area where the holder was mounted to ensure that no dirt or debris is left behind. Use a damp cloth to wipe the wall, toilet tank or surrounding area. This will prevent dirt from accumulating and ensure that the area is ready for the installation of a new toilet paper holder.
How to Repair Any Damage Caused During the Removal Process
If the holder was attached to the toilet tank, there may be marks or scratches left behind. To repair these marks, use a scratch remover or touch-up paint to cover them up.
If the holder was mounted on the wall, there may be small holes left behind. To repair these holes, fill them with spackle and let them dry. Once the spackle is dry, sand it down until it is smooth. If there are any marks left behind, use touch-up paint to cover them up.
Tips on How to Maintain the Area Once the Holder Has Been Removed
To maintain the area clean and free from dirt and debris after removing the holder, ensure that you wipe the area regularly. This will prevent dirt and debris from accumulating, making it easier to install a new toilet paper holder in the future.
By following the above steps, you will remove the toilet paper holder and repair any damage caused during the removal process. The next section will discuss how to install a new toilet paper holder.
Installing a New Toilet Paper Holder
After removing the old toilet paper holder, it’s time to install a new one. The following are the steps to follow when installing a new toilet paper holder:
Step 1: Choose the Right Toilet Paper Holder
Choose a toilet paper holder that matches the style of your bathroom. There are different types of toilet paper holders, including wall-mounted, freestanding, and recessed holders. Choose one that suits your bathroom’s style and meets your needs.
Step 2: Mark the Position of the New Holder
Using a pencil and measuring tape, mark the position of the new holder on the wall. Ensure that the position is at a comfortable height and easily accessible.
Step 3: Install the Mounting Brackets
If the new toilet paper holder uses mounting brackets, install them first. Use a level to ensure that the brackets are straight before securing them to the wall.
Step 4: Attach the Holder
Attach the holder to the mounting brackets or screw it onto the wall. Ensure that it is level and securely attached to the wall.
Step 5: Test the Holder
Test the new holder by inserting a roll of toilet paper. Ensure that the holder is sturdy and can hold the toilet paper roll without falling off.
Common Mistakes to Avoid When Installing a New Toilet Paper Holder
- Not positioning the holder at a comfortable height or within easy reach
- Not using a level to ensure that the holder is straight
- Not using the correct tools when installing the holder
- Not securing the holder to the wall properly, which can lead to it falling off
By following the steps above and avoiding common mistakes, you can install a new toilet paper holder with ease.
Conclusion
In conclusion, removing and installing a toilet paper holder is a simple process that can be done with the right tools and knowledge. By following the steps provided in this article, you can remove the old holder, repair any damage, and install a new holder that matches your bathroom’s style. It is essential to ensure that you follow the necessary precautions to avoid accidents and injuries while removing the toilet paper holder. Knowing how to remove a toilet paper holder is an important skill that can save you time and money. Always choose the right toilet paper holder for your bathroom and follow the steps provided in this guide to ensure a successful installation.

