
Wildflower Seeded Paper
Table of Contents
Learn how to make seed paper. What is seed paper, you ask? It’s pulverized paper containing seeds. Since the paper is biodegradable, it’s also plantable, meaning it’s a great vehicle for things like wildflower seeds! See how to do it here.
How to make seed paper that’s plantable!
Hey all—today’s post is one that has been frustratingly a few months in the making. Why? Because it’s one of those projects that I thought would be easy but actually took a while to get right.
This is why I don’t trust tutorials I see online a lot of the time…and I never post tutorials unless I have actually done them and am confident that they work. The approach in this post definitely works, but I’ll add a few caveats and things to remember along the way.
Why seed paper?
So why make seed paper? Well, it’s pretty cool. I ordered a bunch of plantable seed paper hearts for a memorial I was helping to organize last year. And when I saw them, I added them to my mental list of things I definitely wanted to try making.
But what is seed paper? And why make it? Seed paper often recycles paper that is moistened and pulverized (or blended). While the paper is a pulpy mix, seeds are added. Then the paper dries out and can be cut into little shapes.
Since the paper is biodegradable, you can just plant it with the seeds in it. And the will sprout! It’s a nice thing to do as a low-waste favor for events, parties, memorials…etc. And you don’t need many ingredients to try your hand at them.


Here’s what you need:
- Paper—almost anything works, but I would avoid paper with shiny finishes or things with too much dye (because they will all blend together and look kinda brown)
- Water
- Blender—the single serve on our ninja is great for something of this size
- Food coloring if desired
- Seeds—I suggest something like zinnia seeds that are easy to plant
- Cloth and cutting board
- Scissors
And here’s how to make seed paper that’s plantable
Step 1: Shred & soak the paper
The first step is to shred and soak the paper. I tried a few different types of papers, including scratch papers my daughter had done “art” on that consisted of a line or two. I hate wasting that paper.
For this tutorial, I’m just using plain white printer paper for the photos to illustrate the process. Keep in mind that if your paper has a lot of color on it, the colors will all blend together and maybe turn into a brown or gray. This isn’t a big deal to me if it isn’t a big deal to you.
You’ll want to avoid using something that has a glossy finish on it, though. Even something like a catalog that is only slightly glossy. Go with something that is regular paper, no finish.
Shred the paper up and add warm water. Let the paper soak overnight in a bowl to help soften everything up. I tried to make seed paper with and without soaking beforehand, and I do think soaking helped to make the mixture easier to blend.


Step 2: Blend the paper
Next I blended the paper. For this, I added all of the paper and the water it was soaking in into a single-use blender container we have for smoothies and protein shakes. You can see below that I also added food coloring to some of my tries.
I recommend trying to blend your mixture first to see if you have enough water. If the blender gets stuck, just add more water. You’ll want to continue doing this until your blender can blend the paper into a pulpy, soupy mix.
I recommend adding water until all of the little bits are pulverized. The first mix I left some chunks in it, and it was much harder to dry flat and then cut out. (Note that adding food coloring is totally optional.)

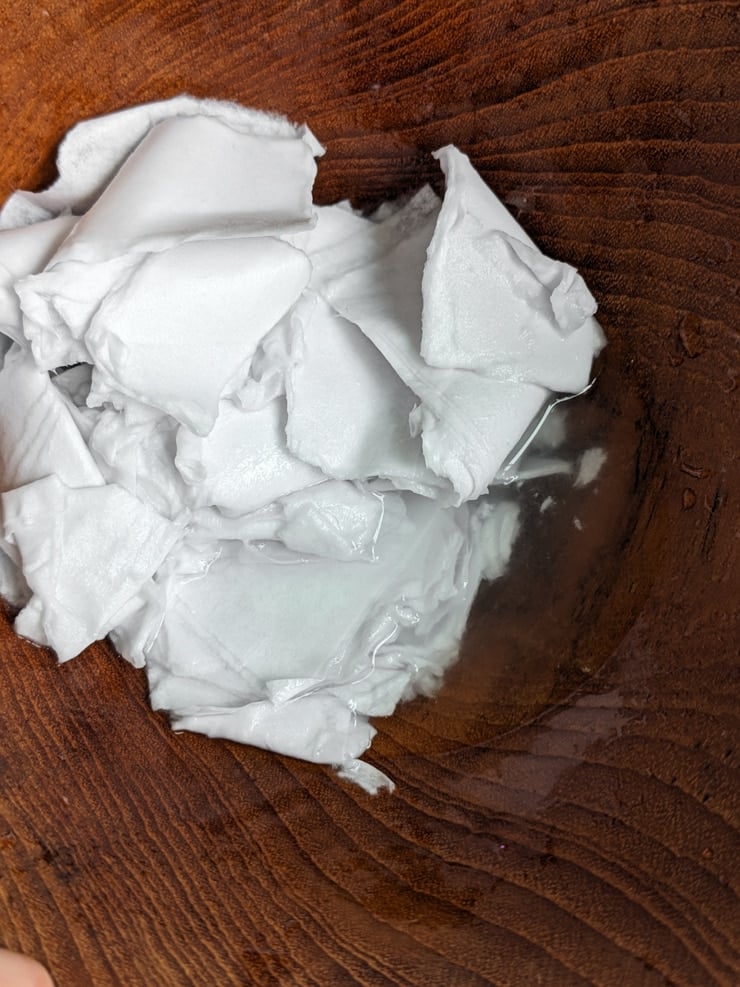
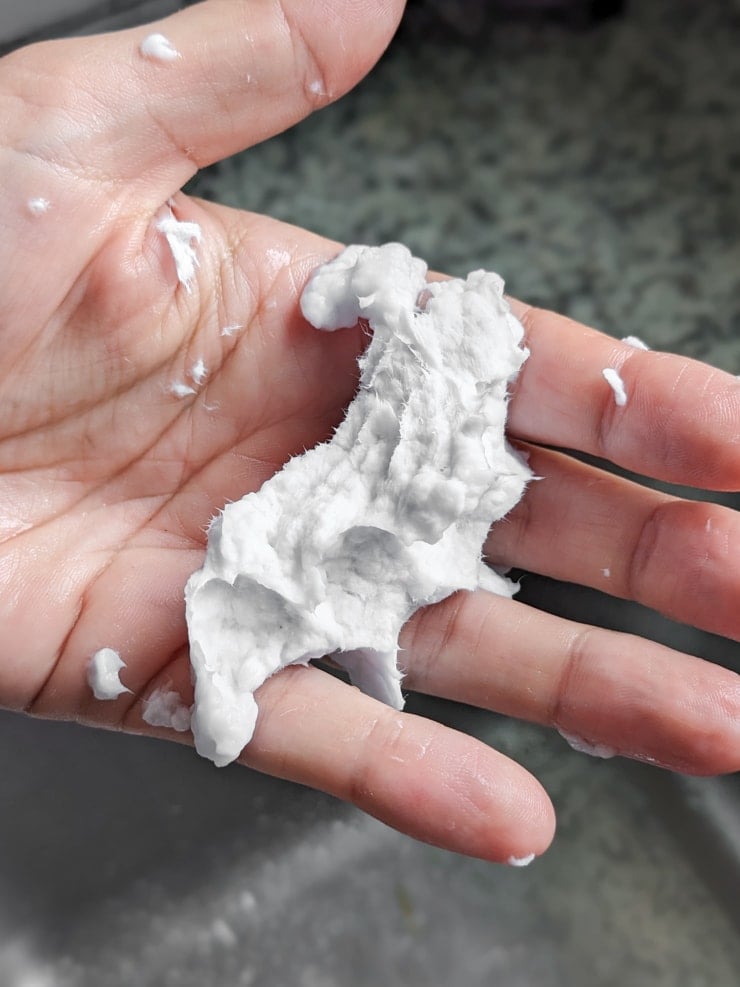
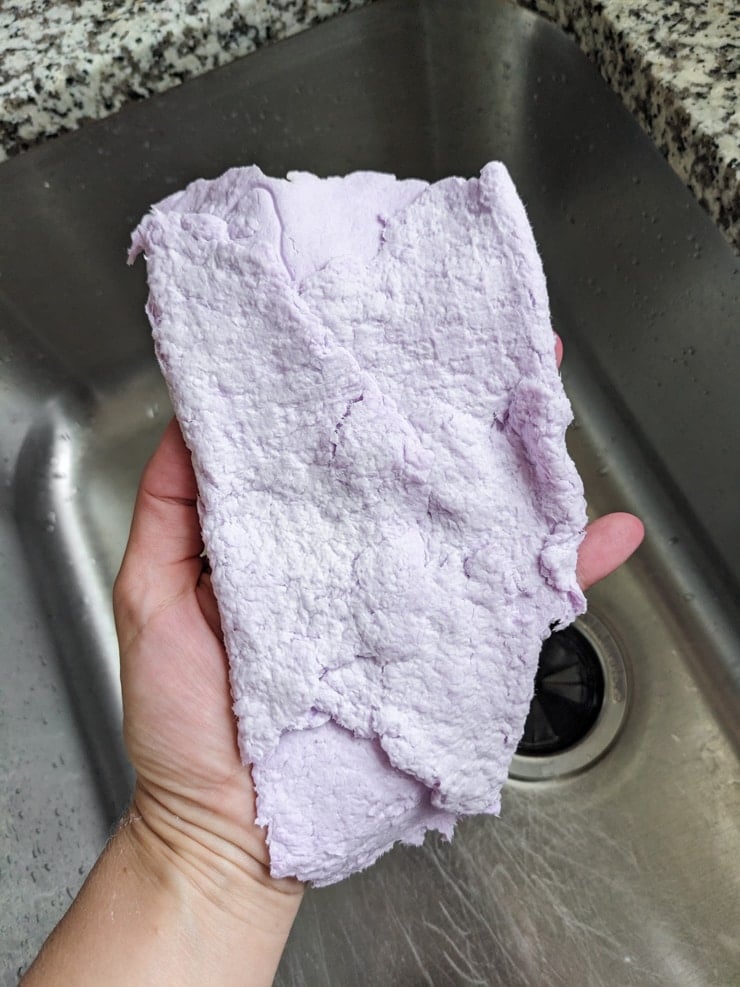
Step 3: Squeeze water & flatten the pulp
Next I took the mixture out in fistfuls and squeezed the extra water into the sink. I them flattened the mixture out bit my bit onto a microfiber kitchen cloth that was resting either on a cutting board or on the counter.
Flattening the mixture on a cloth helps to ensure the cloth absorbs more of the extra water as you flatten things out. I have seen people use strainers and whatnot, too—but honestly I felt like squeezing the extra water out handful by handful was sufficient.


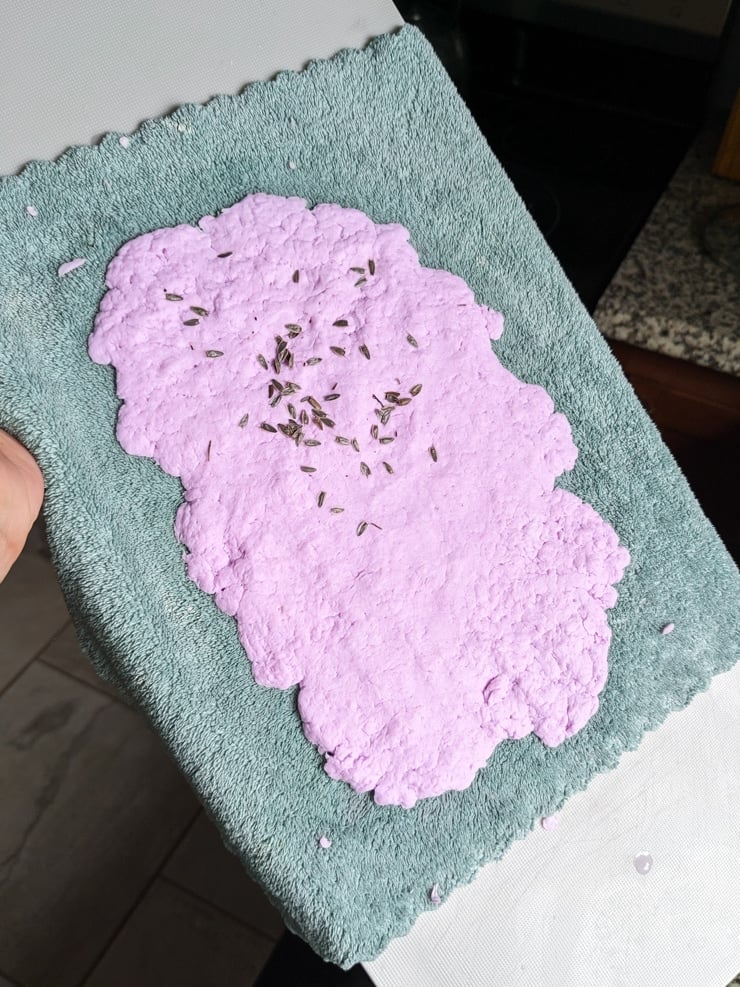
Step 4: Add seeds
Immediately after you press out the mixture onto the cloth, add some seeds. You can mix them in by hand (not using the blender) after you create the pulp…but I just felt like this would be easier.
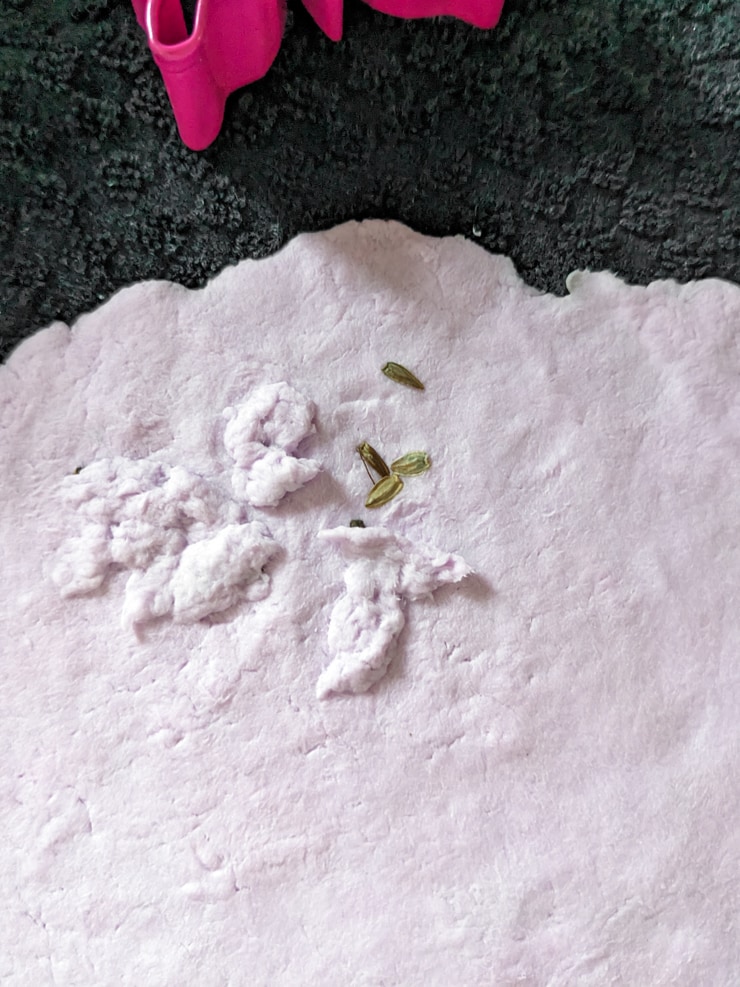
I added the seeds and then pulled out some of the extra pulp to add on top of the seeds. And then I pressed that down to encapsulate the seeds.
You can also flip the pulp over kind of like an omelette. Whichever method you choose, I highly recommend that you press the mixture down enough to get it as thin as possible without it breaking.
I did a thicker batch and it was…nearly impossibly to cut out in shapes by hand. If you have something like a laser cutting or you don’t care about cutting it into shapes, doing it a bit thicker is fine. And it’s easier!
But if you want to cut them by hand, make sure you get it as thin as possible. I just did this by slowly using my fingers to flatten and push out the pulp. I did try a rolling pin—but the mixture just kinda stuck to the rolling pin.


Step 5: Let Dry
And then it was time to let the mixture dry! I put the flattened mixture onto my cutting board into my sunroom right under a fan. The image below was one of the thicker mixtures that was super hard to cut.
You can see that it also cupped and curled up a lot overnight as it dried. I was able to fix this before cutting it by just putting a heavy book over it as it finished the last bit of drying.
You’ll know it’s dry enough to cut because you can pick it up and it will be hard. It shouldn’t be that bendable or have soft wet spots at all.

Step 6: Cut shapes as desired
And finally, it’s time to cut your shapes! This was by far the hardest part of the process. As I mentioned, the first round was too thick to cut by hand. I actually ended up cutting out some shapes with my M1 laser cutting machine because I didn’t want the round to go to waste.
In the later rounds I tried, I made sure to flatten the pulpy seed mix as much as possible. The thinner I could get it without making holes in the mixture, the easier it was to cut.
But don’t be fooled. Even a thinner mixture is somewhat hard to cut. I was frustrated that I couldn’t cut any shapes other than things with straight, easy lines like triangles, squares, and rectangles. Again, if you’re not super concerns about cute shapes, this isn’t a big problem at all.
So here are some of how my final seed paper cuttings look! This was a fun project, and I definitely learned a lot along the somewhat frustrating process. I hope my pointers in this post helped you if you’re wondering how to make seed paper!


Pin my tutorial for how to make seed paper!

